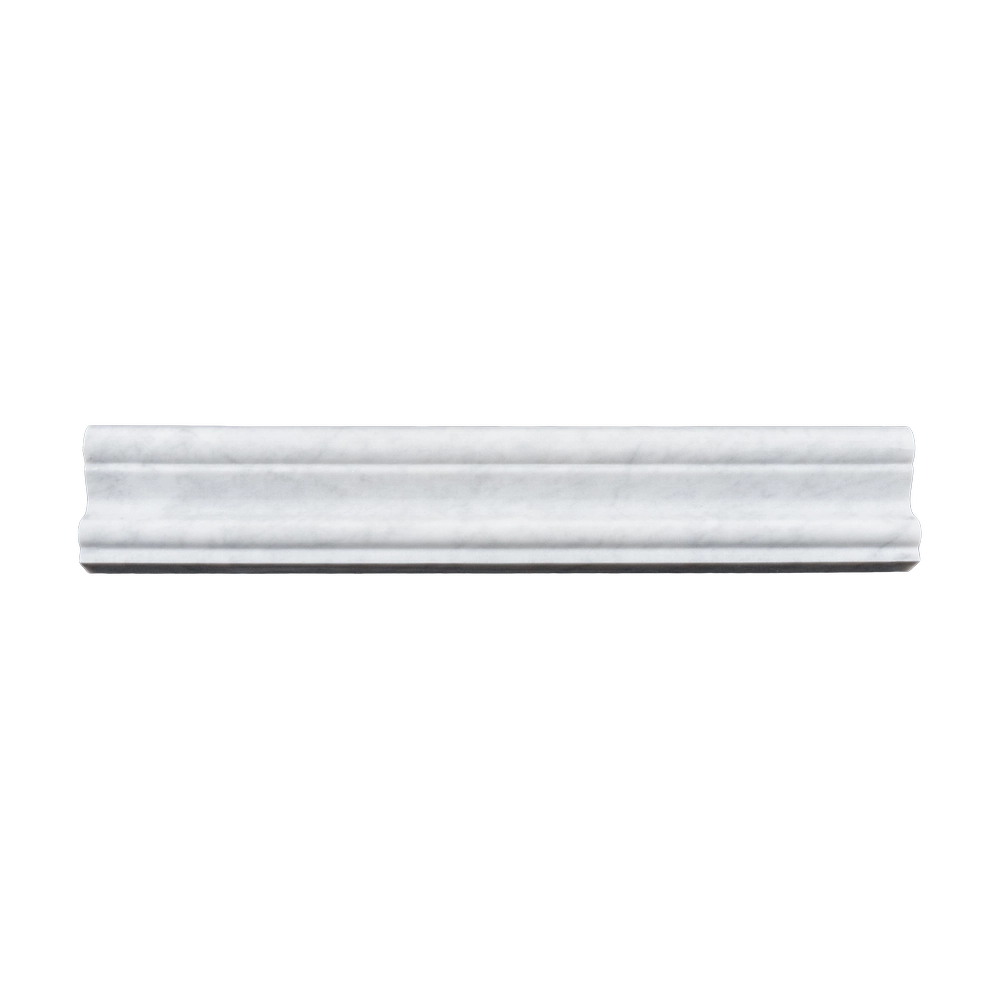
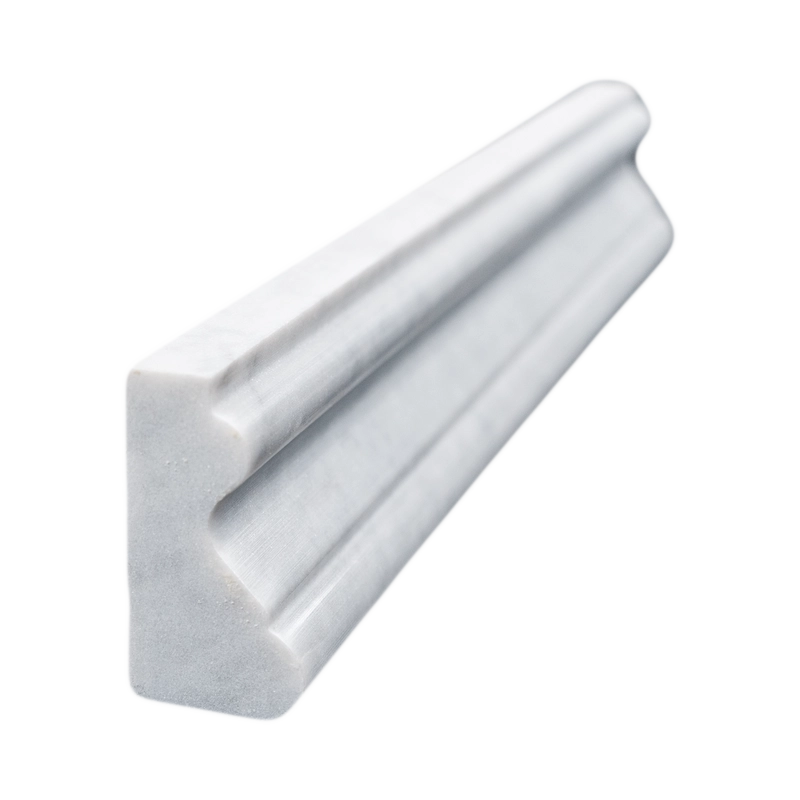
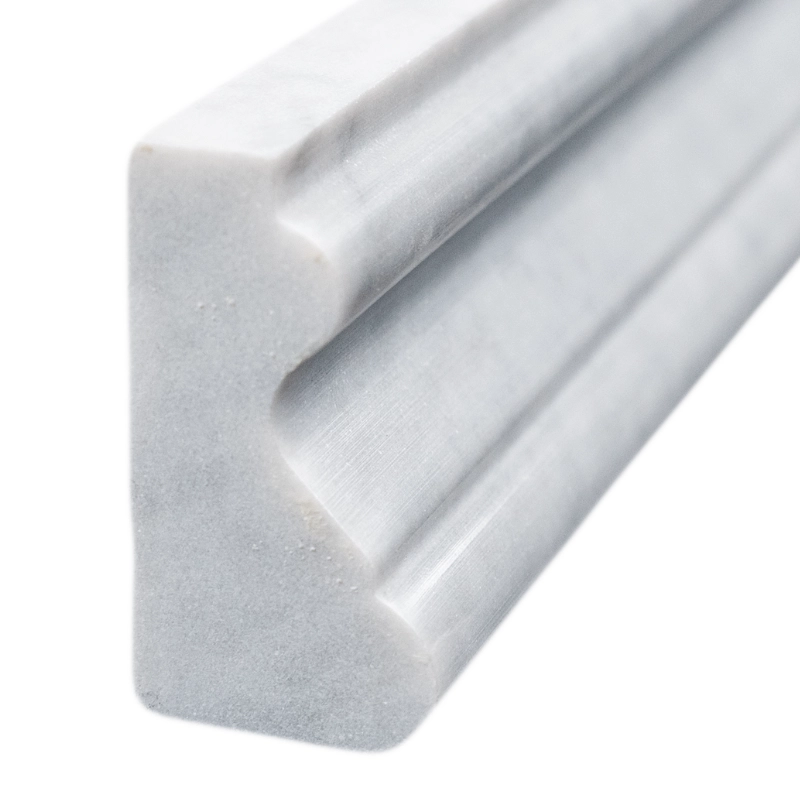
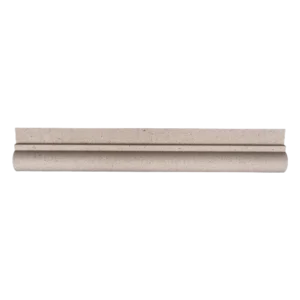
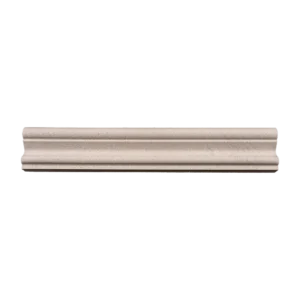
Timeless Elegance with Carrara White Polished Marble Crown Molding
Elevate your interiors with the Carrara White 2″x12″ Polished Marble Crown Molding, a sophisticated finishing touch for any room. Crafted from premium Carrara marble, this molding features soft white hues accented with delicate gray veining, bringing understated luxury and refinement to ceiling and wall transitions.
The polished, high-gloss surface reflects light beautifully, enhancing brightness and creating an open, airy feel. Its 2″x12″ dimensions provide the perfect scale for elegant trim that complements both traditional and modern interiors without overpowering the design. Ideal for living rooms, kitchens, bathrooms, or any space in need of a refined architectural accent.
Product Highlights
Material: Carrara White Marble
Finish: Polished for a smooth, reflective surface
Size: 2″ x 12″ (5.1 x 30.5 cm)
Color: Soft white with subtle gray veining
Use: Indoor crown molding, cabinetry edges, accent trim
Edge: Sculpted crown profile for a graceful transition
Why Choose Carrara White Marble Crown Molding?
This molding enhances visual height and adds a touch of classic architectural beauty. Its neutral palette blends seamlessly with various wall finishes and tiles, making it versatile for any interior style. Durable and timeless, the natural stone ensures long-lasting elegance and a polished finish that elevates every room.
Installation Guide – Carrara White Polished Marble Crown Molding (2″x12″)
Step 1: Surface Preparation – Build a Solid Base
Ensure walls are flat, clean, dry, and free from dust, grease, or other contaminants.
Complete installation of any lower wall tiles or finishes before starting crown molding placement.
Mark a level guideline along the top edge of the wall or ceiling junction to align molding pieces accurately.
Step 2: Dry Layout – Plan Your Design
Arrange all crown molding pieces along the top of the wall to check veining consistency and fit.
Cut and miter corners using a wet saw with a fine diamond blade.
Double-check each piece’s alignment and fit before applying adhesive, especially at corners and transitions.
Step 3: Adhesive Application – Secure with Care
Recommended Mortars:
Instructions:
Apply mortar to the back of each molding piece using a margin trowel or V-notch trowel.
Back-butter for full coverage, ensuring there are no voids behind the molding.
Press molding gently but firmly along the guideline. Apply light pressure to avoid scratching the polished surface.
Use painter’s tape to support the molding while the adhesive cures and prevent slippage.
Step 4: Grouting – Achieve a Flawless Finish
Allow adhesive to cure for at least 24 hours before grouting.
Use non-sanded grout to protect the polished marble surface.
Fill joints carefully and wipe off excess immediately with a damp sponge.
Buff lightly after 30–45 minutes with a soft cloth to remove any grout haze.
Step 5: Sealing – Protect and Preserve
Once grout has fully cured (typically 72 hours), apply a penetrating sealer made for polished marble.
Reapply sealer periodically depending on moisture exposure, especially in bathrooms or kitchens.
Maintenance Tips
Clean with pH-neutral, stone-safe cleaners only.
Avoid acidic, abrasive, or harsh cleaning products that can damage the polished surface.
Dust or gently wipe regularly to maintain luster and surface integrity.
Important Note
Carrara marble is a natural stone; color and veining may vary from piece to piece. Always inspect and dry-fit molding before installation to ensure consistency and visual harmony. Stonemarket USA is not responsible for natural variation or installation errors.


