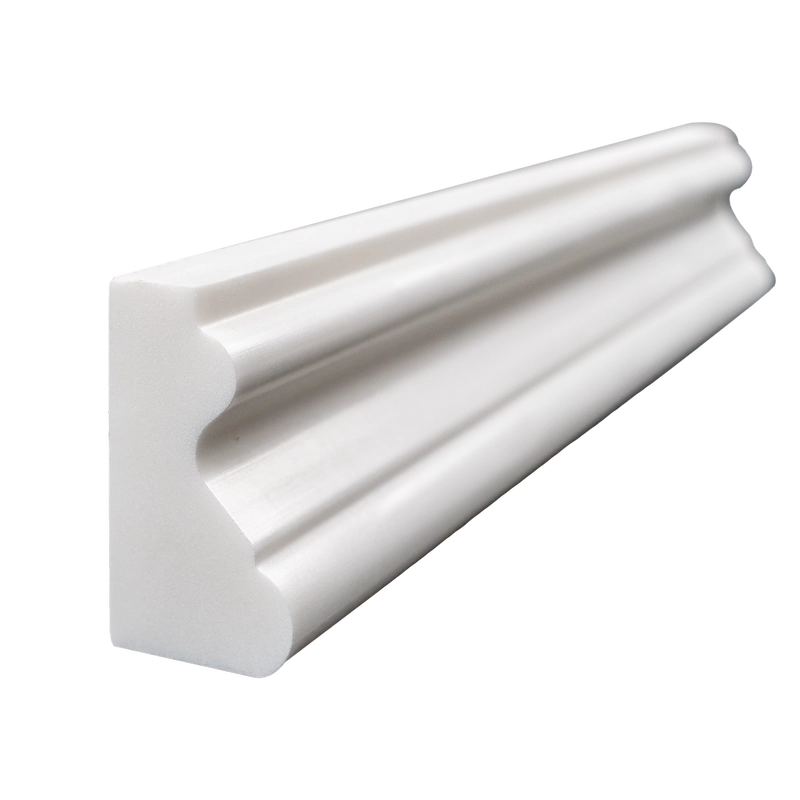
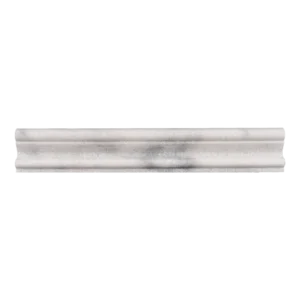
Polished Dolomite Crown Molding – Luxurious Finishing Detail
Elevate your interiors with the Polished Dolomite Crown Molding 2″x12″, crafted from premium white marble. This elegant trim piece adds classic architectural charm, seamlessly connecting walls and ceilings while enhancing the overall brightness and sophistication of any space. Its polished surface beautifully reflects natural light, highlighting the marble’s subtle veining and creating a refined, high-end look.
The compact 2″x12″ profile allows for easy integration into both small and expansive designs. Perfect for framing fireplaces, cabinetry, or built-in features, this crown molding combines traditional elegance with modern refinement. Its polished finish ensures a sleek, luminous surface that complements a wide range of interior styles.
Key Features:
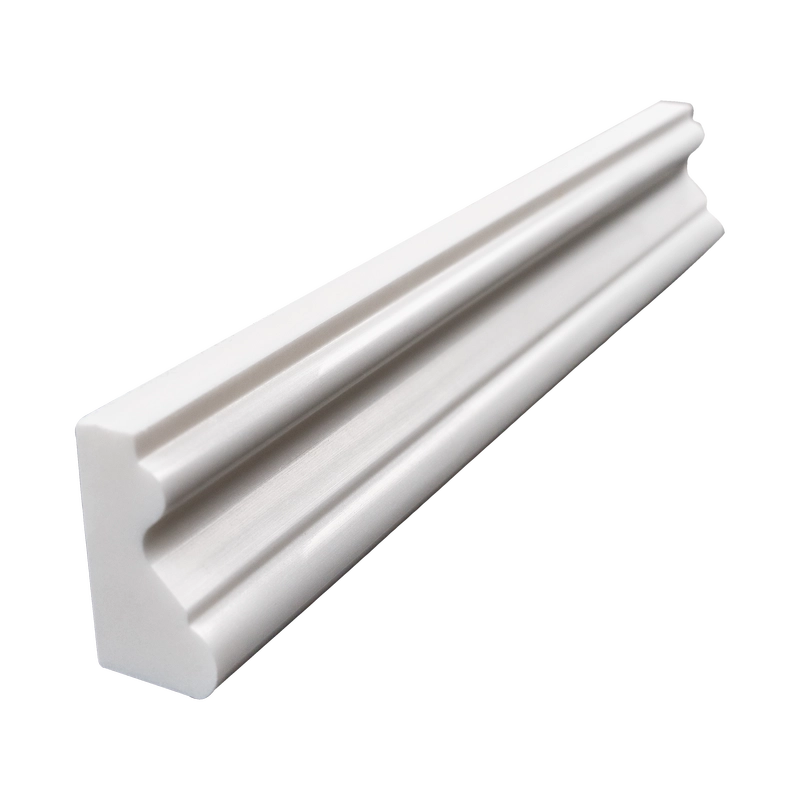
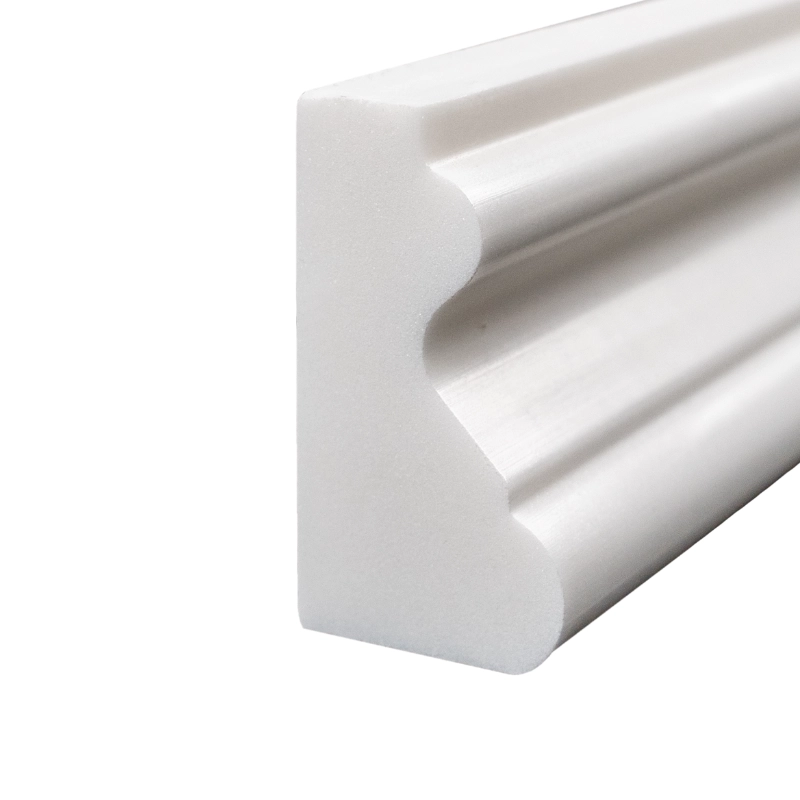
Material: Premium white Dolomite marble
Finish: Polished for a glossy, light-reflective surface
Dimensions: 2″ x 12″ molding profile
Edge: Classic crown molding shape
Applications: Wall-to-ceiling transitions, cabinetry, interior accents
Why Choose This Trim:
Ideal for both modern and traditional interiors, this crown molding serves as a sophisticated architectural element. It pairs beautifully with Dolomite field tiles, mosaics, and baseboards. Crafted from durable natural marble, it guarantees long-lasting elegance, making it the perfect choice for designers seeking a polished, timeless finish.
Installation Guide – Dolomite Polished Marble Crown Molding
Step 1 — Surface Preparation: Clean & Level Base
Ensure the wall is dry, clean, and level along the top edge where the molding will be installed.
Complete all tile installations below the crown molding before placing the trim.
Mark a straight horizontal guideline at the desired height for precise alignment.
Step 2 — Dry Layout: Positioning & Visual Flow
Lay out all molding pieces without adhesive to check alignment, polish consistency, and natural veining.
Cut and miter corners using a wet saw with a fine diamond blade for clean transitions.
Confirm color, tone, and surface finish are consistent across all pieces.
Step 3 — Adhesive Application: Secure Placement
Recommended Adhesives:
Instructions:
Apply a thin layer of thin-set mortar to the back of each molding piece using a margin or V-notch trowel.
Back-butter each piece to ensure full contact and gently press along the guideline.
Support the molding with painter’s tape or temporary bracing to prevent slipping while the adhesive cures (minimum 24 hours).
Step 4 — Grouting: Clean, Detailed Finish
After adhesive curing, use non-sanded grout for joints between pieces.
Apply grout carefully with a rubber float or grout bag and remove excess with a damp sponge.
Buff with a soft cloth 30–45 minutes after application to remove any haze.
Step 5 — Sealing: Protection & Longevity
Once grout has fully cured (about 72 hours), apply a penetrating marble-safe sealer to protect the surface.
Reapply periodically depending on humidity, cleaning frequency, or exposure to water.
Maintenance Tips
Use pH-neutral, non-abrasive cleaners suitable for marble surfaces.
Avoid acidic or harsh cleaning agents that may etch or dull the polished finish.
Dust or gently wipe regularly with a soft cloth to maintain shine.
⚠️ Important Note:
Dolomite is a natural marble; variations in tone, veining, and texture are normal. Always dry-lay and inspect all pieces before installation. Stonemarket USA is not responsible for installation errors or natural stone variations.