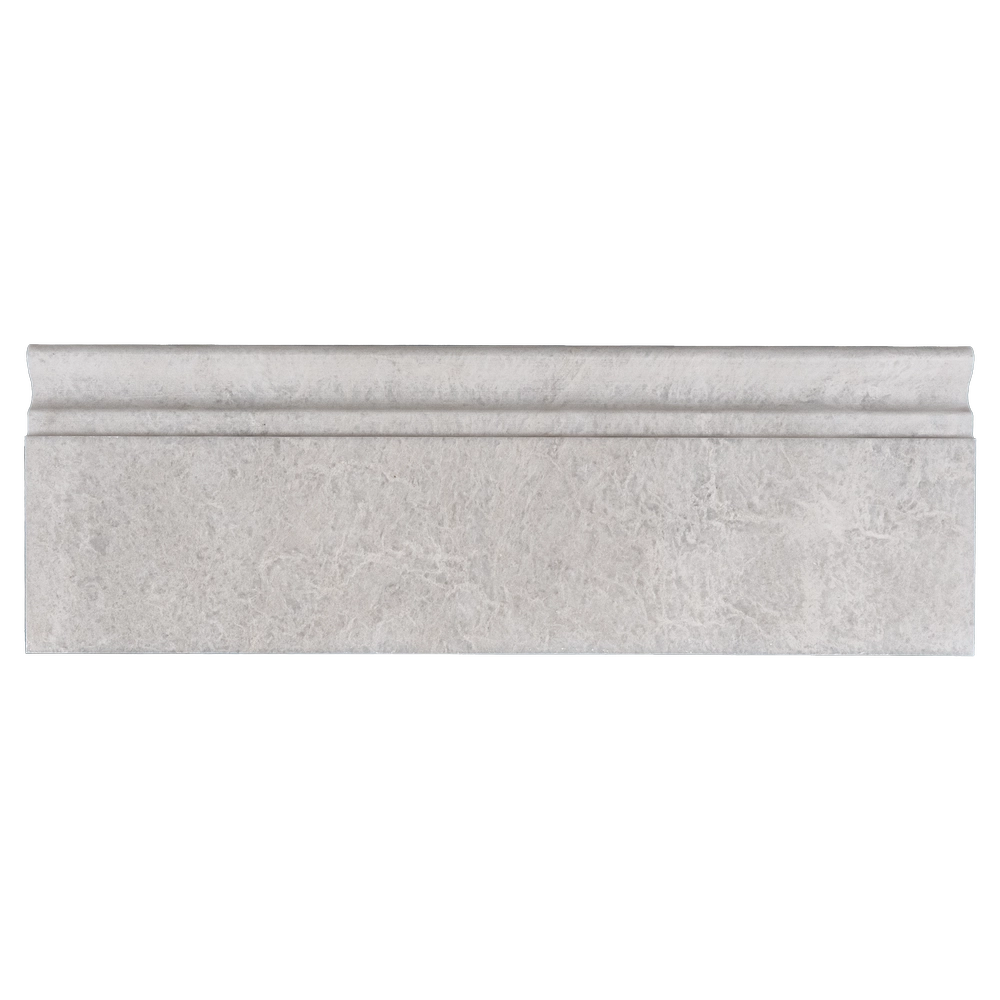
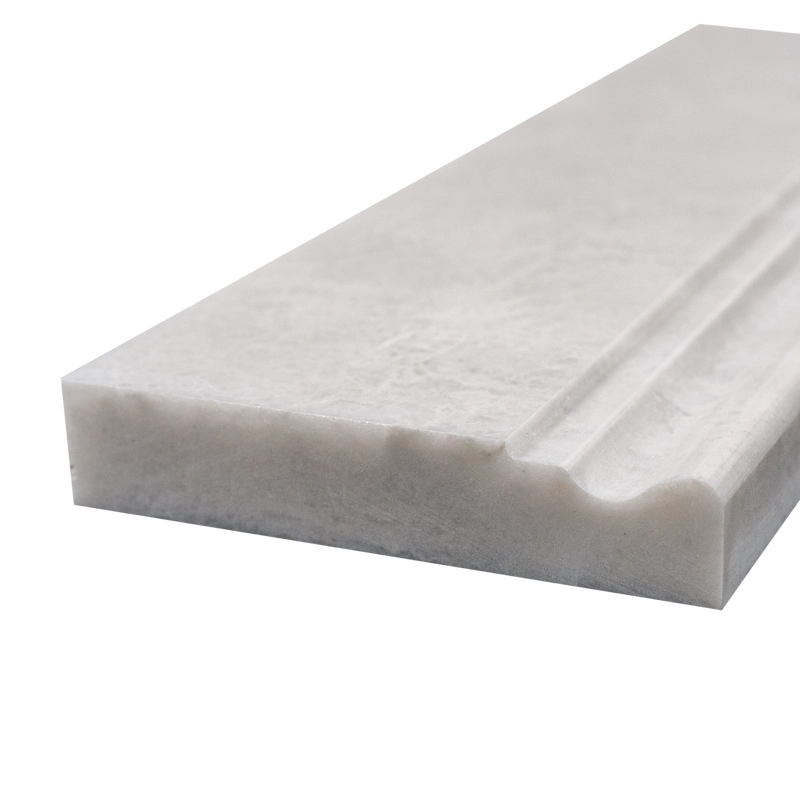
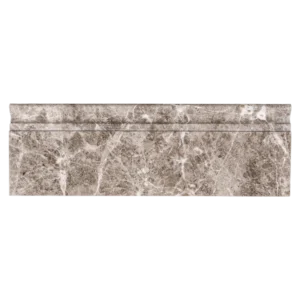
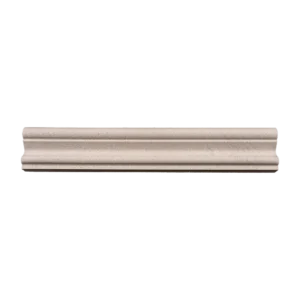
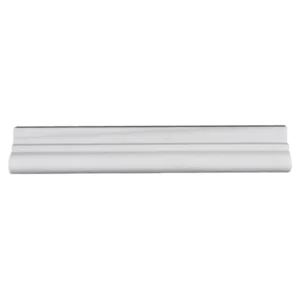
Iceberg Polished Marble Baseboard Trim 4″x12″ – Sleek White Marble Accent
Upgrade your interiors with the Iceberg Polished Marble Baseboard Trim 4″x12″, crafted from premium natural Iceberg marble. Its polished finish showcases crisp white tones and subtle icy veining, creating a refined and luxurious touch for any room. Serving as a transition trim, it seamlessly bridges floors and walls while adding architectural definition and sophistication.
Perfect for bathrooms, kitchens, hallways, and commercial spaces, this trim reflects light beautifully, enhancing brightness and clean lines. The straight-edge design ensures precise, professional installation and a visually sharp finish.
Key Features:
Stone: Iceberg marble – crisp white with delicate icy veining
Finish: Polished for a smooth, reflective surface
Dimensions: 4″x12″ (10.2×30.5 cm)
Edge Detail: Straight edge for clean, seamless transitions
Applications: Ideal for baseboard molding in residential and commercial interiors
Why Choose Iceberg Marble Baseboard Trim:
Combining style and functionality, this marble trim protects walls from wear while elevating your design. Whether paired with matching floor tiles or used as a contrasting accent, it delivers timeless elegance. For a cohesive look, complement it with Iceberg field tiles or mosaic borders.
Installation Guide – Iceberg Polished Marble Baseboard Trim (4″x12″)
Step 1 — Surface Preparation: Start with a Solid Base
Complete floor tile installation before placing the baseboard trim.
Ensure the wall area is clean, dry, and level for optimal adhesion.
Remove dust, leftover adhesive, or paint flakes to promote a strong bond.
Step 2 — Dry Layout: Measure & Pre-Fit
Lay out the baseboard pieces without adhesive to check spacing, veining, and alignment.
Mark a level guide line on the wall about 4 inches above the floor.
Trim pieces with a wet saw using a fine diamond blade for precise, clean cuts.
Step 3 — Adhesive Application: Secure Placement
Recommended Adhesives:
Instructions:
Apply a thin layer of mortar to the back of each piece using a margin trowel.
Back-butter for full contact and press firmly along the guide line just above the floor tile.
Use painter’s tape or temporary supports to hold pieces in place while the adhesive cures (minimum 24 hours).
Step 4 — Grouting: Finish Cleanly
Allow adhesive to set for 24 hours before grouting.
Use non-sanded grout to avoid scratching the polished marble surface.
Remove excess grout immediately with a damp sponge and buff lightly after 30–45 minutes.
Step 5 — Sealing: Protect & Maintain
Once grout has fully cured (approx. 72 hours), apply a penetrating sealer suitable for polished marble.
Reapply periodically depending on moisture exposure and cleaning frequency.
Maintenance Tips
Clean with pH-neutral stone cleaners only.
Avoid acidic or abrasive products that can dull or damage the polished surface.
Dust or gently wipe regularly to maintain shine and clarity.
⚠️ Important Note:
Iceberg is a natural marble; variations in veining and tone are normal. Always dry-lay and inspect all pieces before installation. Stonemarket USA is not responsible for installation errors or natural stone variations.