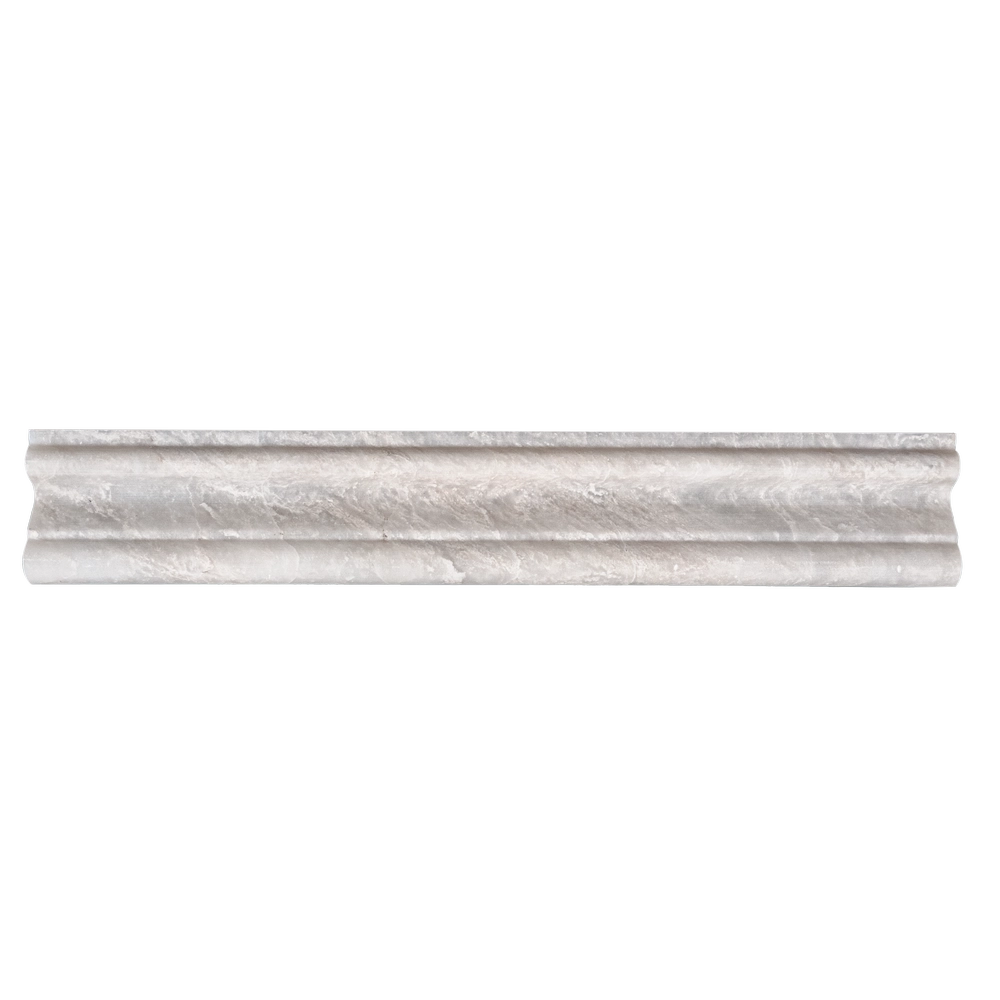
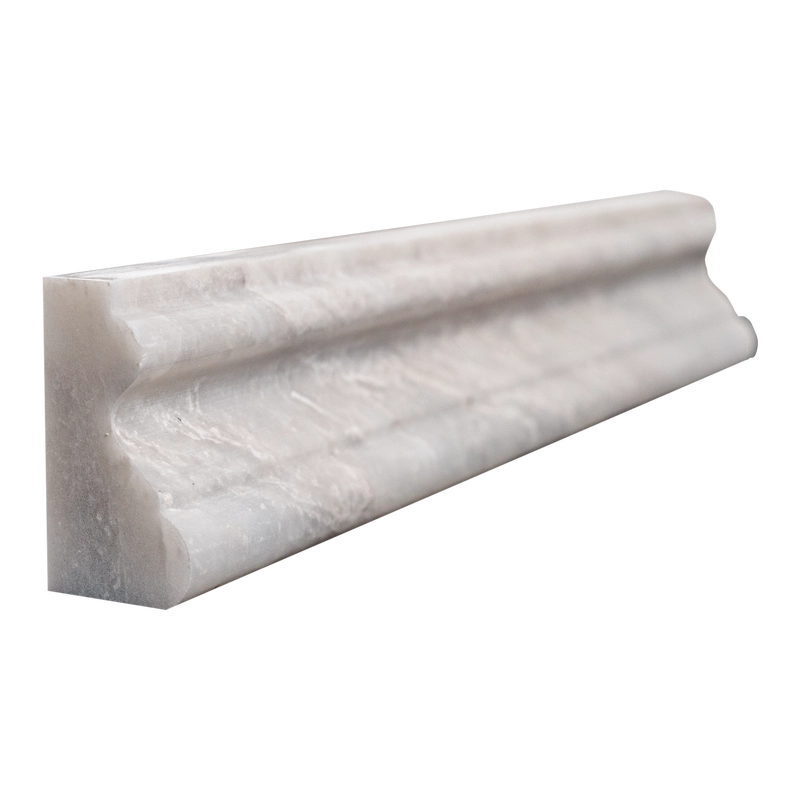
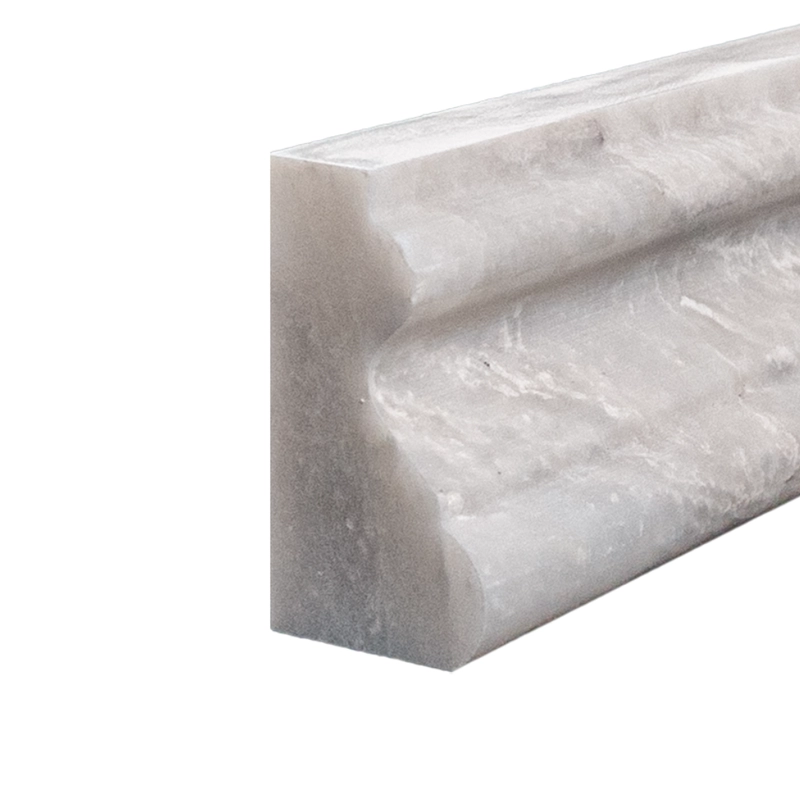
Iceberg Polished Marble Crown Molding 2″x12″ – Elegant White Accent
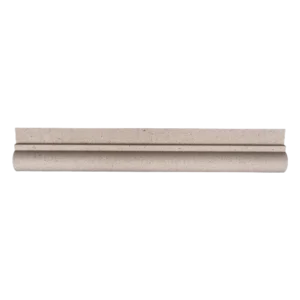
Add a touch of refined luxury to your interiors with the Iceberg Polished Marble Crown Molding 2″x12″. This elegant trim provides a sophisticated architectural detail, beautifully framing ceilings, cabinetry, and feature walls with classic style. Its polished white surface, accented by subtle icy veining, complements both traditional and contemporary designs.
Perfect for creating smooth, graceful transitions where walls meet ceilings, this crown molding enhances living rooms, bathrooms, kitchens, and commercial spaces alike. Crafted from premium Iceberg marble, the polished finish captures and reflects light, adding brightness and openness to any room.
Key Features:
Material: Natural Iceberg marble
Finish: Polished for a smooth, reflective surface
Color: Crisp white with delicate icy veining
Size: 2″ x 12″ (5.1 cm x 30.5 cm)
Profile: Classic crown molding for refined transitions
Applications: Ceiling edges, cabinetry, wall features
Pair with coordinating Iceberg marble tiles to create a cohesive and luxurious interior. Ideal for both residential and commercial projects, this crown molding delivers timeless elegance and a polished, high-end finish.
Installation Guide – Iceberg Polished Marble Crown Molding (2″x12″)
Step 1 — Surface Preparation: Clean and Level
Ensure the wall and ceiling transition area is smooth, dry, and free of dust or debris.
Complete any field tile installation below the crown molding before starting.
Draw a level guide line along the top edge of the wall or tile field to ensure accurate placement.
Step 2 — Dry Layout: Plan and Visualize
Lay out the molding pieces without adhesive to check veining flow and corner alignment.
Use a wet saw with a fine diamond blade to cut precise miters for corners.
Verify fit and alignment across all transition points before applying adhesive.
Step 3 — Adhesive Application: Set the Molding
Recommended Adhesives:
Instructions:
Apply a thin layer of mortar to the back of each piece using a margin or small notched trowel.
Back-butter the piece for full contact, then press along the guideline.
Temporarily support with painter’s tape while the adhesive cures (minimum 24 hours).
Step 4 — Grouting: Finish Cleanly
Use non-sanded grout to protect the polished marble surface from scratches.
Carefully fill joints and immediately remove excess with a damp sponge.
Buff away any haze with a soft cloth after 30–45 minutes.
Step 5 — Sealing: Protect the Marble
Once grout has fully cured (approx. 72 hours), apply a penetrating sealer suitable for polished marble.
Reseal periodically depending on humidity levels and cleaning routine.
Maintenance Tips
Clean only with pH-neutral, non-abrasive stone cleaners.
Avoid acidic or harsh chemicals that could damage the polished surface.
Wipe gently with a soft, lint-free cloth to maintain shine and clarity.
⚠️ Important Note:
Iceberg marble is a natural stone with unique veining and tonal variations. Always dry-lay and inspect each piece prior to installation. Stonemarket USA is not responsible for installation errors or natural stone variation.