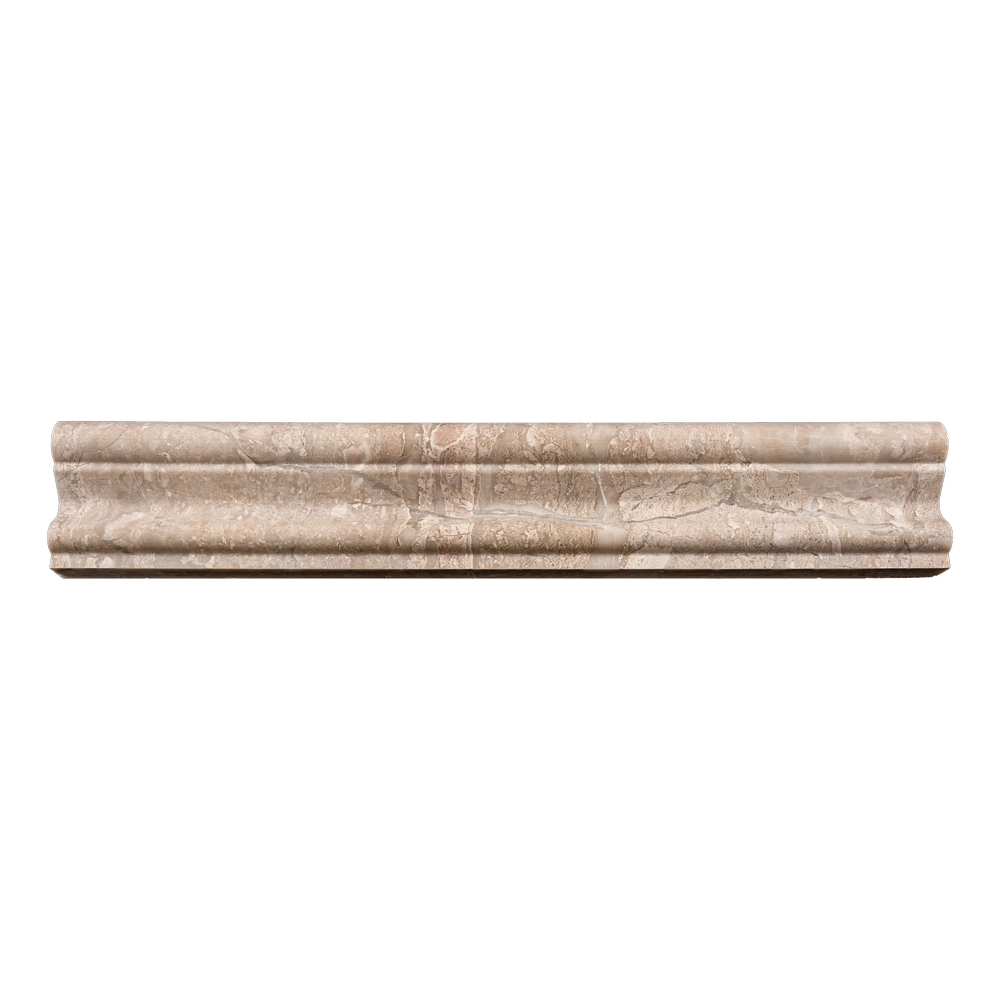
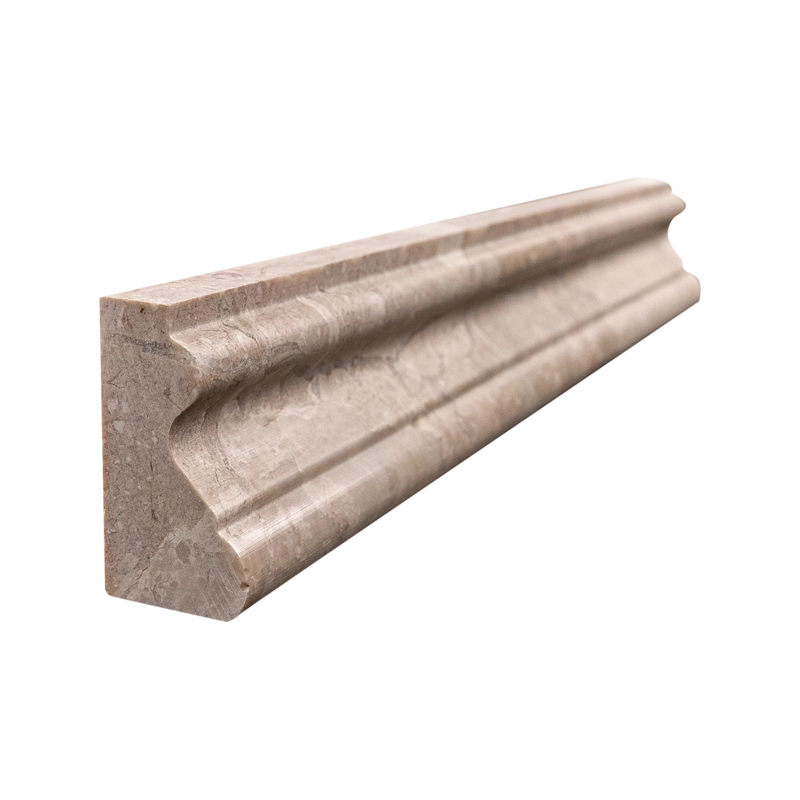
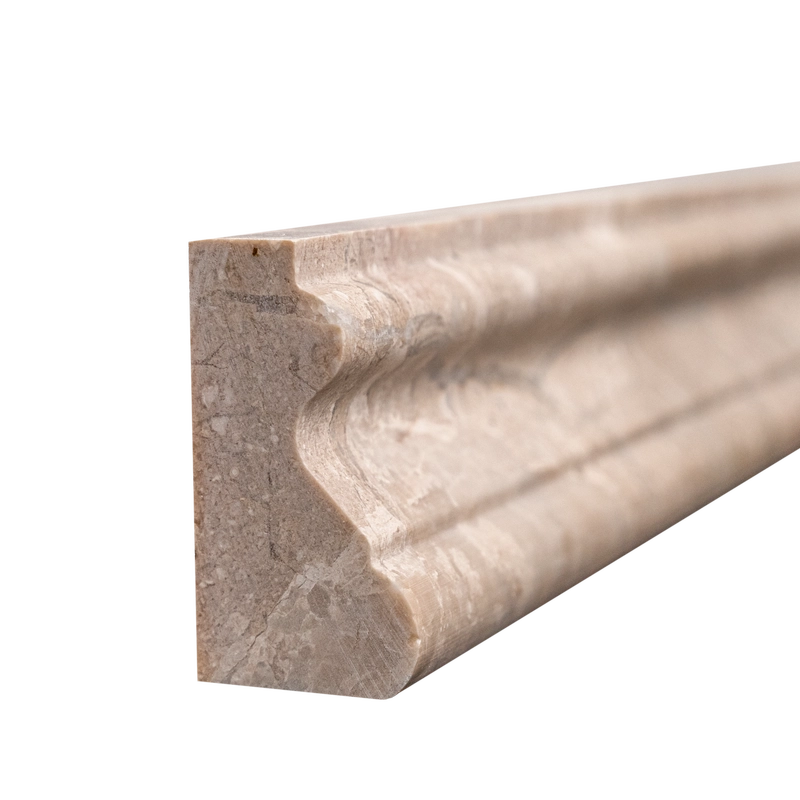
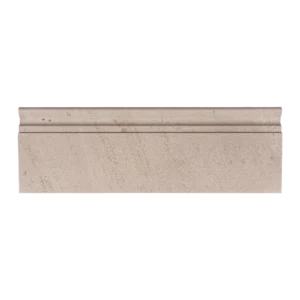
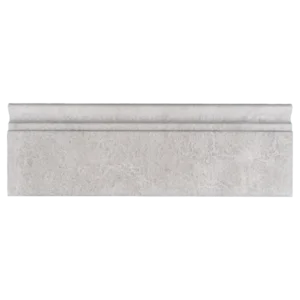
Royal Beige Marble Crown Molding 2″x12″ – Polished Architectural Trim
Elevate your interiors with the refined beauty of our Royal Beige Polished Marble Crown Molding in a classic 2″x12″ size. Featuring warm cappuccino undertones and a sleek, mirror-like polish, this trim introduces timeless elegance and sophistication to any design.
Perfect for ceiling transitions, wall accents, cabinetry, or feature framing, this crown molding blends the grandeur of traditional architecture with a modern, luxurious finish. Its polished surface reflects light gracefully, enhancing the natural veining and depth of the marble while adding warmth to your space.
Product Highlights
Material: Premium Royal Beige marble with subtle cappuccino tones
Finish: Polished for a radiant, high-end look
Dimensions: 2″x12″ (5.1 cm x 30.5 cm)
Application: Decorative crown trim for walls, ceilings, cabinets, or statement features
Detailing: Sculpted profile for seamless architectural transitions
From upscale residences to professional spaces, this polished marble crown molding delivers a tailored, enduring sense of luxury.
Installation Guide – Royal Beige Marble Crown Molding (2″x12″ Polished)
Step 1: Surface Preparation – Clean and Level Base
Ensure walls and ceilings are smooth, dry, and free of dust or debris.
Use a level to mark precise guidelines along the top of the wall.
Complete any adjacent wall or tile finishes before installing the crown molding.
Step 2: Dry Layout – Precision and Alignment
Dry-lay the molding pieces to check color consistency and veining flow.
Cut pieces with a wet saw using a fine diamond blade for clean edges.
Test-fit each piece to confirm a tight, seamless alignment before applying mortar.
Step 3: Adhesive Application – Strong, Lasting Bond
Recommended White Mortars:
Laticrete 254 Platinum
Mapei Ultraflex LFT
Instructions:
Back-butter each piece to ensure full contact.
Press firmly along the guideline at the wall-to-ceiling transition.
Use painter’s tape or temporary supports until mortar cures (approx. 24 hours).
Step 4: Grouting – Smooth, Scratch-Free Finish
Once adhesive sets, apply unsanded grout to protect the polished surface.
Remove excess grout with a damp sponge.
After 30–45 minutes, buff away haze with a clean, soft cloth.
Step 5: Sealing – Long-Term Protection
Apply a high-quality penetrating sealer after grout cures (usually 72 hours).
Reapply sealer as needed, depending on traffic, moisture, and cleaning frequency.
Maintenance Tips
Clean only with pH-neutral, stone-safe cleaners.
Avoid acidic or abrasive products that can etch polished marble.
Dust regularly with a microfiber cloth to preserve shine.
Important Note
Royal Beige Marble is a natural stone with unique tonal and veining variations. Always dry-lay and inspect pieces before installation. Stonemarket USA is not responsible for natural variations or installation errors.