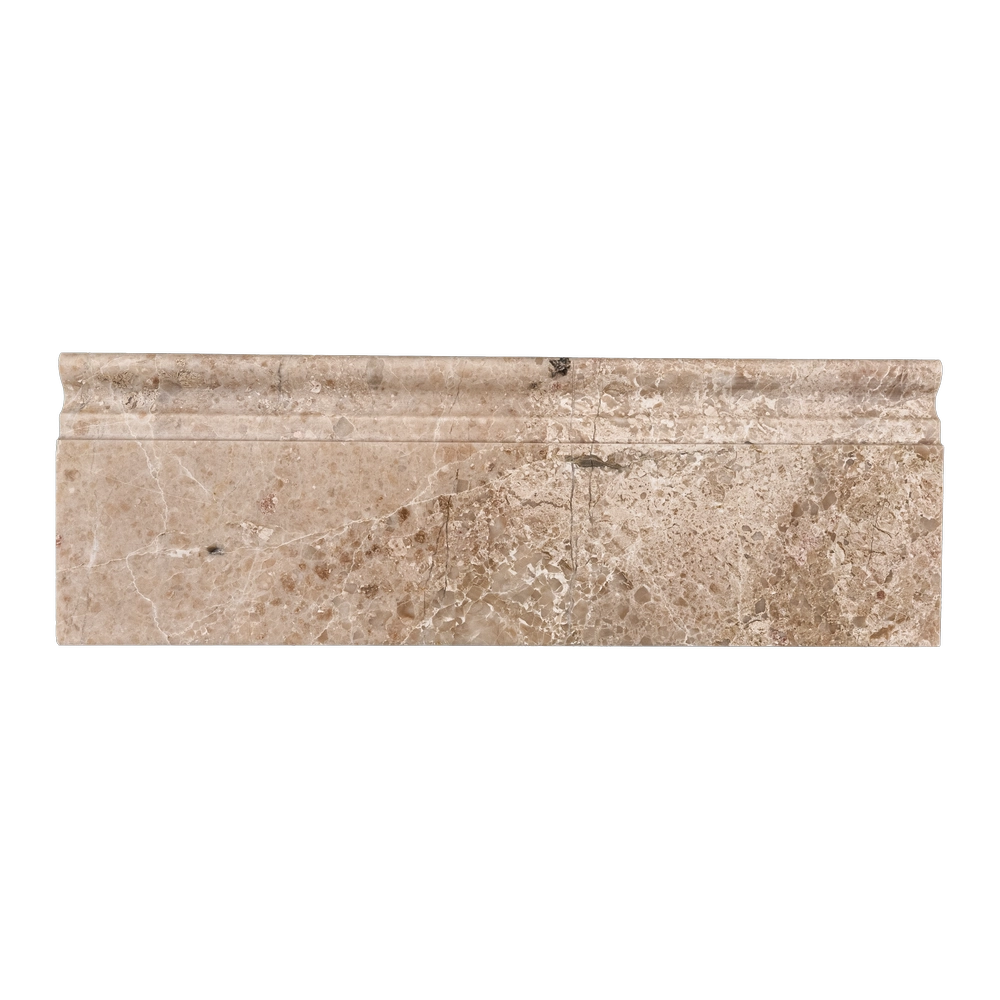
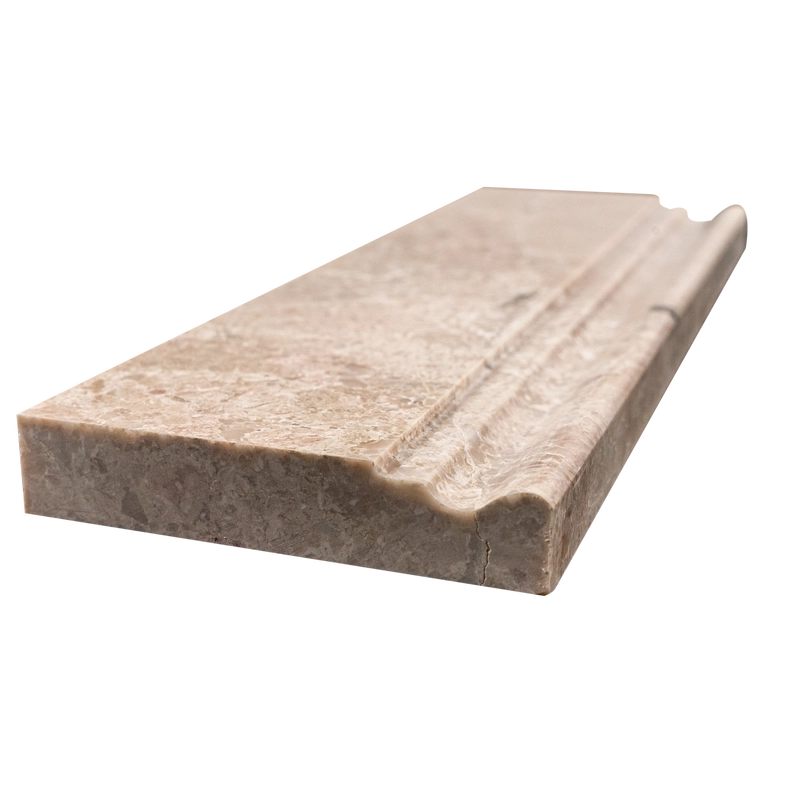
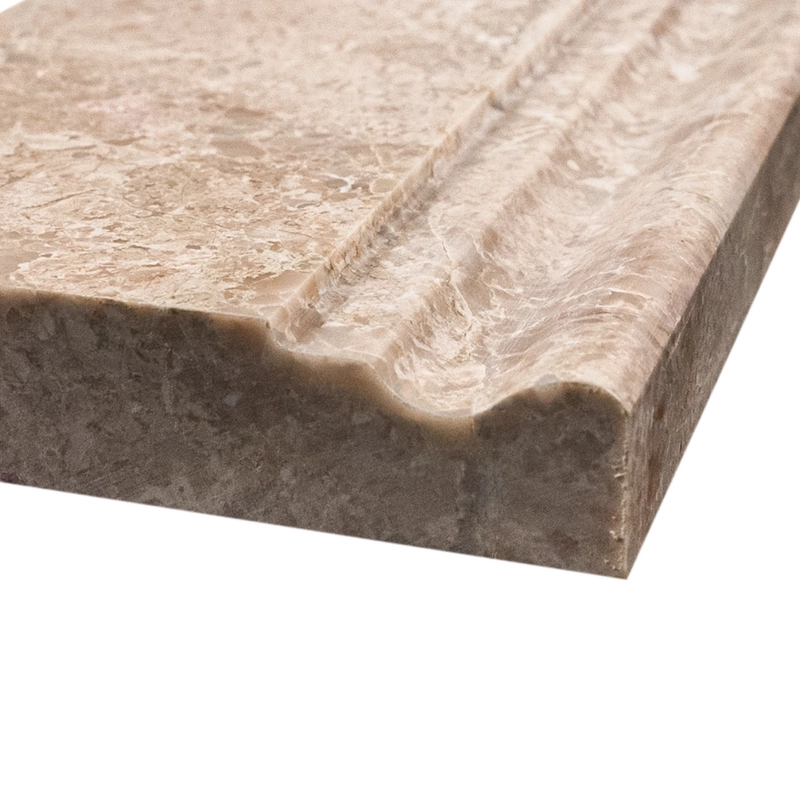
Royal Beige Polished Marble Baseboard Trim 4″x12″ – Elegant Wall Molding
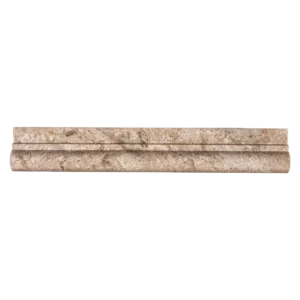
Bring timeless elegance to your interiors with the Royal Beige Polished Marble Baseboard Trim. Measuring 4″x12″, this refined marble molding creates a seamless transition between walls and floors while adding both style and functionality. Its polished surface highlights warm beige tones and subtle veining, offering a classic, sophisticated look suitable for residential and commercial spaces.
Made from durable natural marble, this baseboard trim pairs beautifully with a variety of marble or tile flooring. The rich, cappuccino-beige hue delivers understated luxury, while the high-gloss finish reflects light to enhance any room. Ideal for bathrooms, kitchens, hallways, or any space where a polished, architectural edge is desired.
Key Features
Material: Natural Royal Beige Marble
Finish: Polished for a reflective, high-gloss look
Size: 4″x12″ (10.2 cm x 30.5 cm)
Color: Warm beige with soft, natural veining
Application: Baseboards, wall trims, and transitional borders
Add a refined, professional finish to your walls and floors with the Royal Beige baseboard trim, combining durability and elegance for a truly polished interior.
Installation Guide – Royal Beige Polished Marble Baseboard Trim (4″x12″)
Step 1: Prepare the Surface
Ensure wall and floor surfaces are clean, dry, level, and stable.
Remove dust, adhesive residue, or debris that may interfere with bonding.
Install floor tiles before beginning baseboard trim installation.
Step 2: Dry Layout and Alignment
Lay out the trim pieces without adhesive to check color and veining consistency.
Mark a horizontal guideline 4″ above the floor for accurate placement.
Use a wet saw with a diamond blade for precise cuts, especially at corners.
Step 3: Apply Adhesive
Recommended Thin-Set Mortars:
Instructions:
Back-butter each trim piece with white thin-set for full coverage.
Press firmly along the marked guideline.
Support pieces with painter’s tape during curing (minimum 24 hours).
Step 4: Grouting
Use unsanded grout to prevent scratching the polished surface.
Carefully fill joints and remove excess grout immediately with a damp sponge.
Buff any remaining haze with a soft, dry cloth after 30–45 minutes.
Step 5: Sealing
After grout cures (around 72 hours), apply a marble-safe penetrating sealer.
Reapply periodically depending on cleaning and exposure.
Maintenance Tips
Clean only with pH-neutral, stone-safe products.
Avoid acidic or abrasive cleaners that can damage polished marble.
Wipe regularly with a soft cloth to maintain shine.
Important Note
Royal Beige marble is a natural stone with unique veining and color variations. Always inspect and dry-fit pieces before installation. Stonemarket USA is not responsible for installer errors or natural variations in the marble.