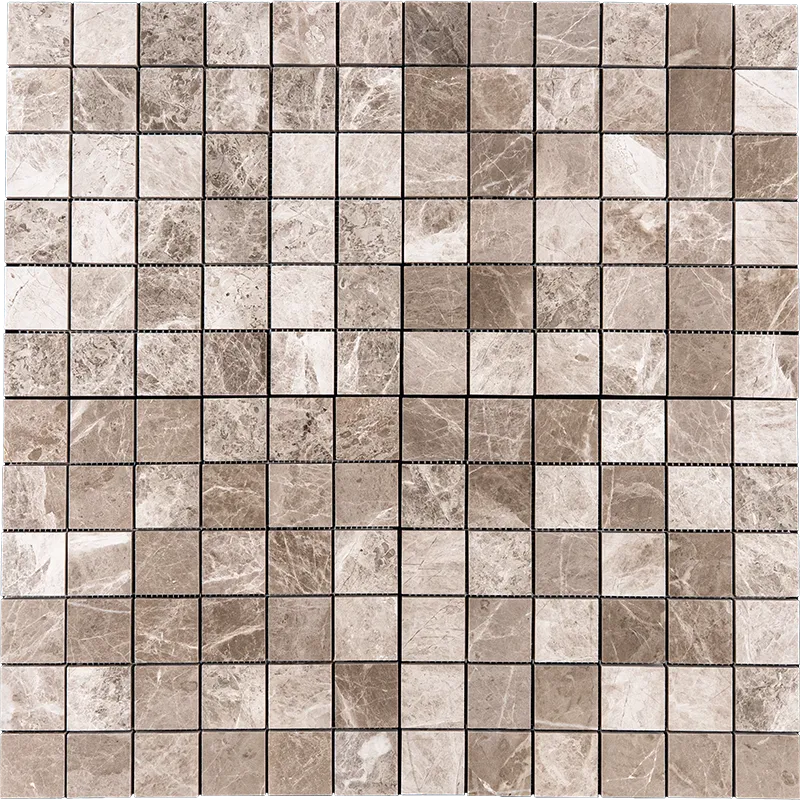
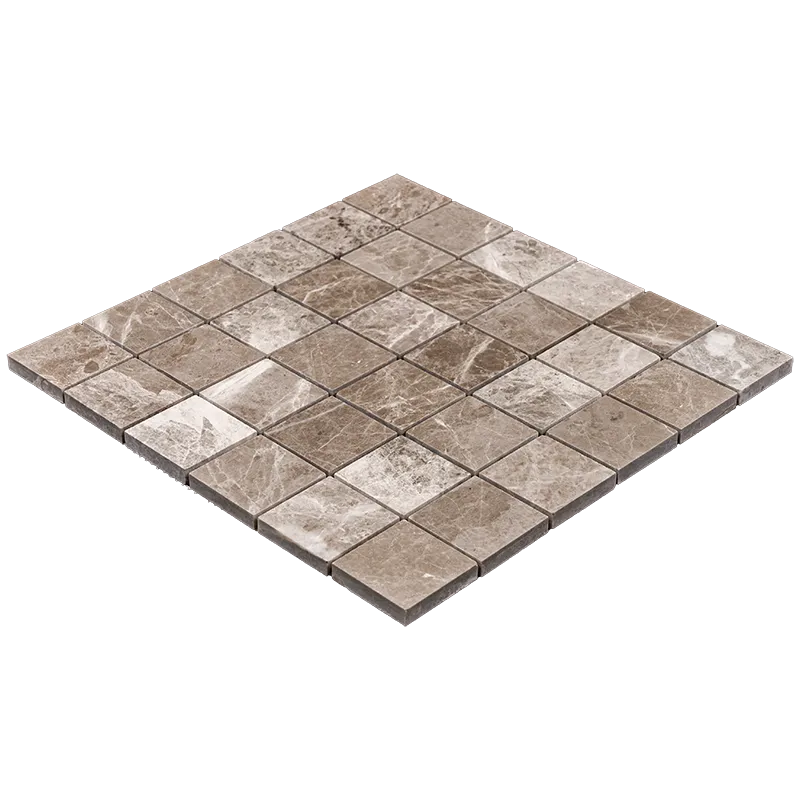
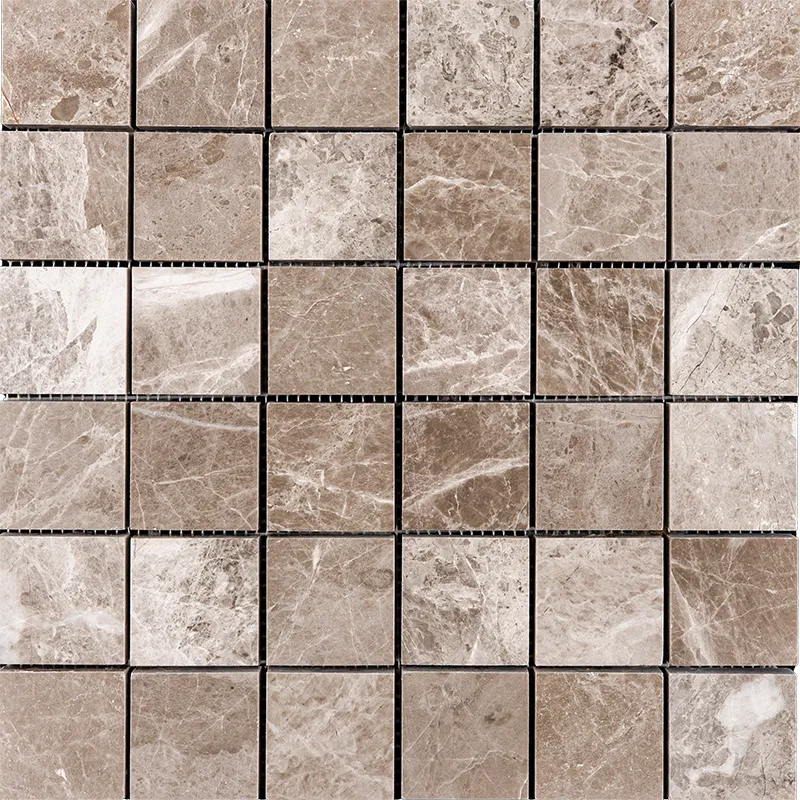
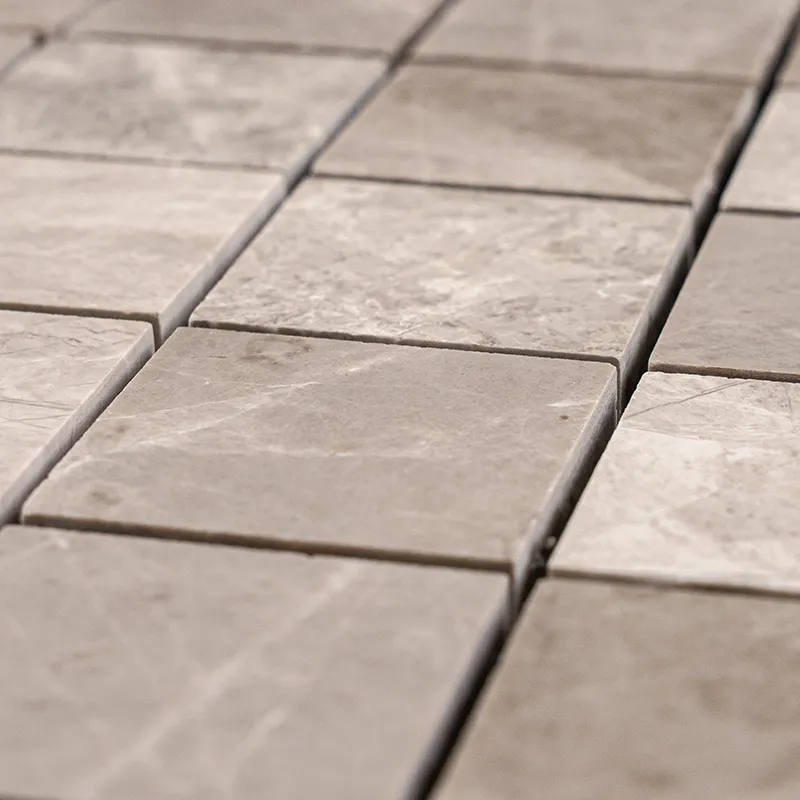
Beige Diamond 2×2 Polished Marble Mosaic Tile – Luxury Beige Gray
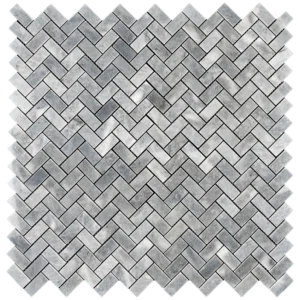
Bring sophistication and luminous elegance to your interiors with the Beige Diamond 2×2 Polished Marble Mosaic Tile. Crafted from premium beige-gray marble, each 2×2 inch square piece showcases natural veining and a polished finish that enhances the stone’s shimmer, creating a luxurious and eye-catching surface.
The mesh-mounted design ensures smooth and efficient installation, making this mosaic ideal for kitchen backsplashes, shower walls, accent features, or statement surfaces. Its reflective polished surface adds brightness and depth, elevating both residential and commercial spaces with a modern yet timeless appeal.
Product Overview
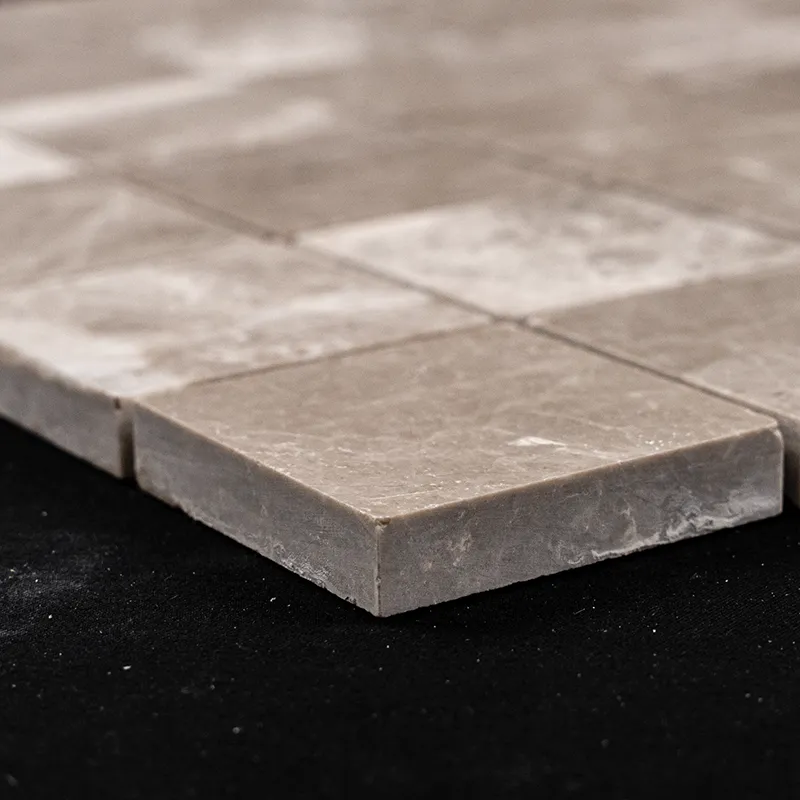
Material: Natural Beige Gray Marble
Tile Sheet Size: 12″ x 12″ (30.5 cm x 30.5 cm)
Tile Size: 2″ x 2″ (5.1 cm x 5.1 cm)
Thickness: 3/8″ (1 cm)
Finish: Polished, glossy and reflective
Color: Beige Gray with natural veining
Pattern: Square mosaic (2×2 inch)
Backing: Mesh-mounted for easy alignment and cuts
Key Features
Modern square design for a sleek, contemporary look
High-gloss finish enhances depth and light reflection
Natural veining ensures each tile is unique
Water-resistant, easy to clean, and suitable for wet areas
Quick installation thanks to mesh backing
Recommended Applications
Kitchen backsplashes and countertops
Bathroom walls, showers, and spa areas
Accent walls, niches, and decorative surfaces
Fireplace surrounds, entryways, and boutique retail spaces
Installation & Care
Use high-quality white thin-set mortar for secure adhesion
Apply non-sanded grout to avoid scratching the polished surface
Seal before and after grouting with a premium marble sealer
Clean only with pH-neutral, stone-safe products for lasting shine
Ordering & Shipping
Sold by the square meter (1 SQM per unit)
72 boxes per order (34.59 SQM total)
Nationwide shipping with protective packaging
Bulk discounts available for contractors and large projects
Elevate your project with the Beige Diamond Polished Marble Mosaic Tile, a luxurious and versatile choice for kitchens, bathrooms, commercial spaces, or any area that demands elegance. Our team is available to provide personalized guidance and support to ensure your installation achieves stunning results.
Installation Guide – Beige Diamond 12″x12″ Polished Marble Mosaic Tile
Ensure a flawless, durable installation and maintain the luxurious polished finish of your Beige Diamond 12″x12″ Polished Marble Mosaic Tile by following these essential steps. Proper preparation and installation maximize both performance and aesthetic appeal.
Step 1: Surface Preparation
Make sure the surface is clean, dry, and free from dust, grease, soap residue, or debris.
Confirm the surface is structurally sound, level, and free from cracks or loose areas.
Waterproof moisture-prone areas such as bathrooms, kitchens, or showers.
Remove any moldings or obstacles that could interfere with tile placement.
Apply a self-leveling compound if needed to achieve a smooth, even surface.
Step 2: Layout Planning
Measure the space and mark the center points of all four walls.
Snap chalk lines to create a precise grid for alignment.
Dry-lay tiles along center lines to verify placement and balance.
Adjust lines if cuts at the edges would be too small.
Use tile spacers (1.5mm–3mm) for uniform grout joints.
Dry-lay multiple sheets to confirm pattern alignment.
Step 3: Selecting & Applying Adhesive
Recommended White Thin-Set Mortars:
Application Tips:
Mix only enough mortar for 30 minutes of use.
Spread a 1/4-inch layer using the flat side of a notched trowel.
Comb mortar at a 45-degree angle to create ridges.
Work in 2′ x 3′ sections to prevent drying before placement.
Back-butter each tile for better adhesion.
Step 4: Cutting & Fitting Tiles
Mark tiles with a pencil or tile marker.
Use a wet saw with a diamond blade for precise cuts.
Smooth edges with a rubbing stone; for intricate cuts, use a tile nipper or grinder.
Dry-fit all tiles before applying adhesive.
Step 5: Setting the Tiles
Start from the center of the room and work outward.
Place tiles with a gentle twisting motion to ensure full contact.
Avoid sliding tiles into position.
Maintain grout lines with spacers and tap tiles gently with a rubber mallet.
Wipe off excess mortar immediately.
Allow the adhesive to cure for 24 hours before grouting.
Step 6: Grouting & Finishing
Remove spacers prior to grouting.
Use non-sanded grout to protect the polished surface.
Spread grout diagonally with a rubber float and remove excess immediately.
Wipe haze after 15–20 minutes with a damp sponge.
Allow grout to cure 72 hours before use.
Apply a penetrating sealer after curing for long-lasting protection.
Maintenance Tips
Clean only with pH-neutral cleaners.
Avoid acidic or abrasive products.
Reapply sealer periodically to maintain shine and durability.
Use felt pads under furniture to prevent scratches.
Important Notice
Stonemarket USA is not responsible for improper installation.
For best results, hire a professional tile installer and use premium-grade materials.
📞 For assistance, contact Stonemarket USA Customer Support.
Following these expert installation steps ensures your Beige Diamond 12″x12″ Polished Marble Mosaic Tile remains timeless, beautiful, and durable for years to come.