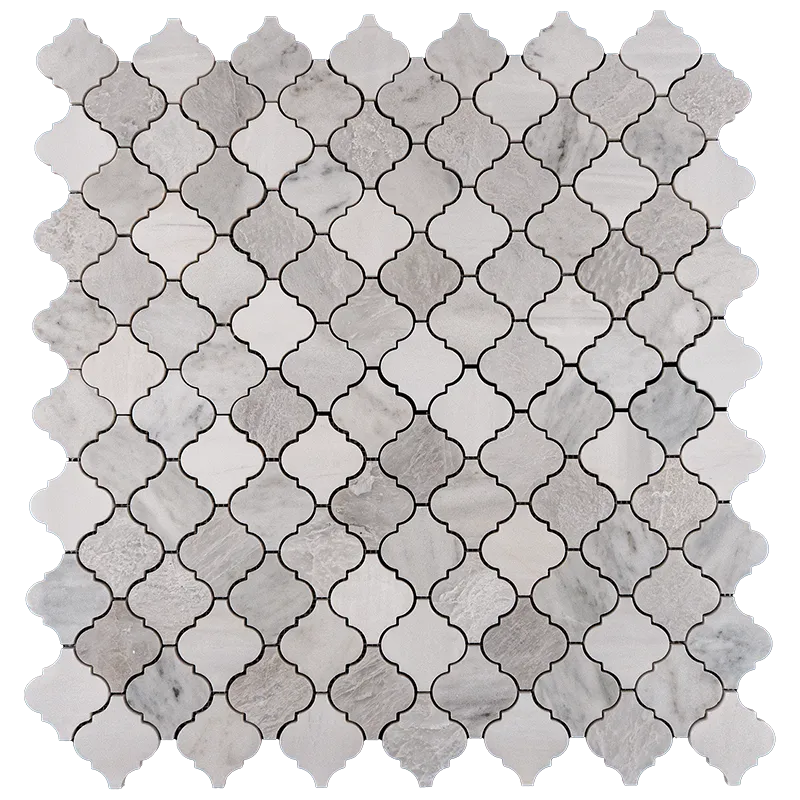
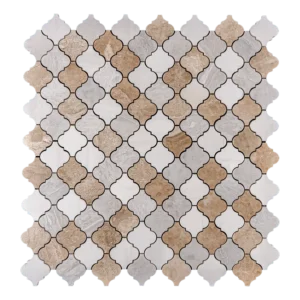
Arabesque Polished Marble Mosaic Tile – Dolomite, Iceberg & Imperial White
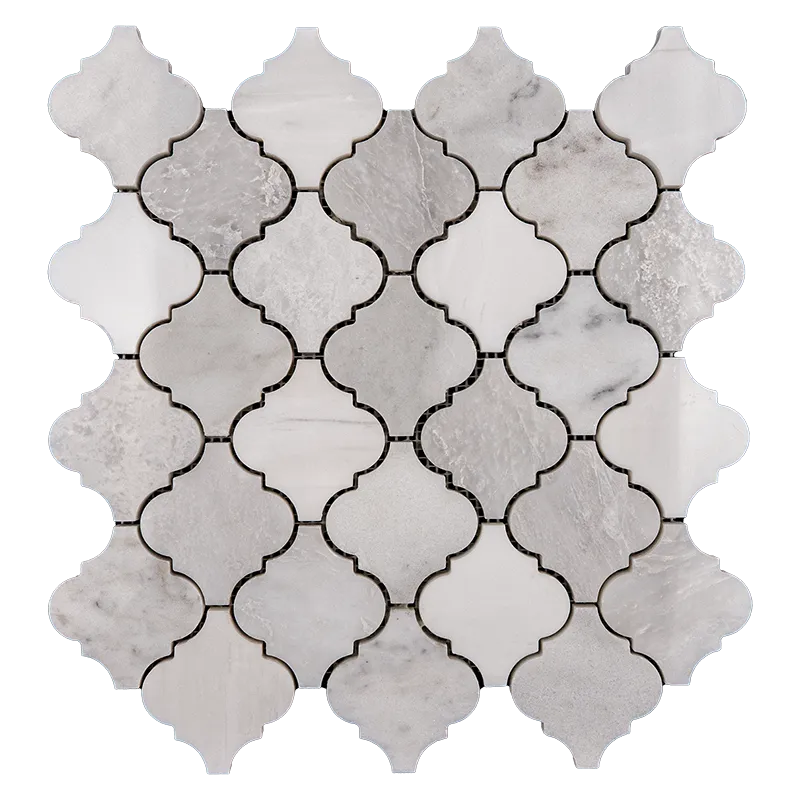
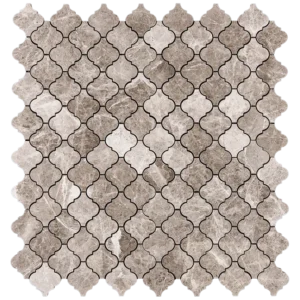
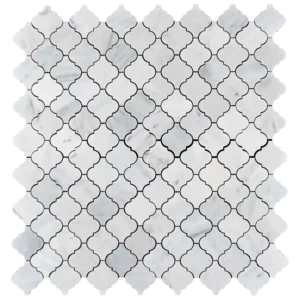
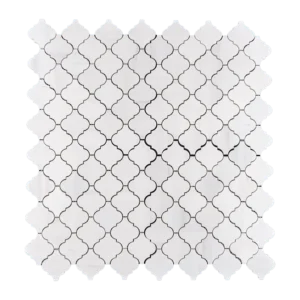
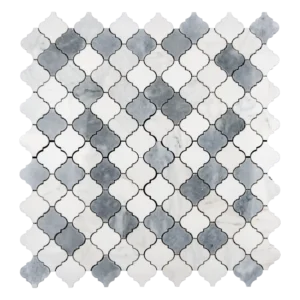
Bring timeless elegance to your interiors with the Arabesque Polished Marble Mosaic Tile. Combining Dolomite, Iceberg, and Imperial White marbles, this luxurious tile features soft white tones accented with subtle gray veining, while its polished finish reflects light to create a bright and sophisticated look.
Why Choose This Marble Mosaic Tile?
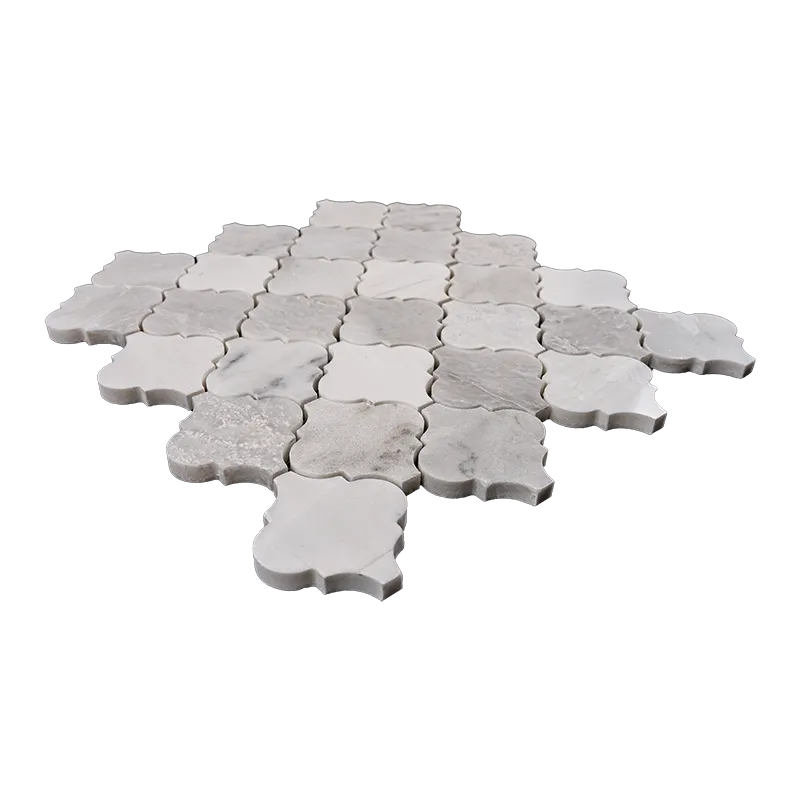
The refined arabesque shape adds both classic charm and modern style, making it perfect for kitchen backsplashes, bathroom walls, or statement feature areas. Mesh-backed sheets make installation straightforward, providing a flawless finish for homeowners and professionals alike.
Product Highlights
Material: Natural Stone (Dolomite, Iceberg, Imperial White)
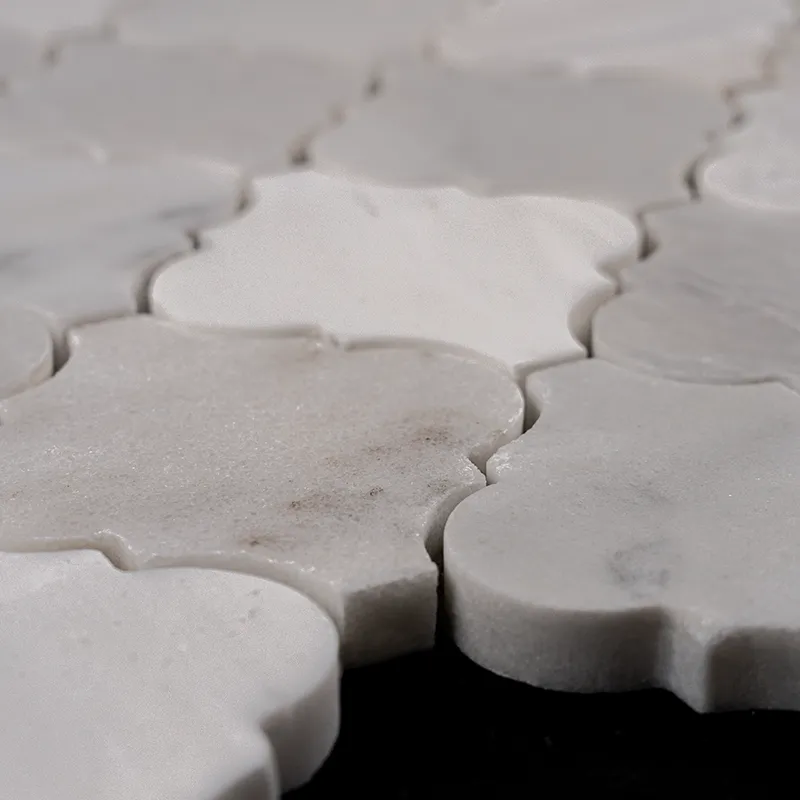
Finish: Polished for a glossy, smooth surface
Color: Soft white with delicate gray veining
Shape: Elegant arabesque design
Sheet Size: 12″ x 12.4″ (30.5 x 31.5 cm)
Coverage: Approx. 5.15 sq. ft. per box (5 sheets)
Usage: Indoor walls, suitable for wet and dry areas
Product Identifier (GTIN): 1234567890123
Benefits
Highlights natural veining with a polished, high-end finish
Easy mesh-backed installation for seamless results
Hand-selected marble ensures consistent quality
Versatile design complements both contemporary and traditional interiors
Recommended Applications
Kitchen backsplashes for a luxurious focal point
Bathroom walls and showers for a spa-like retreat
Fireplace surrounds for added warmth and character
Accent walls to introduce texture and elegance
Short Description
This Arabesque Polished Marble Mosaic Tile blends Dolomite, Iceberg, and Imperial White marbles with a polished finish. Perfect for backsplashes, bathrooms, and accent walls, it adds refined luxury and sophistication to any space.
Order Today!
Enhance your home with the elegance of the Arabesque Polished Marble Mosaic Tile. Contact our team for expert guidance and fast, reliable shipping.
Installation Guide – Arabesque Polished Marble Mosaic Tile
Follow these steps to ensure your marble mosaic installation is precise, durable, and showcases the tile’s polished elegance.
Step 1: Surface Preparation – Create a Solid Base
Clean the wall or surface thoroughly; remove dust, grease, or debris.
Ensure the substrate is stable, level, and free from cracks.
For wet areas (bathrooms, showers), apply a waterproof membrane.
Remove baseboards, outlet covers, or any obstacles.
Use a leveling compound to correct uneven areas if necessary.
Step 2: Layout Planning – Ensure Symmetry
Measure and mark the center point of the wall for balanced layout.
Dry-lay mosaic sheets to preview the arabesque pattern and natural veining.
Adjust placement to minimize small cuts at edges.
Use 1.5–3 mm spacers to maintain consistent grout lines.
Confirm seamless alignment across all sheets.
Step 3: Adhesive Application – Use High-Quality Thin-Set
Recommended Thin-Set Brands: Mapei, Laticrete, Ardex
Mix only small batches to maintain workability within 30 minutes.
Apply a thin, even layer with the flat side of a 1/4″ notched trowel.
Comb the adhesive at a 45° angle for full coverage.
Back-butter each sheet to improve adhesion and reduce voids.
Work in small sections to prevent the thin-set from drying prematurely.
Tip for Marble: Pre-sealing the tile before installation can help prevent staining during grouting. Handle carefully to avoid chipping or cracking delicate veining.
Step 4: Cutting & Fitting – Maintain Accuracy
Use a wet saw with a diamond blade for clean, precise cuts.
Mark cut lines clearly with pencil or wax marker.
Smooth any sharp edges with a rubbing stone or fine sandpaper.
Dry-fit tiles to ensure perfect alignment before setting.
Step 5: Setting the Tiles – Keep Pattern Flowing
Begin at the center, working outward for a balanced appearance.
Press each mesh-backed sheet gently into the thin-set with a slight twisting motion.
Avoid sliding sheets after placement to maintain pattern integrity.
Use spacers to keep uniform grout lines.
Tap lightly with a rubber mallet if needed to level.
Wipe excess thin-set immediately with a damp sponge.
Let adhesive cure for at least 24 hours before grouting.
Step 6: Grouting & Sealing – Protect Your Marble
Remove spacers and apply unsanded grout to prevent scratching the polished surface.
Spread grout diagonally with a rubber float, filling joints evenly.
Wipe off excess grout promptly with a damp sponge.
After 15–20 minutes, gently buff any haze with a soft cloth.
Allow grout to cure for at least 72 hours before applying a penetrating, pH-neutral sealer.
For ongoing care, clean with a stone-safe, pH-neutral cleaner to preserve polish and prevent etching.
Important Notes
Professional installation is recommended due to the delicate nature of marble.
Always use high-quality adhesives, grout, and sealers to ensure lasting performance.
Stonemarket USA is not responsible for damage caused by improper installation.