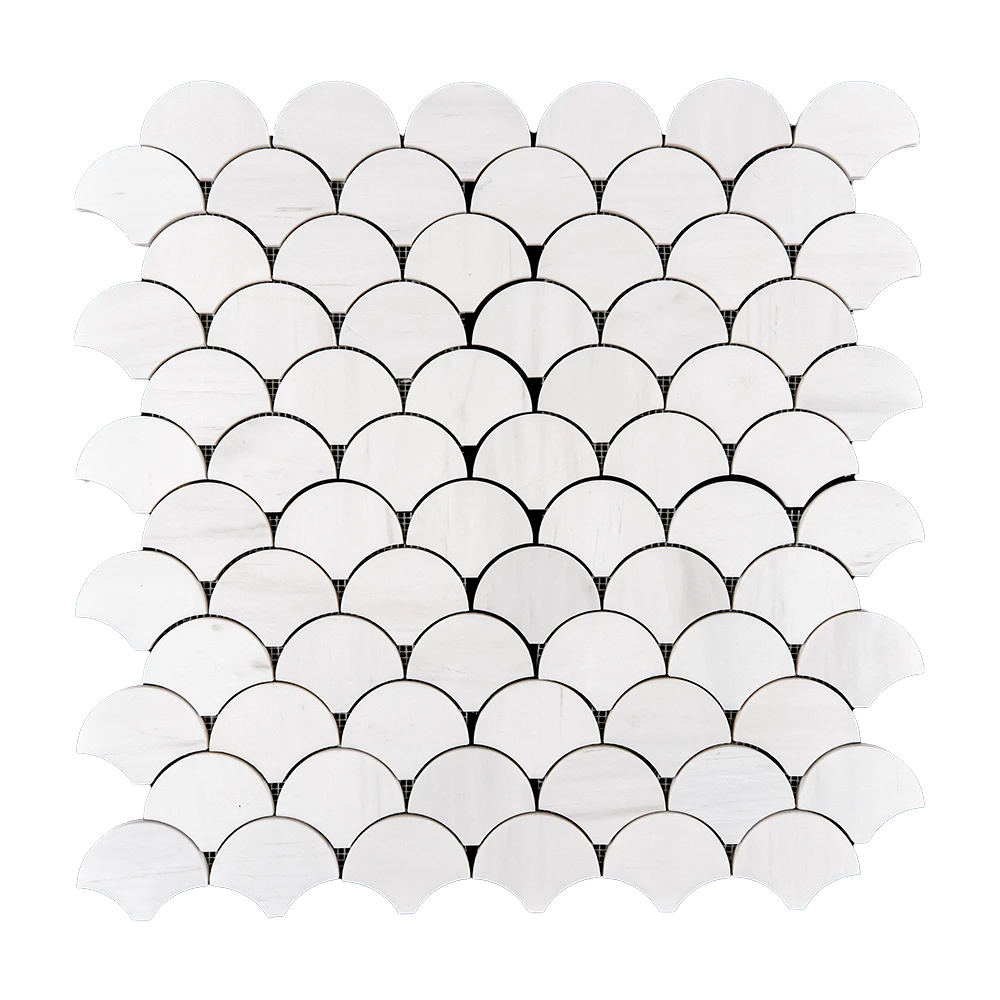
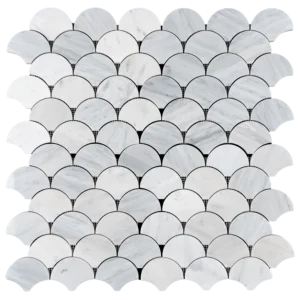
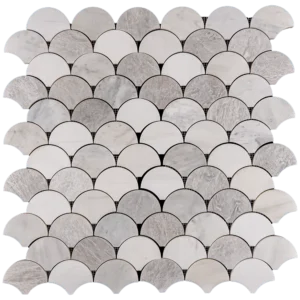
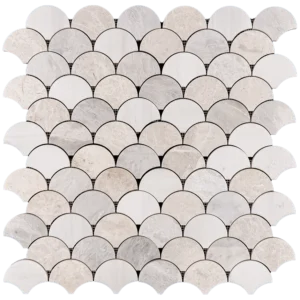
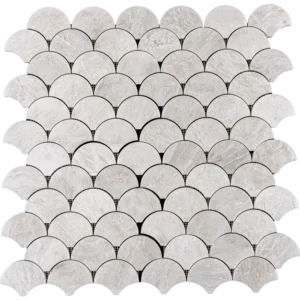
Fish Scale Dolomite Marble Mosaic Tile – Polished Finish (10.4″ x 10.8″)
Bring a sense of movement and sophistication to your walls with the Fish Scale Dolomite Marble Mosaic Tile. Crafted in polished white marble with delicate icy veining, this design offers a light, timeless elegance that enhances both modern and classic interiors.
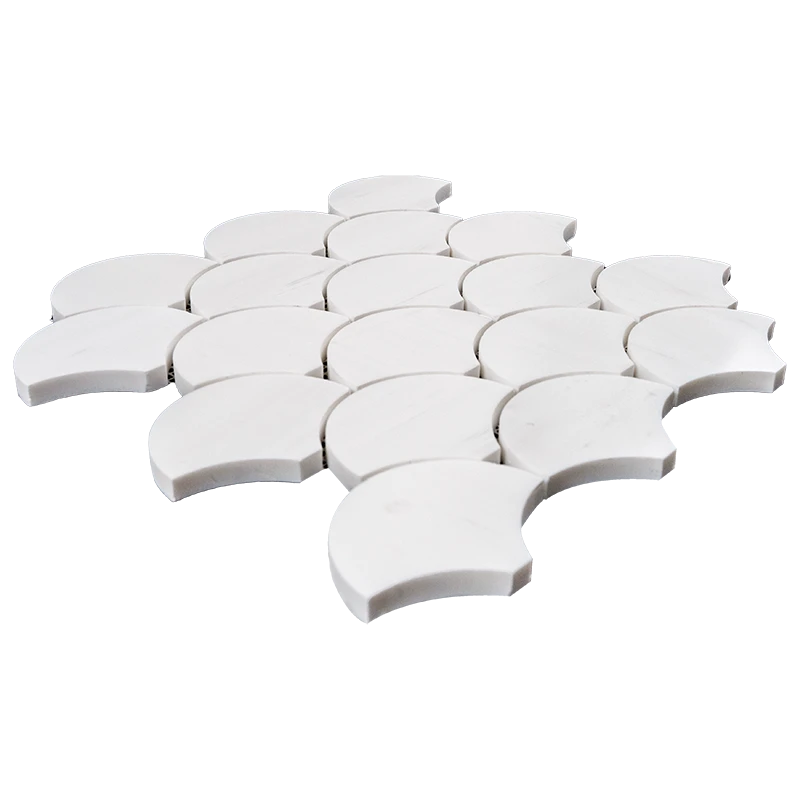
The curved fish scale pattern creates soft waves across backsplashes, showers, and feature walls, adding subtle texture and graceful rhythm. Each mesh-backed sheet is carefully designed for easy alignment, making installation smoother and more precise.
Pair it effortlessly with neutral palettes or combine it with other marble mosaics for a harmonious, balanced finish. The polished surface reflects light gently, brightening smaller spaces and adding a touch of luxury.
Product Details
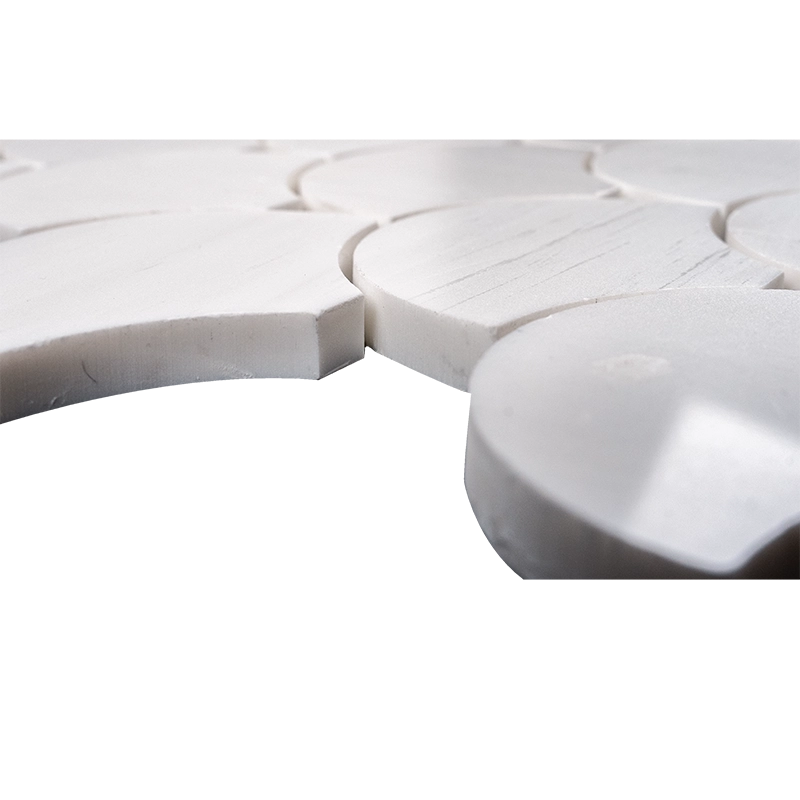
Material: Dolomite Marble
Finish: Polished, reflective surface
Color: White with soft icy veining
Pattern: Fish Scale – overlapping curves
Sheet Size: 10.4″ x 10.8″
Installation: Mesh-mounted for simple wall application
Best Use: Backsplashes, bathrooms, accent walls
This mosaic tile combines durability with artistry, bringing a fresh yet timeless appeal to your design. Its flowing pattern and polished finish make it ideal for creating welcoming, stylish interiors.
Tip: For long-lasting beauty, work with a professional installer and seal the marble after grouting.
Fish Scale Dolomite Marble Mosaic Tile – Polished Finish (10.4″ x 10.8″)
Install Elegant Curves with Confidence
This installation guide walks you through the process of setting your Fish Scale Dolomite Marble Mosaic Tile. By following these steps, you’ll achieve a durable, polished finish that highlights the tile’s graceful curves and timeless design.
Step 1: Surface Preparation – Start with a Strong Base
Make sure the surface is clean, dry, and free of dust, grease, or soap residue
Check that the substrate is stable, smooth, and without cracks
Apply a waterproofing membrane in moisture-prone areas like showers and backsplashes
Remove baseboards, outlets, or obstacles before beginning
Use a self-leveling compound to correct uneven surfaces if needed
Step 2: Layout Planning – Ensure Flow & Balance
Mark wall centers with chalk lines for alignment
Dry-lay sheets to preview spacing and color flow
Adjust layout to avoid thin or awkward cuts at edges
Use 1.5–3mm spacers for consistent grout joints
Confirm that fish scale curves align smoothly across sheets
Step 3: Adhesive Application – Choose Premium Thin-Set
Recommended Mortar Brands:
Application Tips:
Mix small batches you can use within 30 minutes
Apply mortar with the flat side of a 1/4″ notched trowel
Comb at a 45° angle for even coverage
Back-butter sheets for stronger adhesion
Work in small sections to prevent drying too quickly
Step 4: Cutting & Fitting – Achieve Smooth Results
Use a wet saw with a diamond blade for precise cuts
Mark cuts with a pencil or wax marker
Smooth rough edges with a rubbing stone
Use tile nippers for fine curves or small adjustments
Dry-fit pieces before final installation to check accuracy
Step 5: Setting the Tiles – Maintain a Natural Flow
Begin at the center and work outward
Place mesh-mounted sheets with a slight twist into the mortar
Avoid sliding sheets once set
Use spacers to keep grout lines uniform
Tap lightly with a rubber mallet to level tiles
Clean off excess mortar immediately with a damp sponge
Allow 24 hours of curing before grouting
Step 6: Grouting & Sealing – Protect the Marble Finish
Remove spacers before grouting
Use unsanded grout to prevent scratching the polished marble
Apply diagonally with a rubber float for full coverage
Wipe excess grout right away
After 15–20 minutes, clean haze with a damp sponge
Let grout cure for 72 hours
Seal with a penetrating marble sealer for lasting protection
Care & Maintenance – Keep the Surface Pristine
Clean regularly with pH-neutral, stone-safe cleaners
Avoid acidic or abrasive cleaning products
Reseal surfaces as needed, depending on use
Use felt pads under nearby furniture to prevent scratches
Important Note
Stonemarket USA is not responsible for improper installation. For best results, hire licensed professionals and use only premium installation materials.
Need Assistance?
Our support team is here to help. Contact us for expert advice or to connect with a trusted tile installer in your area.