Loading... (Warehouse Local Time)
Mon–Fri: 9:00 AM – 6:00 PM |

Royal Beige 2″ Honeycomb Polished Marble Mosaic Tile

The Royal Beige 2″ Honeycomb Polished Marble Mosaic Tile brings timeless elegance and warmth to any space. Its honeycomb pattern adds a modern geometric touch, while the polished finish highlights the natural beige tones and delicate veining of premium marble. Perfect for kitchens, bathrooms, backsplashes, and accent walls, this durable and stylish mosaic enhances interiors with a sophisticated, light-reflecting surface that never goes out of style.

$12.99 / Piece

Item Code: MM089-24164 Category

720 Pieces in stock

Est. Coverage: 0.87 sq. ft. per piece | 4.35 sq. ft. per box | 314 sq. ft. per crate | Request Info
Note on Samples:
Sample pieces are small cut sizes, approximately 3" x 3" to 8" x 8", and intended for color and finish reference only.
If you need a full-size sample, please contact us.

Request Custom Pricing for Large Orders

Planning a large project? Orders over 500 sq. ft., full crates, or commercial applications may qualify for exclusive volume pricing. Reach out today and let us provide a custom quote tailored to your needs.

Request Volume Quote
  • Volume pricing available for qualified bulk orders.
  • We offer custom sizes, finishes, and crate-based shipments.

Size & Shape Options

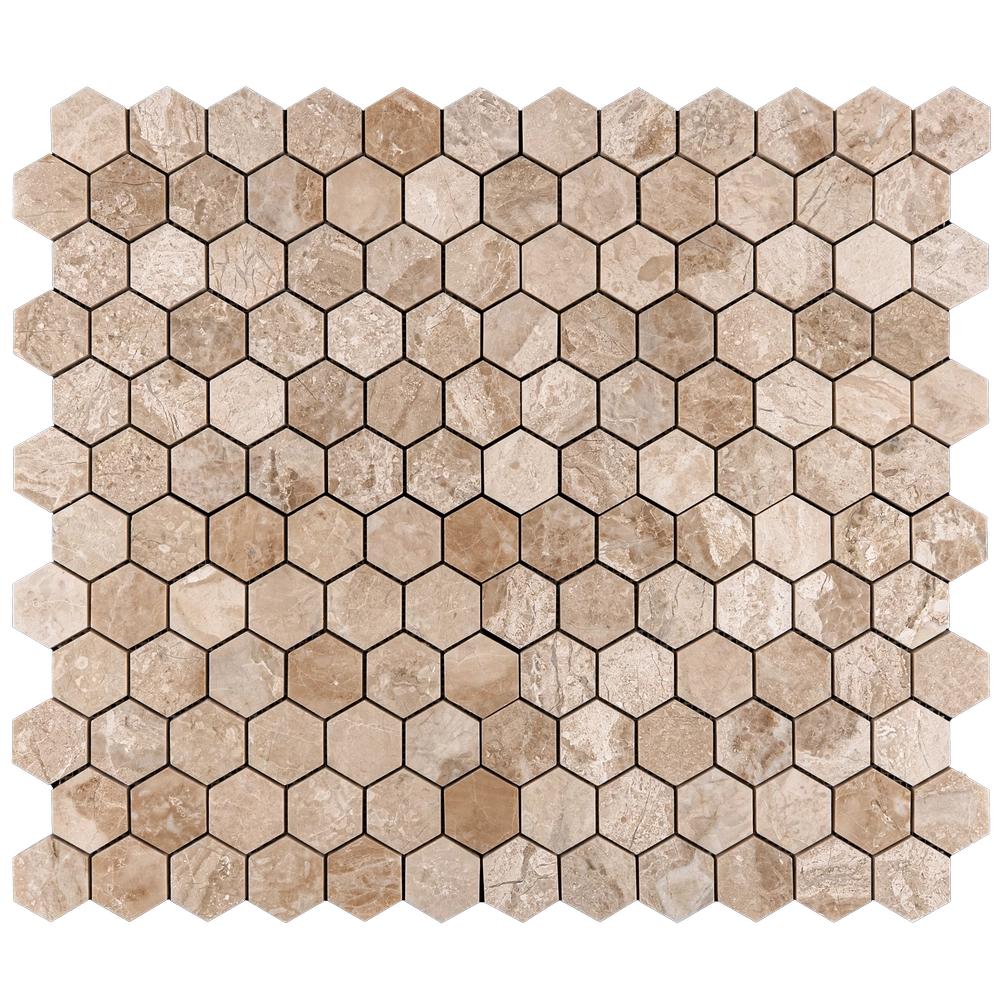
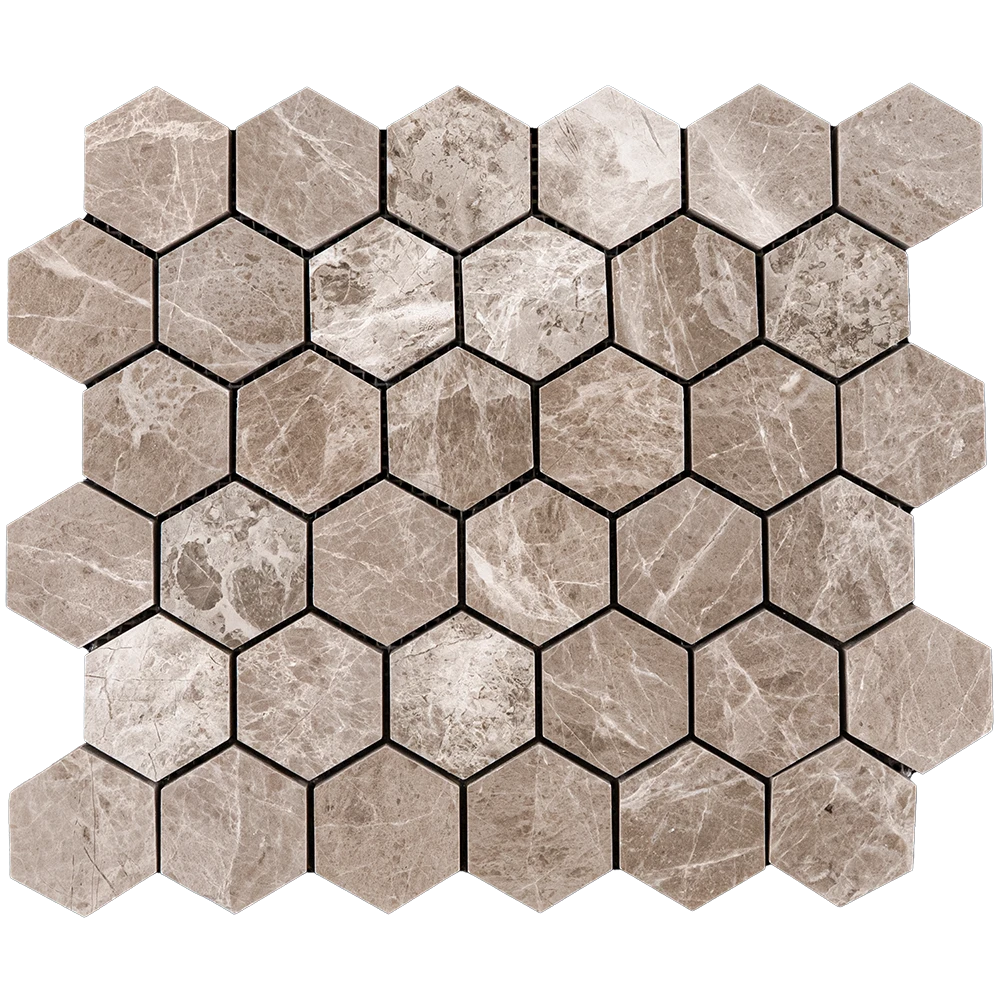
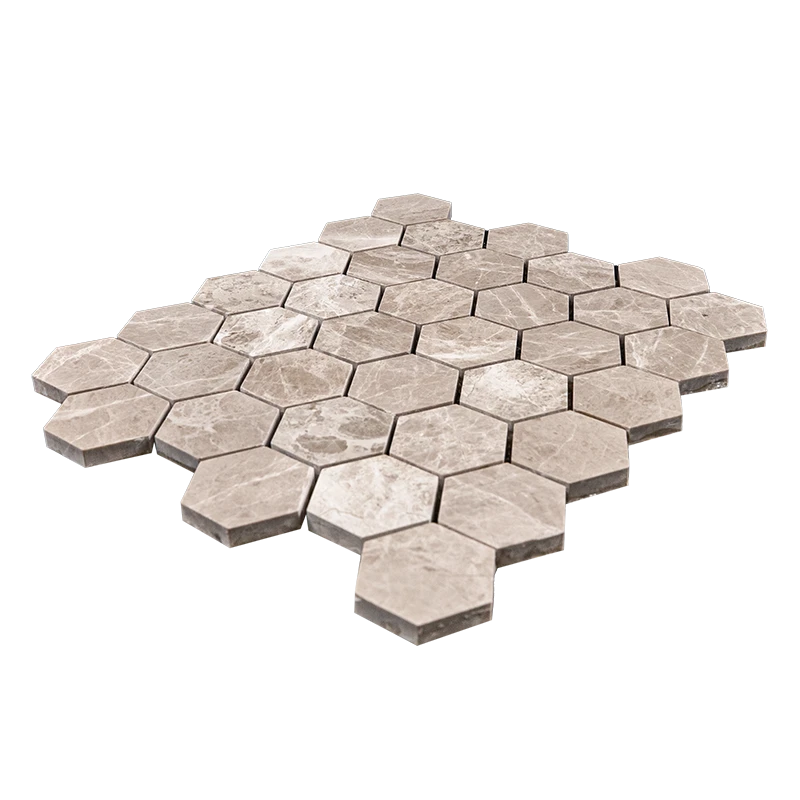
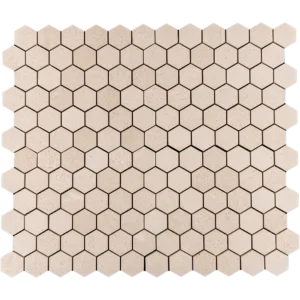
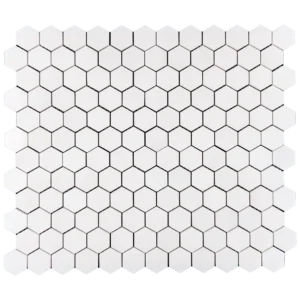
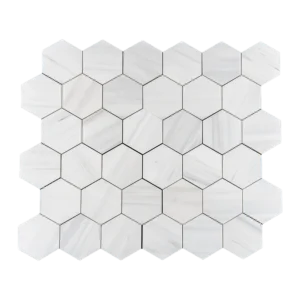
Royal Beige 2″ Honeycomb Polished Marble Mosaic Tile – Timeless Sophistication

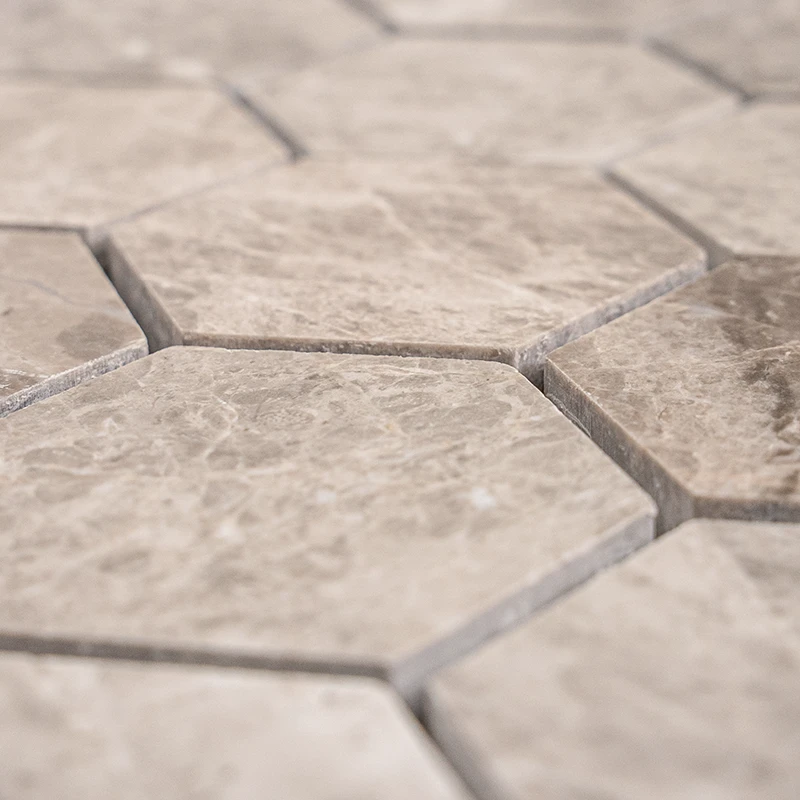
The Royal Beige 2″ Honeycomb Polished Marble Mosaic Tile brings a refined balance of classic elegance and modern design. With its warm beige tones, subtle natural veining, and polished finish, this premium marble reflects light beautifully, creating a bright and welcoming atmosphere.

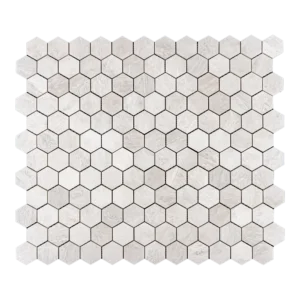
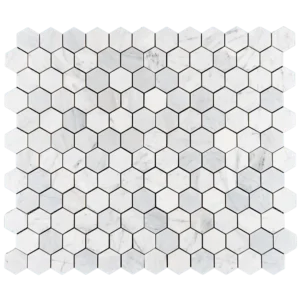
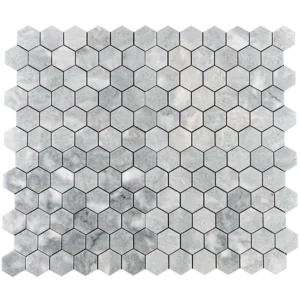
The geometric honeycomb pattern adds depth and movement, making it a versatile choice for kitchens, bathrooms, accent walls, and even shower floors. Its 2-inch format ensures seamless coverage, while the polished surface enhances both durability and style.

Key Features:

  • Material: Premium Royal Beige marble

  • Finish: Polished for a luminous, reflective surface

  • Pattern: 2″ honeycomb design

  • Applications: Ideal for walls, backsplashes, bathrooms, and light-traffic floors

  • Style: Combines timeless marble elegance with a modern geometric look

Perfect for both residential and commercial projects, Royal Beige Honeycomb Mosaic Tiles elevate interiors with their sophistication and strength. Whether used to create a striking backsplash, a luxurious bathroom setting, or an elegant feature wall, they bring enduring beauty that never goes out of style.

Weight4.81 lbs
Dimensions12 × 10.4 × 0.40 in
Chip Size (Inches)

Collection

Royal Beige Collection

Color

Design

Honeycomb, Waterjet Decos

Finish

Material

Size (inches)

Thickness

Usage Area

Backsplash, Commercial Interior Walls, Outdoor Walls, Residential Interior Floors, Residential Interior Walls, Shower Floors, Shower Walls

Installation Guide – Royal Beige 2″ Honeycomb Polished Marble Mosaic Tile

Material Overview

  • Material: Natural Royal Beige marble with a polished surface.

  • Format: 2″ hexagon (“honeycomb”) chips, mesh-mounted on approx. 12″x12″ sheets.

  • Applications: Walls, backsplashes, shower surrounds, and light-traffic residential floors (check slip resistance in wet zones).


Step 1: Surface Preparation

  • Ensure substrate is clean, dry, sound, and flat (≤1/8″ in 10′). Patch or skim-coat if necessary.

  • Approved substrates: cement backer board, properly cured concrete, or ANSI-compliant mortar bed.

  • In wet zones, install ANSI A118.10 waterproofing membrane per manufacturer’s instructions.


Step 2: Dry Layout & Planning

  • Blend sheets from multiple boxes to evenly distribute shade and vein variation.

  • Establish level reference lines and plan balanced cuts around edges and fixtures.

  • Trim mesh edges for seamless honeycomb alignment; stagger seams to avoid a visible grid effect.


Step 3: Adhesive Application

  • Use white, polymer-modified thin-set (ANSI A118.4/A118.15) approved for natural stone. Do not use premixed adhesives or mastics in wet areas.

  • Recommended trowel: 3/16″ V-notch or 1/4″ × 3/16″ V-notch.

  • Key mortar into substrate, comb in one direction, and flatten ridges lightly to avoid telegraphing.

  • Work in small sections (10–15 minutes) to maintain mortar workability.


Step 4: Setting the Sheets

  • Place sheets along reference lines, interlocking edges for a continuous honeycomb flow.

  • Press in with a grout float or beating block to ensure full coverage and a flat plane.

  • Adjust immediately if lippage occurs; back-butter chips if needed.

  • Remove excess thin-set from joints and surfaces promptly with a damp sponge.


Step 5: Cutting & Detailing

  • Cut using a wet saw with a continuous-rim diamond blade designed for marble; tape cut lines to reduce chipping.

  • For small trims, use mosaic nippers sparingly and smooth cuts with a rubbing stone.

  • Finish edges with marble trim, metal profiles, or coordinating moldings for a polished look.


Step 6: Grouting

  • Allow thin-set to cure for 24 hours before grouting.

  • Use unsanded grout for joints ≤1/8″ to protect the polished marble surface.

  • For light beige marble, pre-seal or apply a grout release to minimize pigment absorption.

  • Apply diagonally with a rubber float and clean with minimal water.


Step 7: Sealing

  • After grout cures (≈72 hours), apply a penetrating, breathable sealer suitable for marble and grout.

  • Reapply sealer every 1–2 years, depending on area usage and exposure.


Maintenance

  • Clean only with pH-neutral, non-abrasive stone cleaners. Avoid acids, bleach, vinegar, or abrasive pads.

  • In showers, wipe or squeegee after use to reduce buildup. Use marble-safe descalers if needed.


Movement Joints

  • Follow TCNA EJ171 for expansion and movement joints.

  • Use 100% silicone (stone-safe) in corners, perimeters, and where tile meets dissimilar materials.


Important Notes & Disclaimer

  • Always install with white thin-set to prevent shadowing or picture framing under light marble.

  • Natural stone will vary in tone, veining, and thickness—dry-lay sheets before installation to blend consistently.

  • Stonemarket USA is not responsible for improper substrate preparation or installation. Professional installation is recommended.

Category
Category
Material
Material
Color
Color
Size
Size
Finish
Finish
Design
Design
Thickness
Thickness
Application
Usage Area
Request a Quote
Tell us briefly about your project, sq ft, and timing.