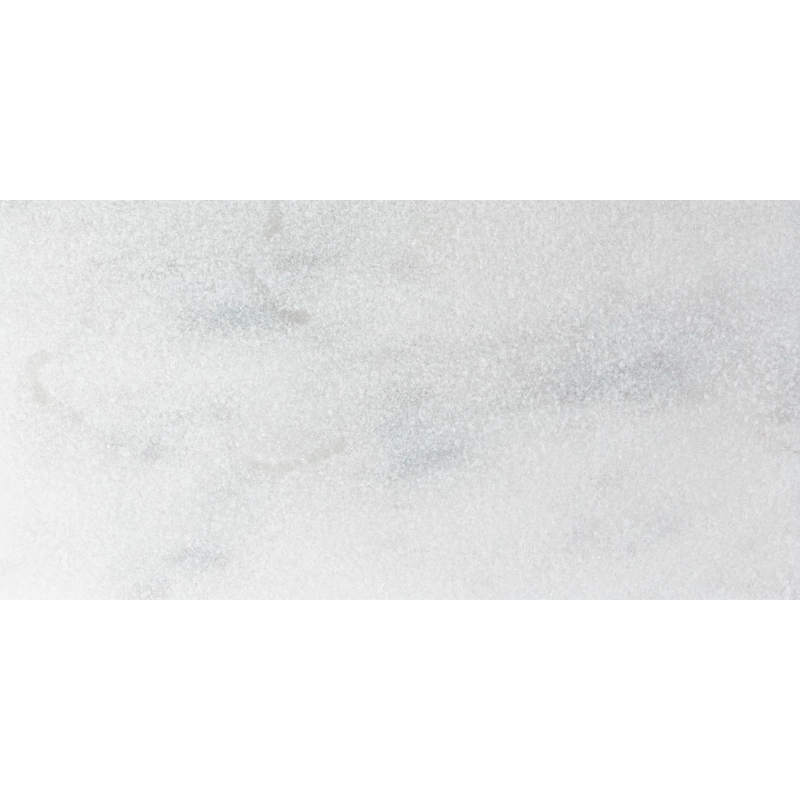
Avalon White 12×24 Leather Finish Marble Paver adds a refined yet contemporary character to any outdoor setting. Its smooth leathered surface and crisp white marble create a balance of sophistication and strength in one elegant design.
Sized at 12″x24″, the larger format ensures a clean, seamless look across patios, pathways, gardens, and poolside areas. The leathered finish not only enhances slip resistance but also preserves the stone’s natural beauty and modern appeal.
Stone Type: Marble
Color: Avalon White
Finish: Leathered (Textured)
Dimensions: 12″x24″
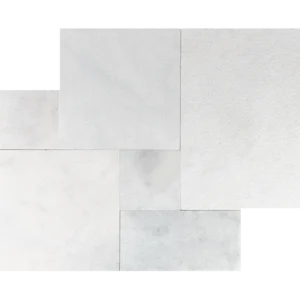
Applications: Perfect for patios, courtyards, pool decks, and walkways
Surface Benefits: Anti-slip, low-maintenance, and comfortable underfoot
From luxurious pool surrounds to timeless garden paths, Avalon White 12×24 Leather Finish Marble Paver offers lasting style with practical performance.
Installation Guide – Avalon White 12″x24″ Leather Finish Marble Paver
Material Overview
Avalon White marble pavers feature a refined leather (brushed) finish that provides a soft texture and enhanced slip resistance, making them well-suited for outdoor applications. Their 12″x24″ large-format size allows for modern layouts across patios, pool surrounds, terraces, and garden walkways. Note: These pavers are not recommended for vehicular traffic unless installed over a reinforced base.
Step 1: Sub-Base Preparation (Dry-Set Method)
Excavate the project area to a depth of 6″–8″.
Fill with 4″–6″ of compacted crushed stone or road base, applied in layers.
Add a 1″ bedding layer of sand or fine screenings, then screed to achieve a uniform level.
Step 2: Laying the Pavers
Set pavers with consistent joints (1/8″–1/4″) using spacers if needed.
Use a running bond or ashlar pattern to minimize stress caused by size variations.
Tap pavers gently into place with a rubber mallet, ensuring solid contact with the bedding.
Regularly check levels in both directions to prevent water pooling or uneven surfaces.
Step 3: Cutting & Edge Finishing
Step 4: Joint Stabilization
Sweep polymeric sand into joints to secure the installation.
Compact the surface with a rubber-padded plate compactor to eliminate gaps.
Lightly mist with water to activate polymeric binding agents, if applicable.
Optional: Wet-Set Installation (Concrete Base)
For installations over reinforced concrete, use a white marble thin-set mortar.
Back-butter each piece to ensure full coverage and avoid hollow spots.
Remove any mortar residue from joints and surfaces before curing.
Sealing & Maintenance
Apply a penetrating sealer formulated for exterior marble.
Re-seal every 1–2 years, depending on climate and usage.
Clean with a pH-neutral cleaner only—avoid acidic or abrasive products.
Disclaimer
Marble is a natural stone and may display unique veining and tonal variation, which are inherent qualities, not defects. Always confirm proper sub-base compaction and conduct a small test installation before proceeding. For best results, professional installation is recommended.