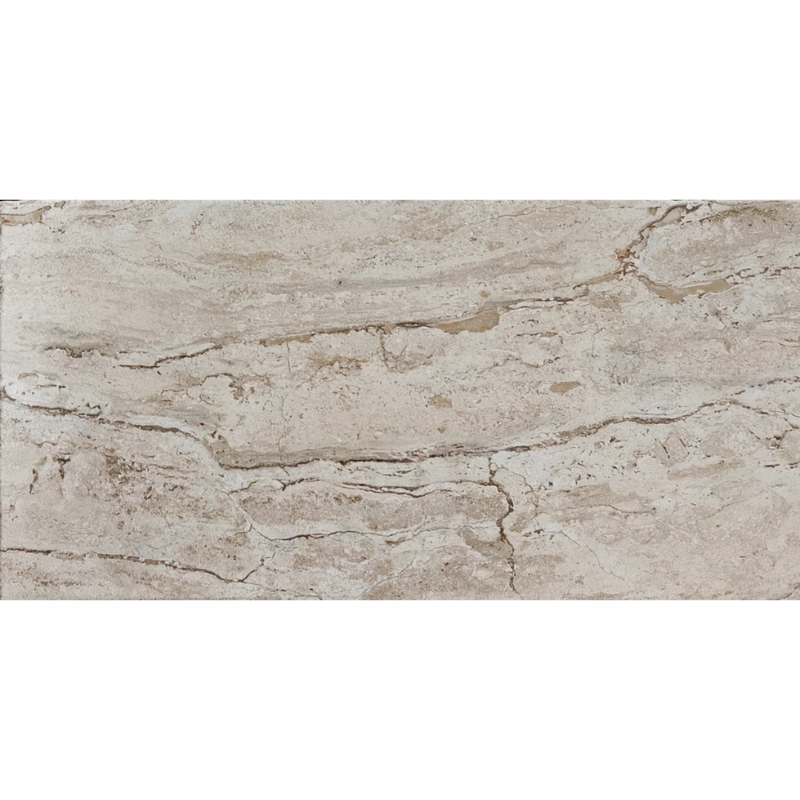
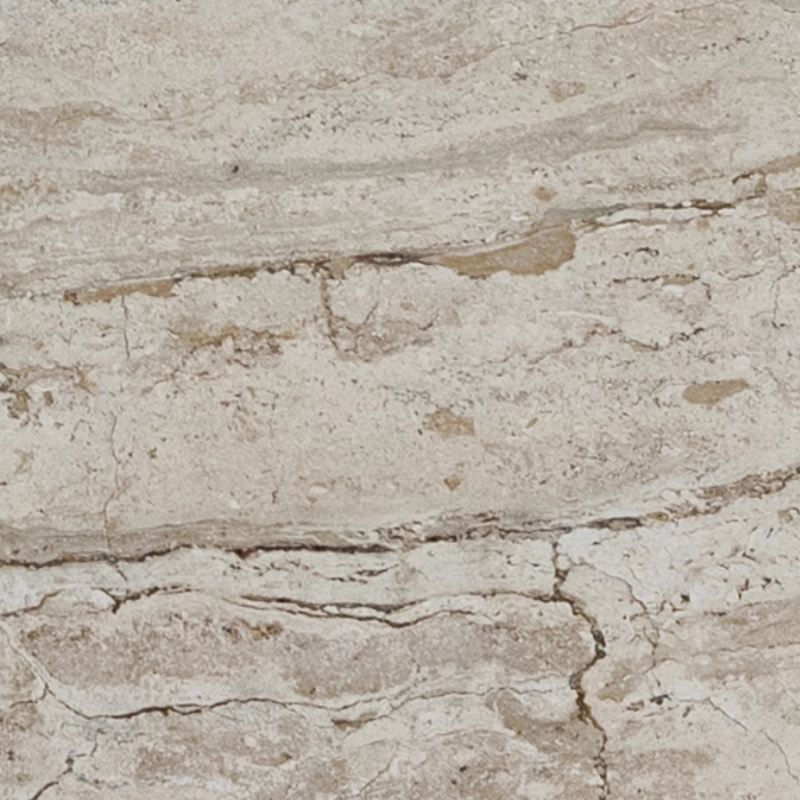
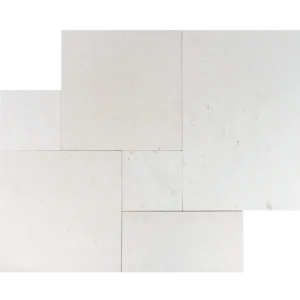
Grand Canyon Tumbled 12″x24″ Travertine Paver – Natural Elegance for Outdoors
Enhance your outdoor spaces with the Grand Canyon Tumbled 12″x24″ Travertine Paver. Its soft beige tones, complemented by warm undertones, create a balanced, modern aesthetic, while the tumbled finish provides a slip-resistant surface ideal for high-traffic patios, pool decks, and walkways.
The 12″x24″ size delivers a sleek, elongated look that minimizes grout lines and enhances visual flow. Naturally weathered edges add charm and warmth, blending seamlessly into contemporary, rustic, or transitional landscapes.
Key Features
Material: Premium natural travertine
Color: Grand Canyon beige with warm undertones
Finish: Tumbled, slip-resistant
Size: 12″ x 24″ (nominal)
Edge: Softly weathered for a natural appearance
Uses: Patios, pool decks, garden paths, courtyards
Why Choose This Paver
Elegant, versatile color palette complements a variety of materials
Durable and weather-resistant for lasting outdoor use
Slip-resistant surface ensures safety in wet areas
Large format allows for creative layout patterns and smooth visual flow
The Grand Canyon Tumbled 12×24 Travertine Paver combines timeless beauty, functionality, and adaptability, making it an ideal choice for creating stylish and enduring outdoor environments.
Installation Guide – Grand Canyon Tumbled 12″x24″ Travertine Paver
Important Note:
This guide covers only the paver installation phase. Sub-base and bedding preparation must be completed by qualified professionals prior to installation.
Step 1: Dry Layout & Planning
Dry-lay pavers to evaluate natural color, vein variations, and tumbled edge differences.
Select a layout that minimizes lippage on large-format pavers; running bond or ashlar patterns are recommended.
Mark straight reference lines with chalk or a laser to ensure proper alignment.
Step 2: Paver Placement
Carefully position each 12″x24″ paver on the prepared bedding layer following your layout.
Maintain uniform joints of 1/8″–1/4″ to accommodate joint filler.
Tap gently with a rubber mallet to seat and level the paver.
Check edges frequently to avoid lippage and adjust bedding as necessary.
Step 3: Cutting & Edge Finishing
Use a wet saw with a travertine-rated diamond blade for precise cuts.
Support large-format pieces during cutting to prevent chipping or cracking.
Smooth exposed cut edges with a rubbing stone to blend with the tumbled finish.
Step 4: Joint Filling
Fill joints with polymeric sand or travertine-compatible joint filler.
Compact gently and sweep away excess material.
If using polymeric sand, lightly mist to activate following manufacturer instructions.
Step 5: Sealing & Maintenance
Once installation is dry, apply a breathable, penetrating sealer suitable for exterior travertine.
Re-seal every 1–2 years depending on exposure and traffic.
Clean only with pH-neutral stone cleaners; avoid acidic or abrasive products.
Disclaimer
Travertine is a natural stone, exhibiting tonal variations, veining, and surface pits—these are not defects. Always dry-lay and inspect all materials before installation. Professional installation is recommended for optimal results and long-term performance.