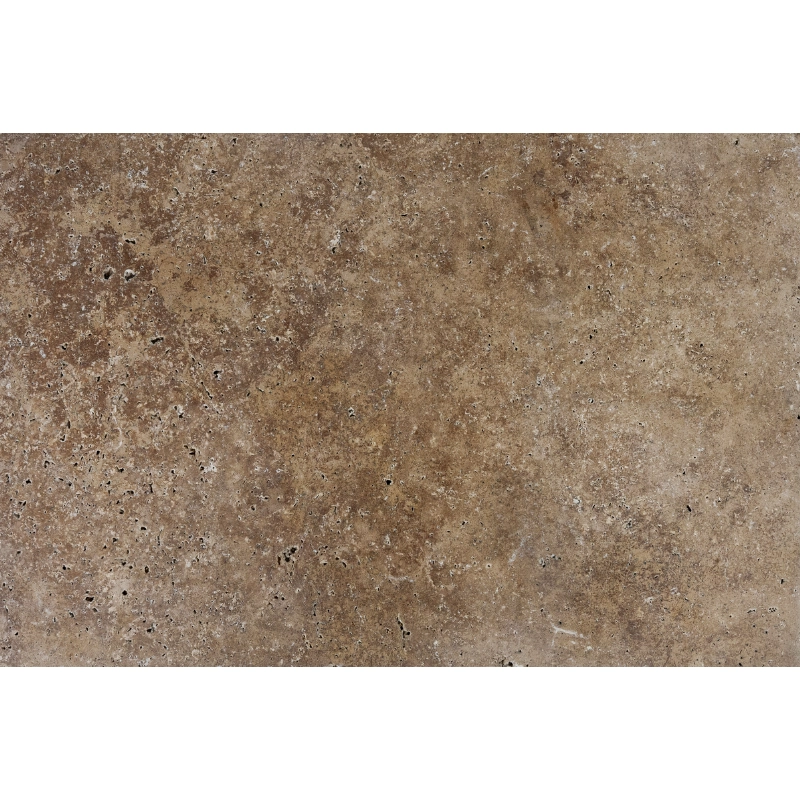
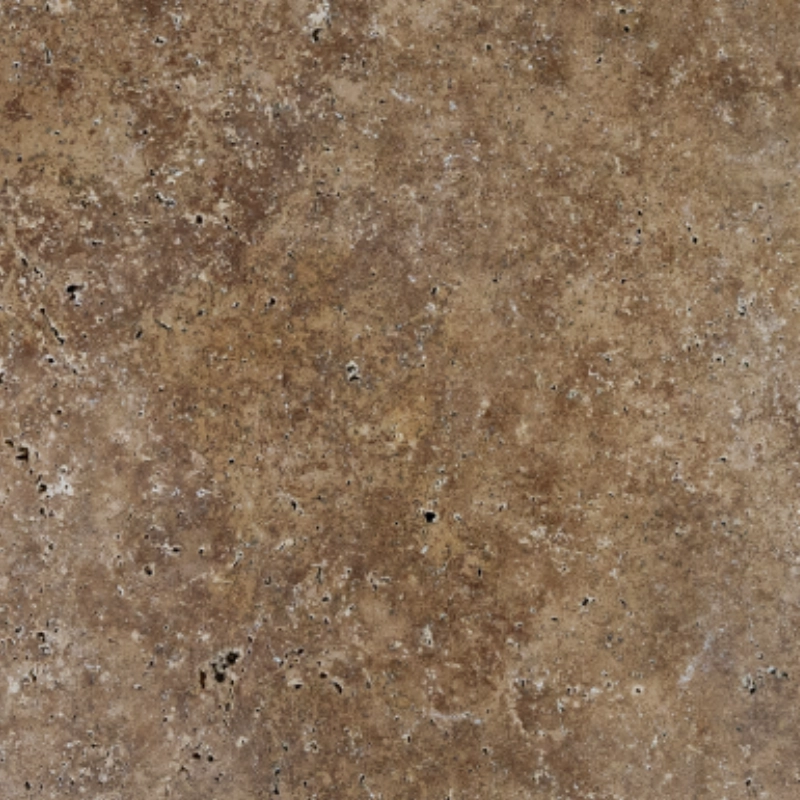
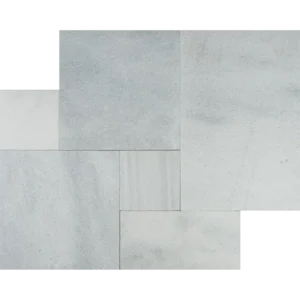
Romano Tumbled 16″x24″ Travertine Paver – Warm Mediterranean Elegance
The Romano 16″x24″ Tumbled Travertine Paver brings warm ivory and beige tones with a naturally weathered texture to your outdoor spaces. Its tumbled finish not only adds character but also provides slip-resistant footing, ideal for patios, pool decks, and garden pathways.
The large 16″x24″ format minimizes grout lines and streamlines installation, creating smooth, cohesive layouts that showcase the stone’s subtle veining. This versatile travertine complements both classic and contemporary outdoor designs with ease.
Durable and resilient, it withstands sun, rain, and heavy foot traffic, maintaining its beauty over time. Simple sealing enhances stain resistance and makes cleaning effortless.
Key Features
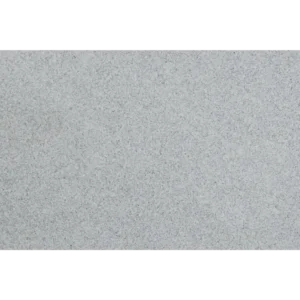
Material: Premium natural travertine
Color: Ivory-beige with gentle veining
Finish: Tumbled for texture, grip, and natural character
Size: 16″x24″ nominal
Edge: Tumbled, aged appearance for handcrafted charm
Applications: Patios, pool surrounds, walkways, courtyards
This Romano Travertine paver combines timeless Mediterranean style with lasting performance, perfect for creating elegant and functional outdoor spaces.
Installation Guide – Romano 16″x24″ Tumbled Travertine Paver
Important Note
This guide covers only the paver installation phase. Proper sub-base and bedding preparation must be completed by qualified professionals before beginning.
Step 1: Dry Layout & Planning
Lay out the 16″x24″ pavers on the prepared bedding layer to inspect natural color, veining, and texture variations.
Choose a balanced pattern such as running bond, ashlar, or staggered grid to evenly distribute tones and reduce visible joints.
Use chalk lines or a laser level to mark straight reference lines for precise alignment.
Step 2: Placing Pavers
Carefully position each paver on the bedding layer following your layout lines.
Keep joint spacing uniform at 1/8″–1/4″.
Tap lightly with a rubber mallet to seat each paver and ensure a level surface.
Frequently check for lippage, especially with large-format pavers, and adjust the bedding layer as needed.
Step 3: Cutting & Edge Finishing
Use a wet saw with a travertine-rated diamond blade for precise cuts.
Support pavers securely during cutting to prevent edge chipping or cracking.
Smooth any exposed cut edges with a rubbing stone to maintain the tumbled texture.
Step 4: Filling Joints
Fill joints with polymeric sand or a travertine-compatible joint filler.
Gently compact the surface and sweep away excess filler.
If using polymeric sand, lightly mist according to manufacturer instructions to activate the bonding agent.
Step 5: Sealing & Maintenance
Once installation is complete and dry, apply a breathable, penetrating sealer suitable for exterior travertine.
Reapply sealer every 1–2 years depending on exposure and foot traffic.
Clean only with pH-neutral stone cleaners; avoid acidic or abrasive products.
Disclaimer
Travertine is a natural stone with inherent tonal variation, veining, and surface pits. These are not defects. Always dry-lay and inspect materials before final installation. Professional installation is recommended for optimal durability and appearance.