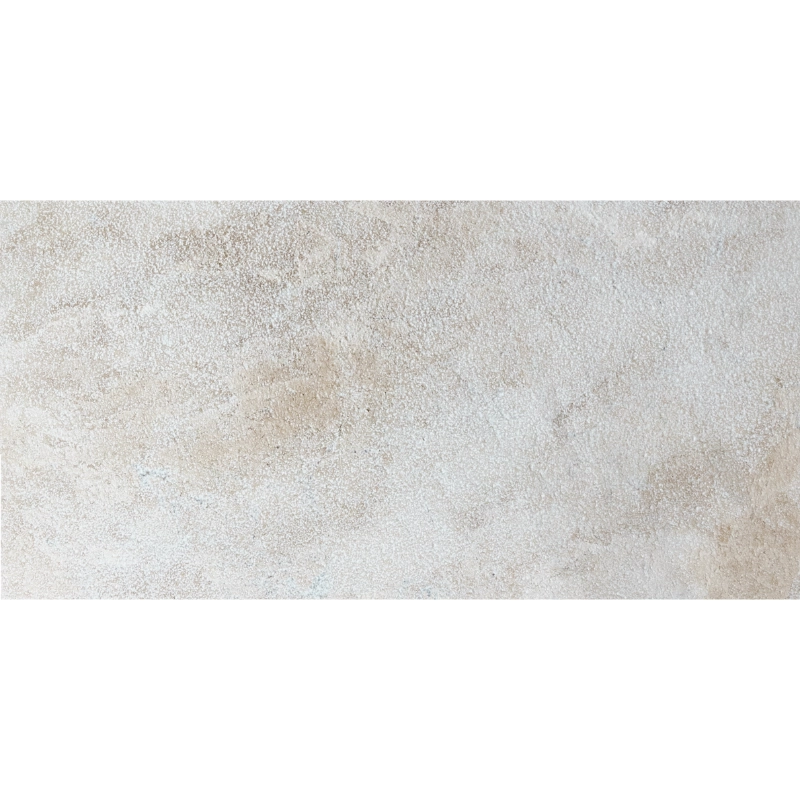
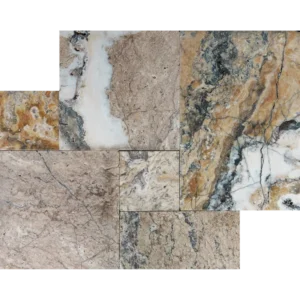
Royal Beige 12″x24″ Leathered Marble Paver – Timeless Outdoor Elegance
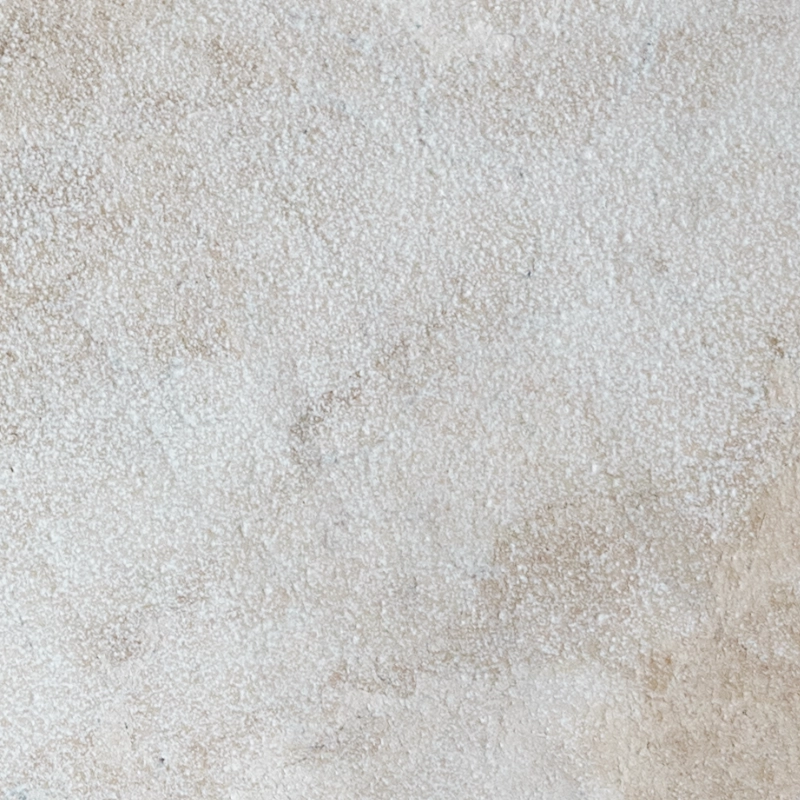
Transform your outdoor spaces with the Royal Beige 12″x24″ Leathered Marble Paver. Featuring creamy beige tones and a refined leathered surface, this stone brings both sophistication and safety to patios, pool decks, and garden walkways. Its soft, textured finish reduces glare while offering natural slip resistance, making it as practical as it is stylish.
Why It Stands Out
Subtle leathered texture adds comfort and grip
Naturally slip-resistant, perfect for wet or busy areas
Spacious 12″x24″ size minimizes joints for a sleek look
Strong, weather-ready marble built for long-term use
Neutral beige hues that blend seamlessly with any design
Crafted for durability and elegance, these marble pavers hold their beauty year after year. Whether you’re envisioning a calm poolside oasis or a sophisticated courtyard, Royal Beige Leathered Marble is the choice that combines performance with luxury.
Installation Guide – Royal Beige 12″x24″ Leathered Marble Paver
Important Notice
This guide covers only the paver installation phase. Sub-base preparation and bedding layers must be completed by qualified professionals prior to laying the stone.
Step 1: Dry Layout & Planning
Dry-lay the 12″x24″ pavers on the bedding layer to evaluate natural color tones and the leathered surface finish.
Select a pattern (running bond, ashlar, or herringbone) that balances variation and reduces visible joints.
Mark straight guide lines with chalk or a laser to ensure precise alignment during placement.
Step 2: Paver Installation
Set each paver carefully onto the bedding, following your planned layout.
Keep joint spacing consistent between 1/8″–1/4″.
Use a rubber mallet to gently tap pavers into place, ensuring full bedding contact and a level surface.
Check alignment and lippage frequently, especially with large-format pavers.
Step 3: Cutting & Edge Detailing
Cut pavers with a wet saw fitted with a diamond blade designed for marble.
Support pieces securely while cutting to prevent edge damage.
Smooth exposed edges with a rubbing block to blend with the leathered surface.
Step 4: Joint Filling
Fill joints with polymeric sand or a marble-safe joint filler.
Compact gently and sweep away any excess.
If using polymeric sand, lightly mist the surface to activate bonding per manufacturer guidelines.
Step 5: Sealing & Long-Term Care
Once the installation is completely dry, apply a breathable, penetrating sealer made for exterior marble.
Re-seal every 1–2 years depending on climate and foot traffic.
Clean only with pH-neutral stone cleaners—never use acidic or abrasive products that may etch marble.
Disclaimer
Marble is a natural stone with inherent tonal variation, veining, and surface texture. These features are part of its authentic character and not defects. Always dry-lay and review materials before final installation. Professional installation is recommended for the best results and long-term performance.


