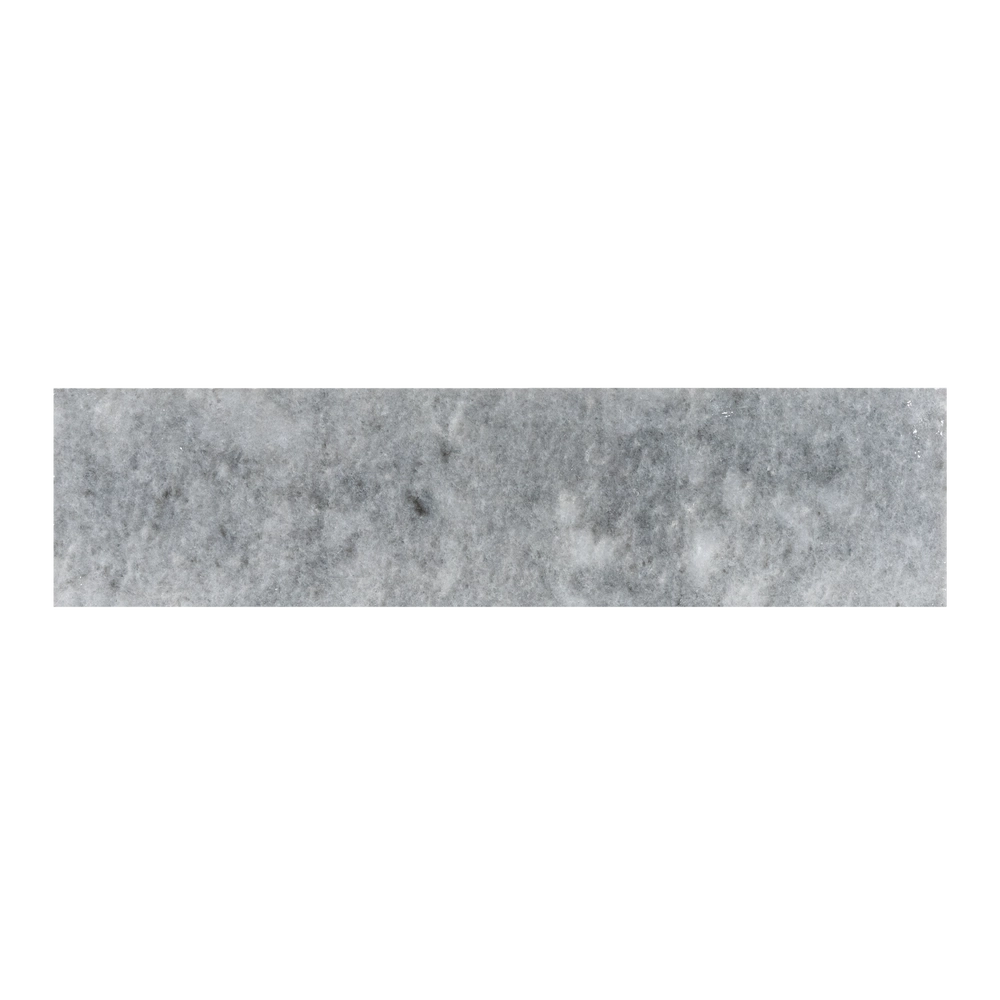
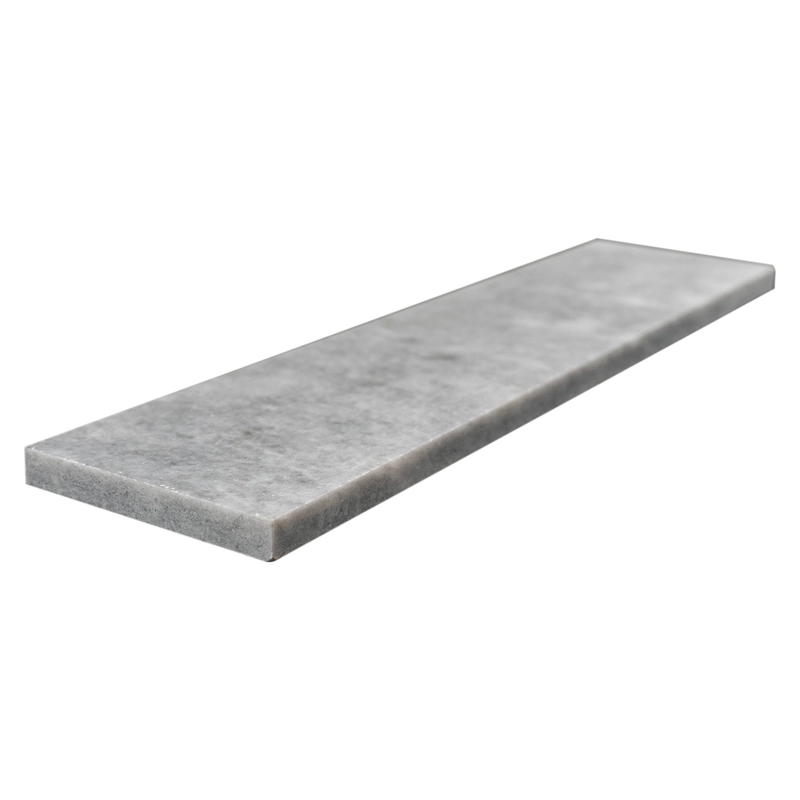
Bardiglio Marble 3″x12″ Polished Tile – Installation Guide
Step 1: Surface Preparation – Solid & Level Base
Thoroughly clean the substrate, ensuring it is dry, smooth, and free from dust, grease, or debris. For moisture-prone areas like showers or kitchens, apply a waterproofing membrane. Fill cracks or low spots with a leveling compound to create an even surface.
Step 2: Layout Planning – Thoughtful Design
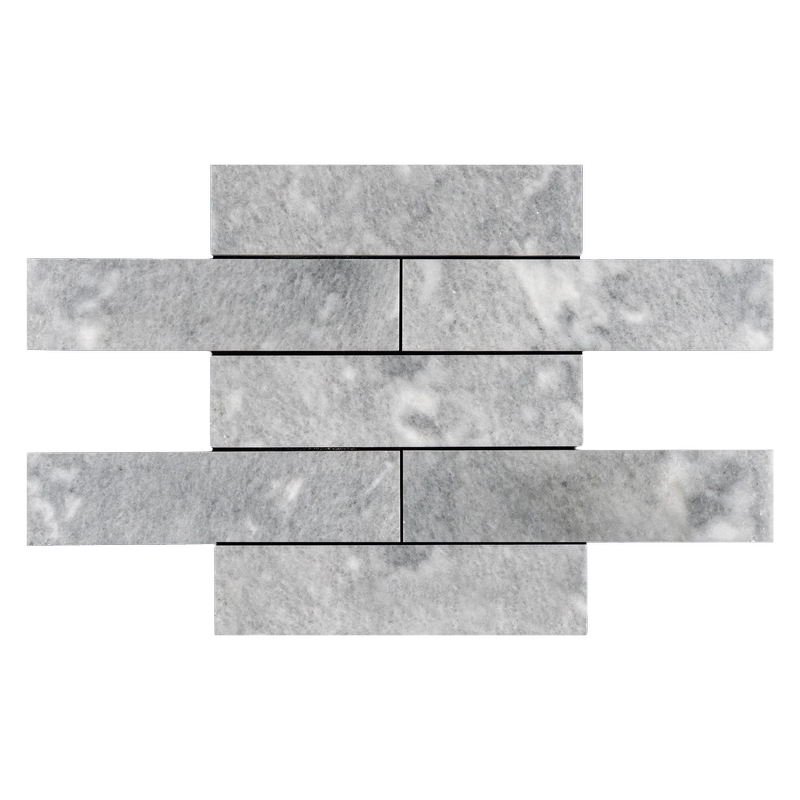
Snap centerlines to guide tile placement for balanced symmetry. Dry-lay multiple tiles to check veining and color variation. Blend tiles from different boxes for natural consistency. Recommended grout spacing: 1/16″ to 1/8″ for straight edges.
Step 3: Mortar Application – Thin-Set for Narrow Tiles
Recommended Mortars:
Use a 1/4″ square-notched trowel to apply mortar evenly. Back-butter each tile to ensure full adhesion and eliminate air pockets. Work in small sections to prevent premature drying.
Step 4: Cutting & Fitting – Accurate & Clean
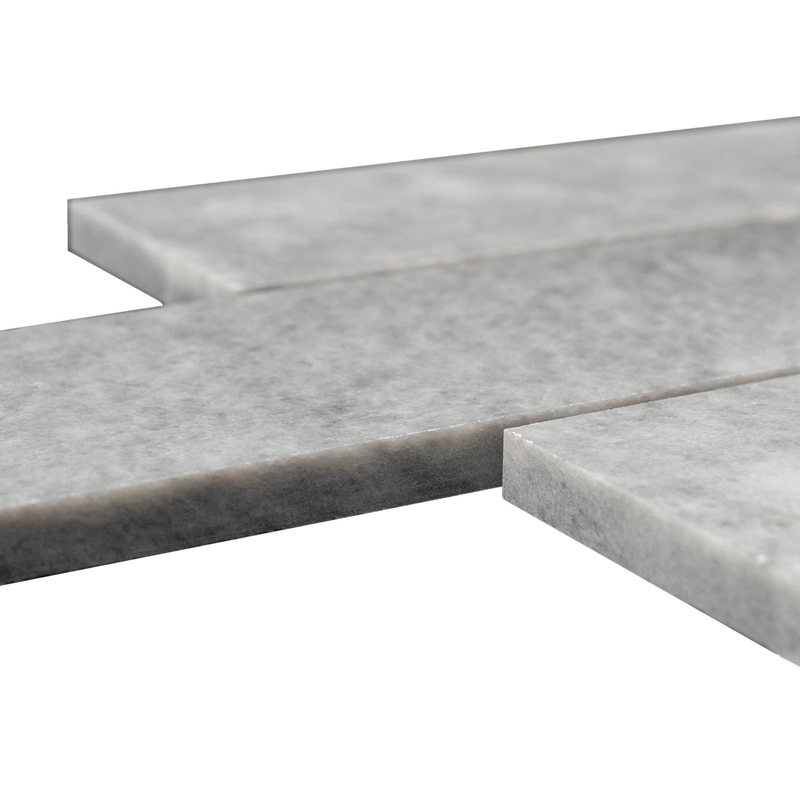
Cut tiles using a wet saw with a continuous-rim diamond blade for precise, chip-free edges. Polish exposed edges to match the factory finish. Dry-fit all cut pieces to verify alignment before setting.
Step 5: Setting Tiles – Level & Aligned
Use spacers to maintain consistent grout joints. Press tiles firmly into the thin-set bed and tap lightly with a rubber mallet if needed. Immediately remove any excess mortar from the polished surface. Let adhesive cure for at least 24 hours before grouting.
Step 6: Grouting & Sealing – Protect & Enhance
Pre-seal tiles with a penetrating sealer before grouting to prevent staining. Use non-sanded grout to protect the polished surface. Apply grout diagonally with a rubber float and clean excess promptly. Buff haze with a soft cloth after 20–30 minutes. After 72 hours, apply a final sealant to protect both tiles and grout lines.
Maintenance Tips – Keep the Gray Marble Pristine
Clean with pH-neutral, non-abrasive stone-safe products.
Wipe spills immediately to prevent staining or etching.
Re-seal tiles every 6–12 months depending on use and moisture exposure.
Shipping & Packaging
Each 3″x12″ Bardiglio Polished Marble Tile is packaged with protective padding to minimize edge damage. Inspect tiles before installation to ensure consistent polish and veining.
Important Note
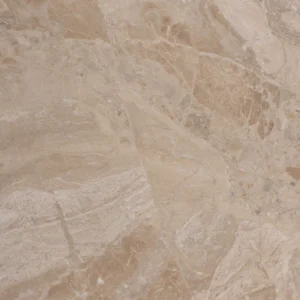
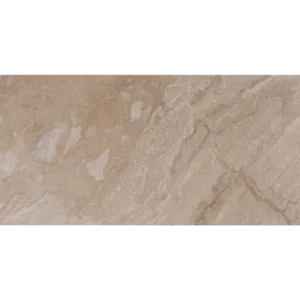
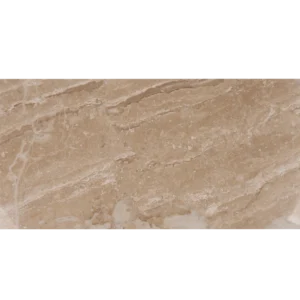
Natural variation in color and veining is inherent to Bardiglio marble. Always dry-lay tiles before final installation. Stonemarket USA is not responsible for installer errors or natural stone variation.