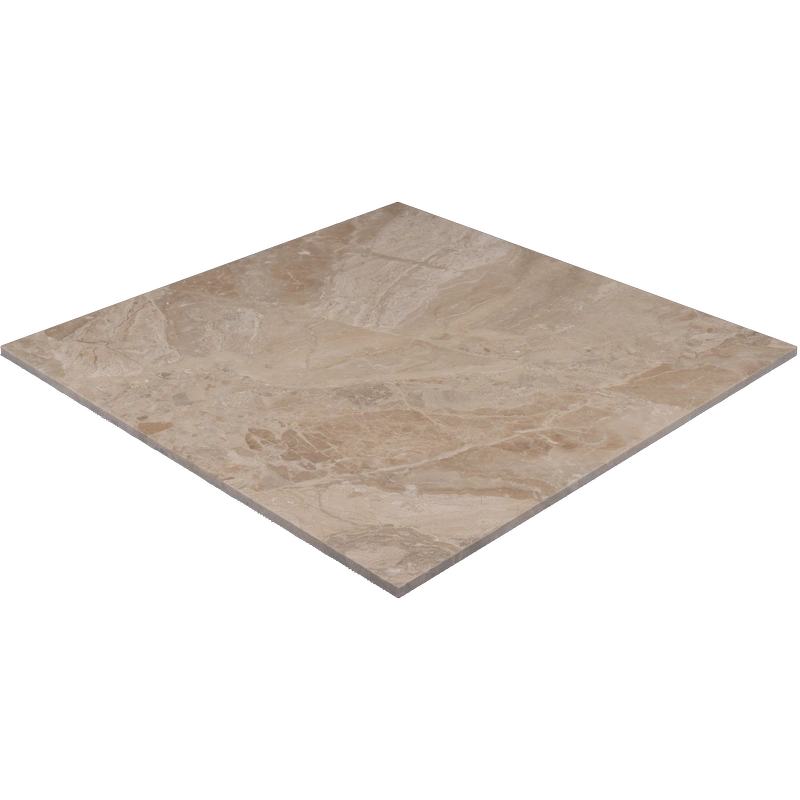
Royal Beige 18×18 Honed Marble Tile – Elegant Matte Finish
Subtle Sophistication for Refined Interiors
Enhance your interiors with the Royal Beige 18×18 Honed Marble Tile, featuring soft, warm beige hues and a velvety matte surface. This natural marble tile brings a serene, understated elegance to any space. Its square format and straight edges allow for seamless, precise installations, creating a balanced, cohesive look in both modern and classic settings.
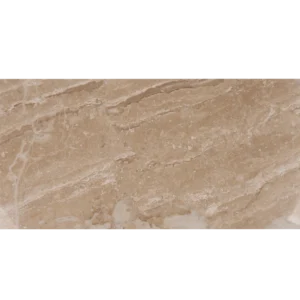
Ideal for bathrooms, powder rooms, kitchens, or accent walls, the honed finish reduces glare while highlighting the marble’s organic veining. Its smooth texture adds tactile warmth, offering beauty and practicality in high-use areas.
Product Features – Royal Beige 18″x18″ Honed Tile
Material: Genuine Royal Beige Marble
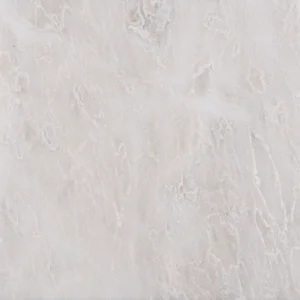
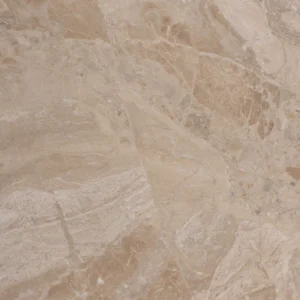
Color: Soft beige with natural veining and tone variations
Finish: Honed – matte, smooth, and modern
Tile Size: 18″x18″ (45.7 x 45.7 cm)
Thickness: 0.45″ (1.1 cm)
Edge: Straight for clean, precise alignment
Recommended Use: Indoor walls, bathrooms, vanities, feature walls, fireplaces
Why Choose This Tile?
The honed finish delivers a soft, sophisticated look that complements a variety of interior styles. Its neutral beige palette pairs effortlessly with wood, metal, or stone accents. Durable and versatile, this tile is perfect for both residential and commercial spaces seeking timeless elegance and a calm, refined ambiance.
Step 1: Surface Preparation – Clean, Flat, and Dry
Ensure the substrate is free from dust, grease, and debris.
Check flatness with a long level to prevent lippage.
Apply a waterproofing membrane in wet areas like bathrooms or kitchens.
Use a self-leveling underlayment to correct uneven surfaces.
Step 2: Layout Planning – Balanced & Aesthetic
Snap chalk lines from the center for even tile placement.
Dry-lay tiles to inspect tone and veining distribution.
Mix tiles from multiple boxes to achieve natural variation.
Use spacers for 1/16″ to 1/8″ grout joints, ideal for straight-edged honed tiles.
Step 3: Adhesive Application – White Mortar for Safety
Recommended: Mapei Ultraflex LFT White, Laticrete 254 Platinum White, Ardex X77 White.
Apply adhesive with a 1/2″ square-notched trowel.
Back-butter tiles to ensure full coverage and eliminate voids.
Work in small sections to prevent mortar from drying prematurely.
Step 4: Cutting & Fitting – Precision Cuts
Use a wet saw with a continuous rim diamond blade for clean cuts.
Measure twice to avoid miscuts near edges or fixtures.
Lightly finish exposed edges with a stone file if needed.
Step 5: Setting Tiles – Flat & Even
Use a tile leveling system to prevent uneven surfaces.
Align tiles with spacers for uniform joint spacing.
Press and tap tiles gently with a rubber mallet.
Remove excess mortar immediately to protect the honed surface.
Let adhesive cure at least 24 hours before grouting.
Step 6: Grouting & Sealing – Protect Your Investment
Use non-sanded or finely sanded grout to prevent scratching.
Apply grout diagonally with a rubber float and remove excess promptly.
After 72 hours, apply a penetrating sealer suitable for honed marble.
Maintenance Tips
Clean regularly with pH-neutral, stone-safe cleaners.
Wipe spills immediately to avoid stains.
Re-seal every 6–12 months depending on use.
Use rugs or furniture pads in high-traffic areas.
Shipping & Packaging
Important Note