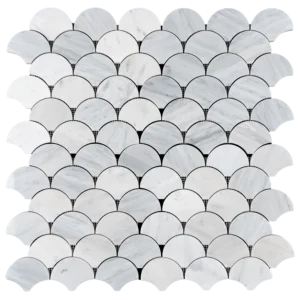
Fish Scale Beige Diamond Marble Mosaic Tile – Polished Elegance
Graceful Curves with Warm Neutral Tones
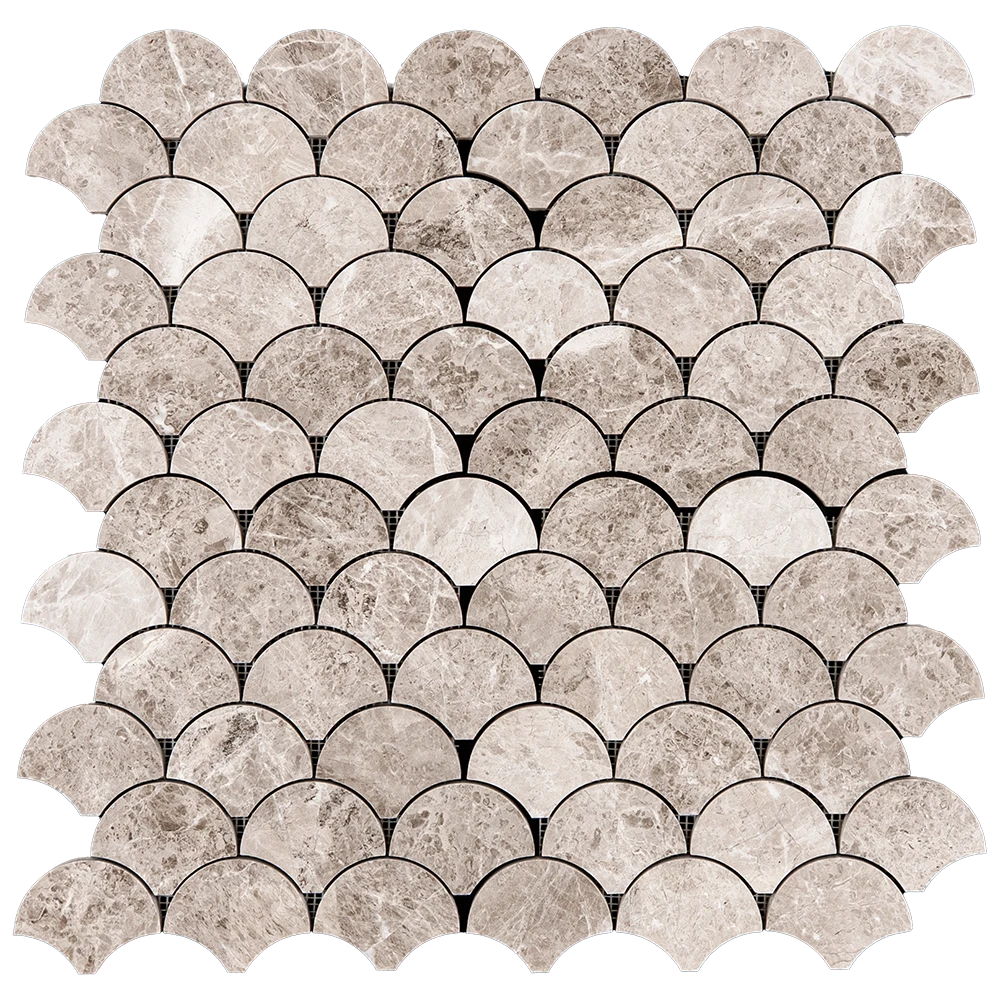
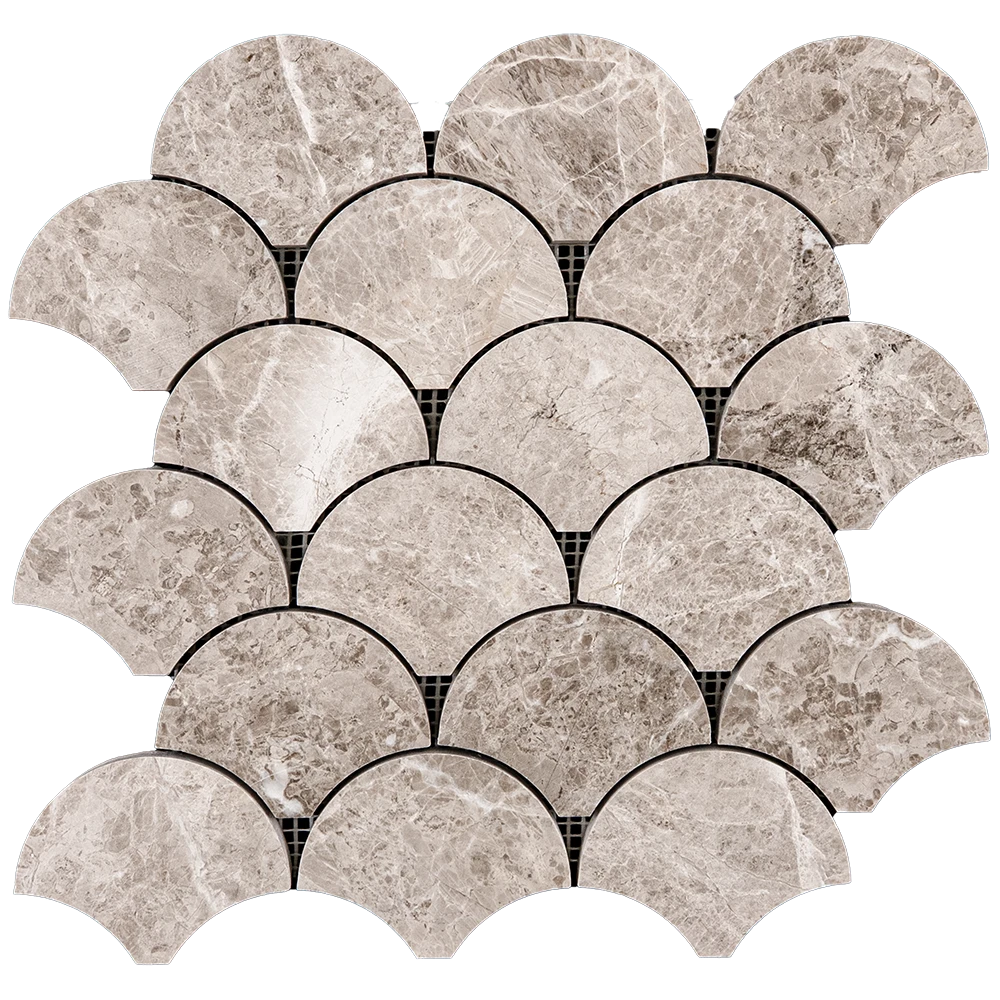
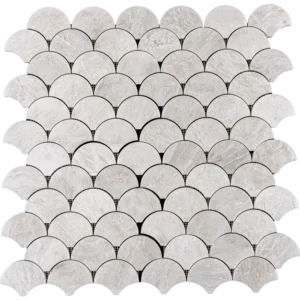
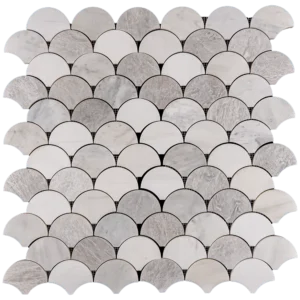
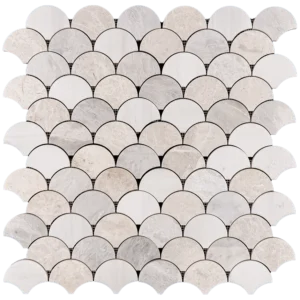
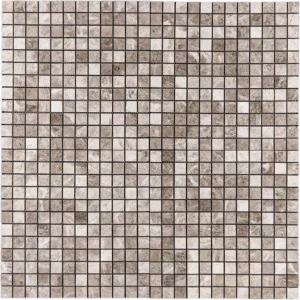
Enhance your interiors with the Fish Scale Beige Diamond Marble Mosaic Tile. Crafted from natural beige diamond marble, this polished mosaic features a flowing fish scale pattern, adding warmth, depth, and refined elegance to any space.
Product Highlights:
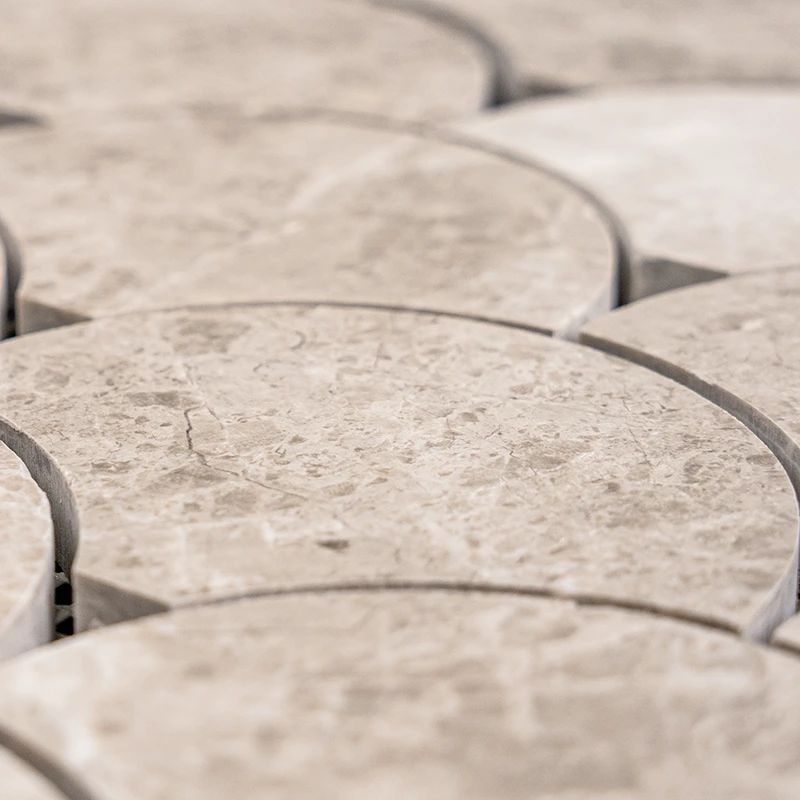
Material: Beige Diamond Marble – creamy beige with natural veining
Color: Warm beige with subtle brown undertones
Finish: Polished – smooth, glossy surface that reflects light
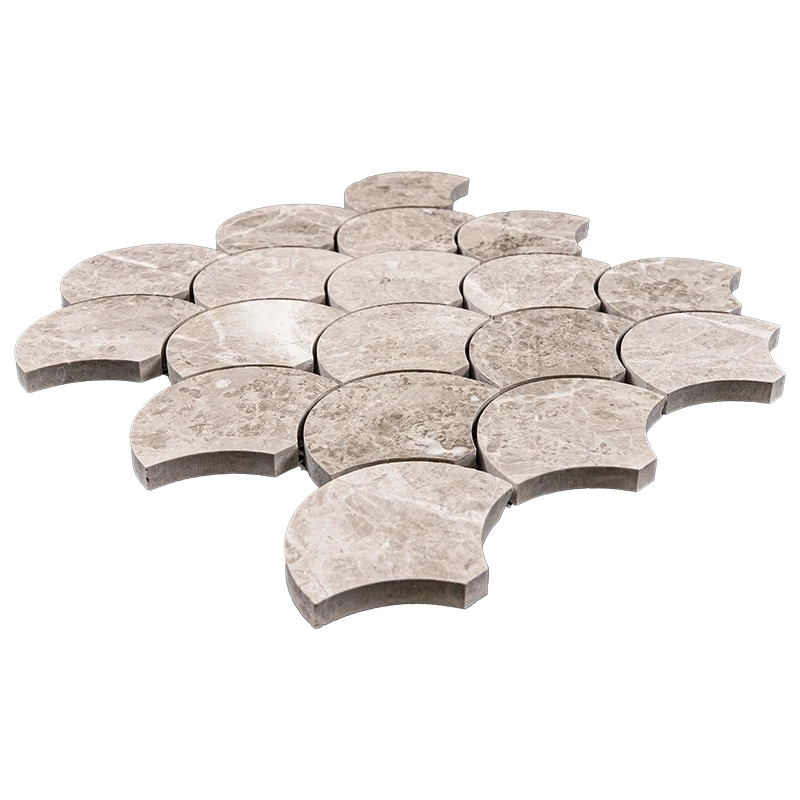
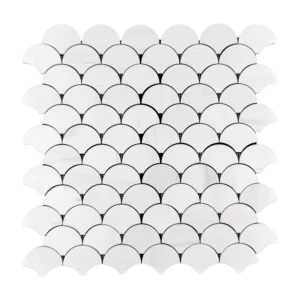
Shape: Fish scale (mermaid/fan style)
Sheet Size: 10.4″ x 10.8″ (26.5 x 27.5 cm)
Mounting: Mesh-backed sheets for effortless alignment and installation
Ideal Applications:
Perfect for kitchens, bathrooms, shower walls, backsplashes, and decorative accent areas. Its organic curves soften spaces while maintaining a sophisticated, upscale look.
Why Choose Beige Diamond Marble?
Beige Diamond marble’s warm neutral tones suit both modern and traditional interiors. The polished finish enhances light reflection, creating depth and a welcoming atmosphere while providing durable, long-lasting beauty.
Care Instructions:
Clean with pH-neutral, stone-safe cleaners
Avoid acidic or abrasive products
Seal periodically to maintain protection and sheen
Shipping & Packaging:
Each sheet is carefully packaged to prevent damage during transit. Mesh backing ensures accurate pattern placement and simplifies installation.
Installation Guide – Step by Step
Stone Properties & Handling – Know Your Material
Polished Finish: The glossy surface enhances elegance but can scratch easily. Use care when handling and avoid abrasive tools.
Porosity: Beige Diamond marble is moderately porous. Apply a high-quality penetrating sealer after installation to prevent stains and moisture damage.
Natural Variation: Expect subtle differences in veining and color between sheets. Dry-lay to preview patterns and ensure consistent flow.
Acid Sensitivity: Marble reacts to acidic substances. Use only pH-neutral cleaners and avoid spills of acidic liquids.
Cutting: Use a wet saw with a fine diamond blade. Smooth edges with a stone file or rubbing block to prevent chipping.
Step 1: Surface Preparation
Ensure walls or floors are clean, dry, and free of dust, grease, or residues.
Verify the substrate is flat, solid, and crack-free.
Apply waterproofing in wet areas such as showers, kitchens, or backsplashes.
Remove baseboards, outlet covers, or any obstructions that may interfere with tile placement.
Level uneven areas using a self-leveling compound if needed.
Step 2: Layout Planning
Find the center of the surface to create a balanced layout.
Dry-lay the sheets to check the fish scale alignment, veining, and color consistency.
Adjust sheet placement to avoid small or awkward cuts at edges and corners.
Use 1.5–3 mm spacers between sheets to maintain consistent grout lines.
Ensure the curved fish scale patterns flow smoothly from sheet to sheet.
Step 3: Adhesive Application
Recommended Thin-Set Mortars:
Instructions:
Mix thin-set in small batches usable within 30 minutes.
Apply adhesive to the surface with the flat side of a 1/4″ notched trowel.
Comb adhesive at a 45° angle for even coverage.
Lightly back-butter each sheet for stronger adhesion and to reduce lippage.
Work in small sections to prevent the thin-set from drying before tiles are placed.
Step 4: Cutting & Fitting
Use a wet saw with a fine diamond blade for clean cuts.
Mark cuts accurately with a pencil or wax marker.
Smooth rough edges using a stone file or rubbing block.
Use tile nippers for intricate curve shaping if needed.
Dry-fit all cut pieces to confirm alignment and pattern continuity before final placement.
Step 5: Setting Tiles
Start in the center of your layout and work outward.
Press mesh-backed sheets firmly into the adhesive with a slight twisting motion for full contact.
Use spacers to maintain consistent spacing between sheets.
Tap sheets lightly with a rubber mallet to ensure a level surface.
Remove any excess adhesive immediately with a damp sponge.
Allow adhesive to cure for 24 hours before grouting.
Step 6: Grouting & Sealing
Use non-sanded grout to protect the polished surface.
Apply grout diagonally with a rubber float to fill joints completely.
Wipe off excess grout immediately with a damp sponge.
Buff haze from the surface gently after 15–20 minutes using a soft cloth.
Allow grout to cure for at least 72 hours.
Seal with a premium penetrating marble-safe sealer for long-lasting protection.
Maintenance Tips
Clean regularly using pH-neutral stone-safe cleaners.
Avoid acidic or abrasive cleaning products to prevent etching.
Reapply sealer periodically based on usage, especially in wet areas.
Place felt pads under nearby furniture to avoid scratching.
Shipping & Packaging
Important Note