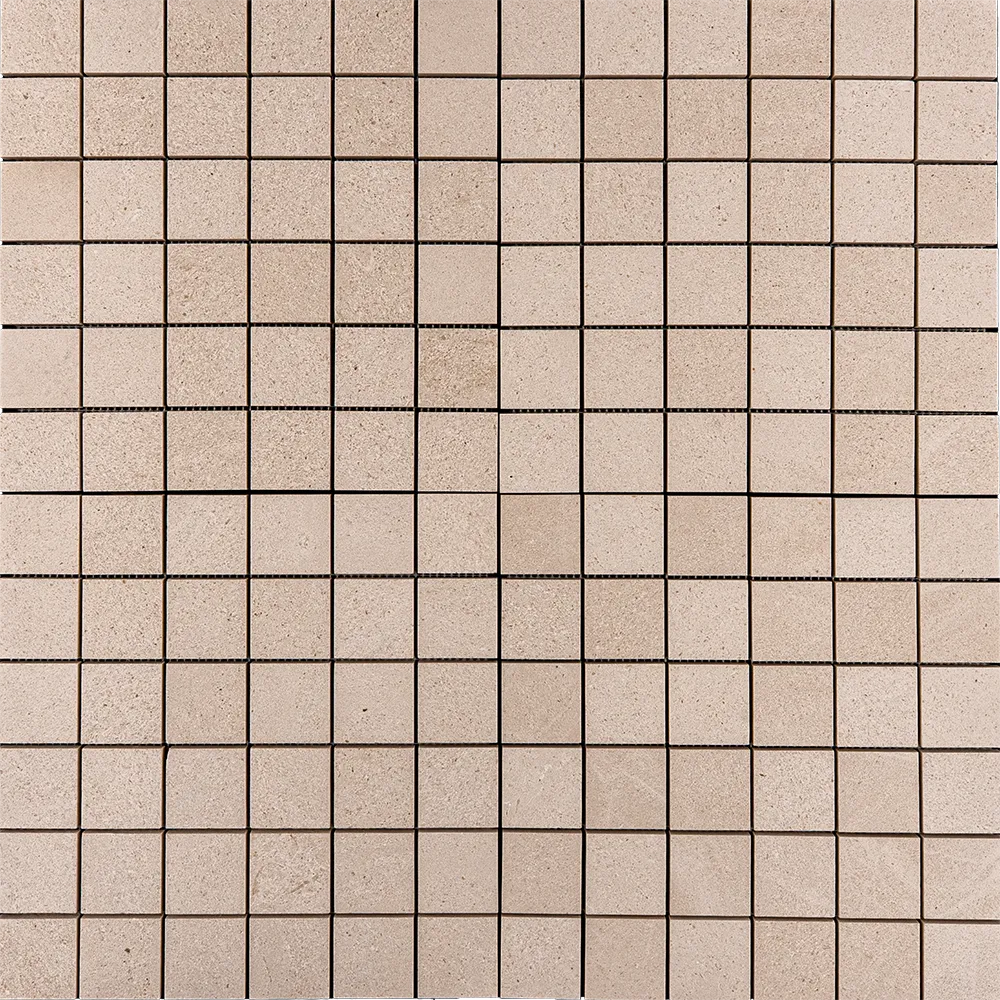
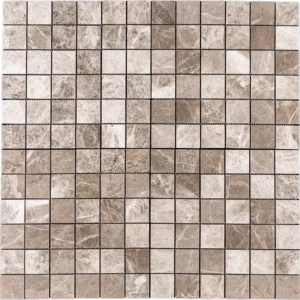
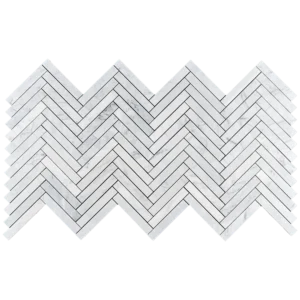
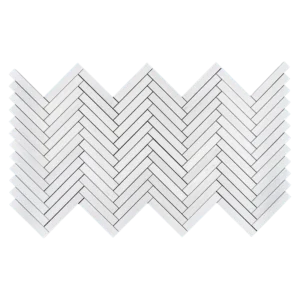
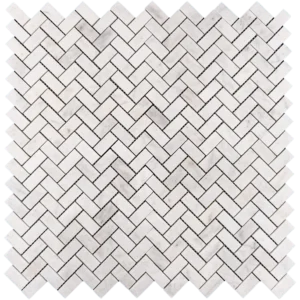
2″ x 2″ Honed Limestone Mosaic Tile – Soft Beige
Bring natural elegance and warmth to your interiors with the 2″ x 2″ Honed Limestone Mosaic Tile. Featuring soft beige and creamy tones, its honed matte finish adds a sophisticated, timeless touch to any room, perfectly blending modern and classic design styles.
Versatile Applications
This mosaic is ideal for backsplashes, bathrooms, accent walls, entryways, and hallways, creating a cohesive, inviting look. Its adaptable style complements a wide range of materials and interior schemes, making it suitable for both contemporary and traditional spaces.
Premium Craftsmanship
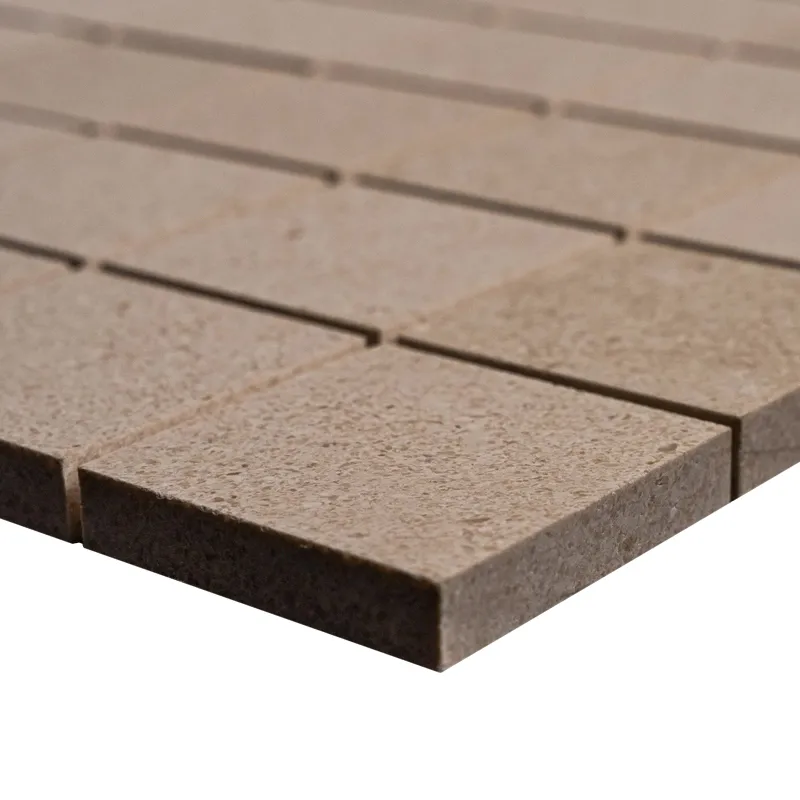
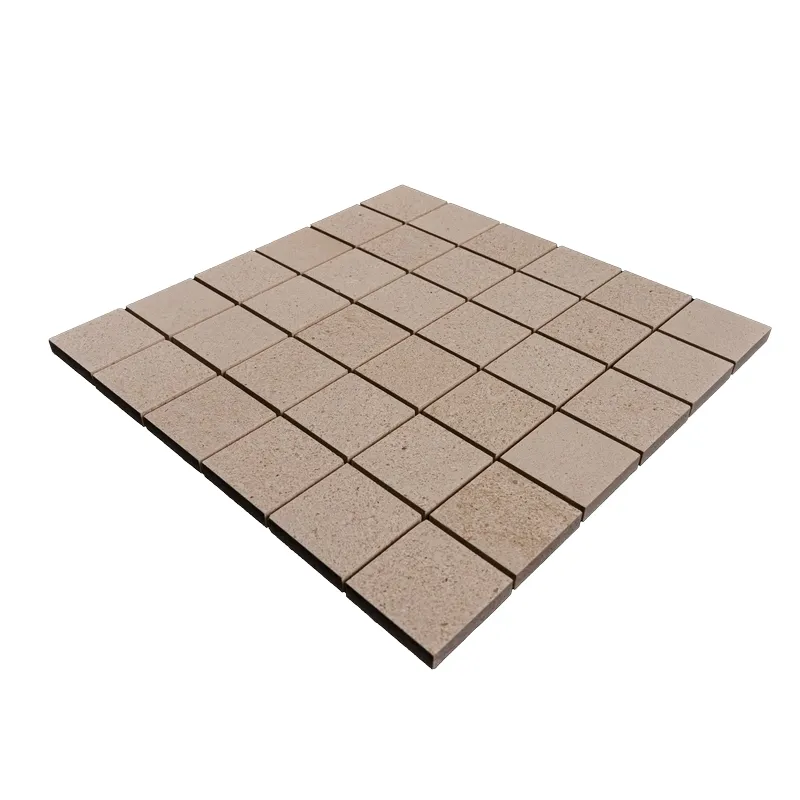
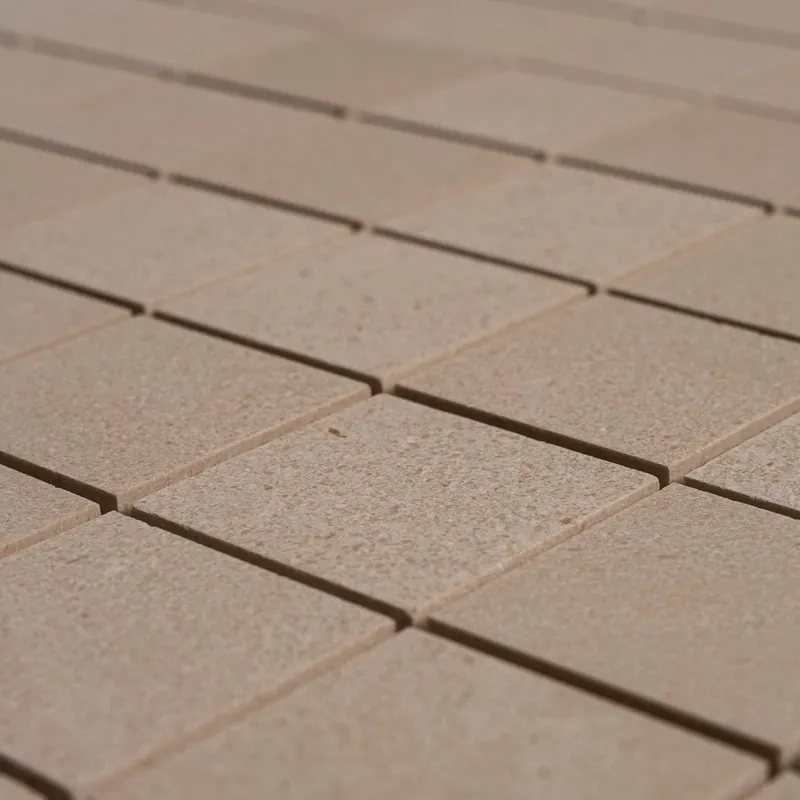
Each sheet is crafted from high-quality natural limestone, offering long-lasting durability. The honed surface provides a smooth, non-slip finish, making it practical for wet areas while highlighting the stone’s natural veining. Every tile is unique, adding character and charm to your project.
Key Features
Material: Natural Limestone
Finish: Honed, matte
Color: Soft beige and creamy tones
Tile Size: 2″ x 2″
Sheet Size: 12″ x 12″ (30.5 x 30.5 cm)
Thickness: 1 cm
Coverage: Approx. 33.49 sq. m per order (72 boxes)
Why Choose This Mosaic?
Timeless Elegance: Harmonizes classic and modern interiors effortlessly
Durable Quality: Built to last with easy maintenance
Natural Beauty: Unique veining adds personality to each sheet
Versatile Use: Suitable for walls and floors in any room
Elevate your space with the 2″ x 2″ Honed Limestone Mosaic Tile, combining natural beauty, practicality, and enduring style. Perfect for transforming any interior into a luxurious, welcoming environment.
Installation Guide – 2″ x 2″ Honed Limestone Mosaic Tile
Step 1: Surface Preparation
Ensure the surface is clean, dry, and free of dust, grease, or debris.
Confirm the substrate is level, firm, and crack-free to support the mosaic.
For wet areas like bathrooms or kitchens, apply a waterproofing membrane.
Remove trims, outlet covers, or other obstacles.
Use a self-leveling compound if needed to correct uneven surfaces.
Step 2: Layout Planning
Find the center of the installation area for balanced placement.
Dry-lay several sheets to check color variation and pattern alignment.
Adjust layout to minimize small cuts or awkward edges.
Use 1/8″–1/4″ spacers between sheets for uniform grout lines.
Step 3: Adhesive Application
Recommended Thin-Set Mortars:
Mapei White UltraFlex
Laticrete 254 Platinum
Ardex X5 White
Instructions:
Use a white, non-staining thin-set to avoid discoloration.
Mix small batches for 30–40 minutes usability.
Apply a 1/4″ layer with a notched trowel, combing at a 45° angle.
Back-butter each sheet for better adhesion.
Work in small sections to prevent thin-set from drying before placement.
Step 4: Cutting & Fitting
Cut tiles with a wet saw and diamond blade suitable for limestone.
Mark cuts carefully for clean, precise edges.
Smooth any sharp edges using a stone file or rubbing stone.
Dry-fit trimmed pieces before final placement to ensure proper alignment.
Step 5: Setting Tiles
Press mesh-backed sheets firmly into the adhesive.
Maintain consistent joint spacing with spacers.
Tap gently with a rubber mallet to ensure level and eliminate air pockets.
Wipe away excess adhesive immediately.
Allow the adhesive to cure for 24 hours before grouting.
Step 6: Grouting & Sealing
Use non-sanded grout to protect the honed surface.
Apply grout diagonally with a rubber float, filling all joints evenly.
Wipe off excess grout promptly with a damp sponge.
Buff haze after 15–20 minutes using a soft microfiber cloth.
Let grout cure 72 hours before applying sealer.
Apply a penetrating limestone-safe sealer to protect against stains and moisture.
Maintenance Tips
Clean with pH-neutral stone cleaners; avoid acidic or abrasive products.
Reseal periodically depending on exposure and traffic.
Wipe spills immediately to prevent staining or etching.
Use felt pads under furniture near floor installations.
Important Notes