Loading... (Warehouse Local Time)
Mon–Fri: 9:00 AM – 6:00 PM |

Herringbone Dolomite Mosaic – 1″x6″ Honed White Marble

Elevate any room with the 1×6 Herringbone Dolomite Mosaic Tile. Its honed finish and premium natural stone add a refined, timeless look to walls, backsplashes, or floors.

$17.49 / Piece

Item Code: MD027-10492 Category

540 Pieces in stock

Est. Coverage: 0.95 sq. ft. per piece   |  4.75 sq. ft. per box   |   257 sq. ft. per crate   | Request Info
Note on Samples:
Sample pieces are small cut sizes, approximately 3" x 3" to 8" x 8", and intended for color and finish reference only.
If you need a full-size sample, please contact us.

Request Custom Pricing for Large Orders

Planning a large project? Orders over 500 sq. ft., full crates, or commercial applications may qualify for exclusive volume pricing. Reach out today and let us provide a custom quote tailored to your needs.

Request Volume Quote
  • Volume pricing available for qualified bulk orders.
  • We offer custom sizes, finishes, and crate-based shipments.

Color & Finish Options

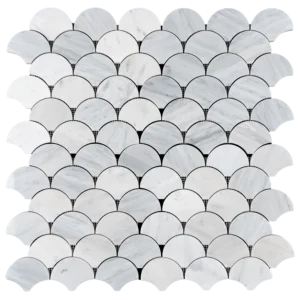
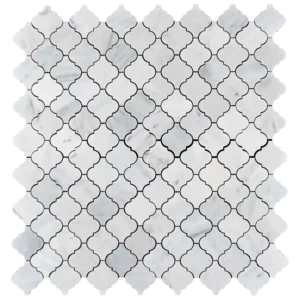
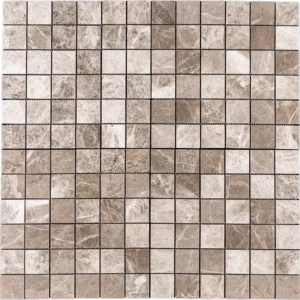
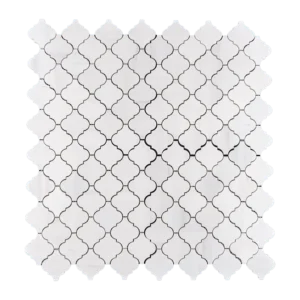
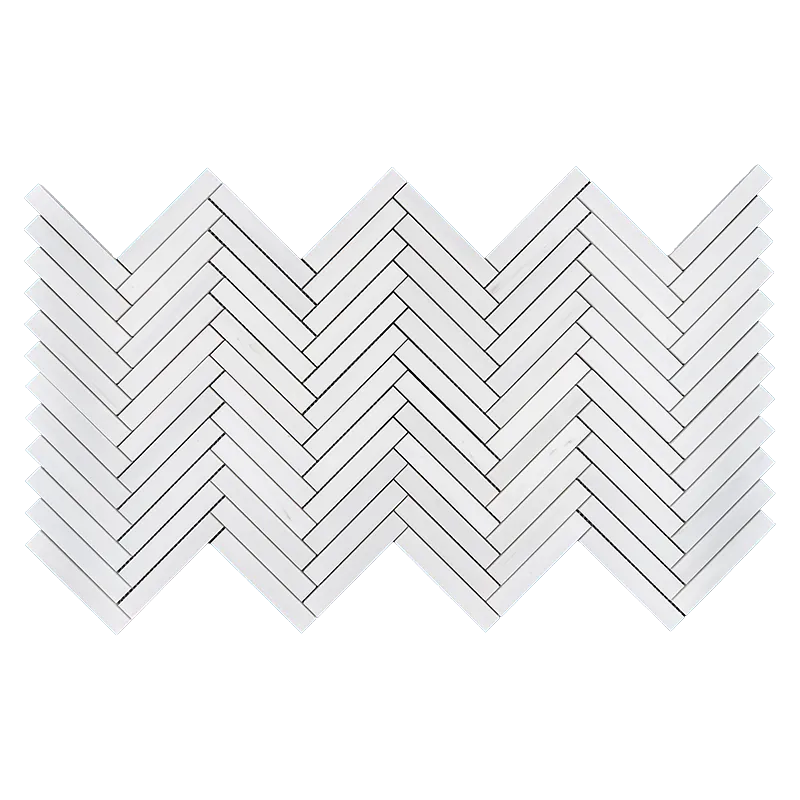
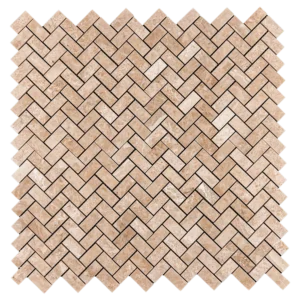
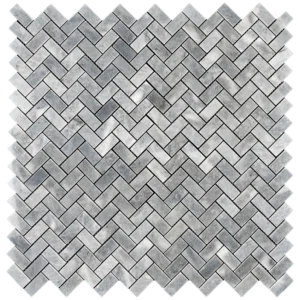
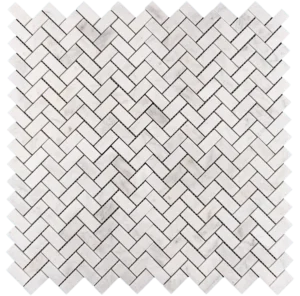
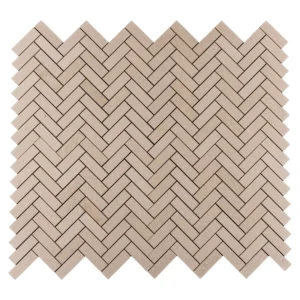
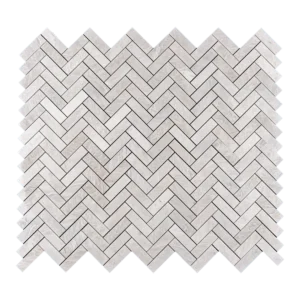
Dolomite Marble Mosaic Tile 1″x6″ Herringbone Honed – Elegant White Design

Upgrade any residential or commercial space with the 1″x6″ Herringbone Dolomite Mosaic Tile. Crafted from premium dolomite marble, this honed tile delivers a smooth, matte surface that exudes sophistication. The timeless herringbone pattern adds texture and visual interest, perfect for backsplashes, accent walls, showers, or flooring.

Key Features

  • Material: Dolomite Marble

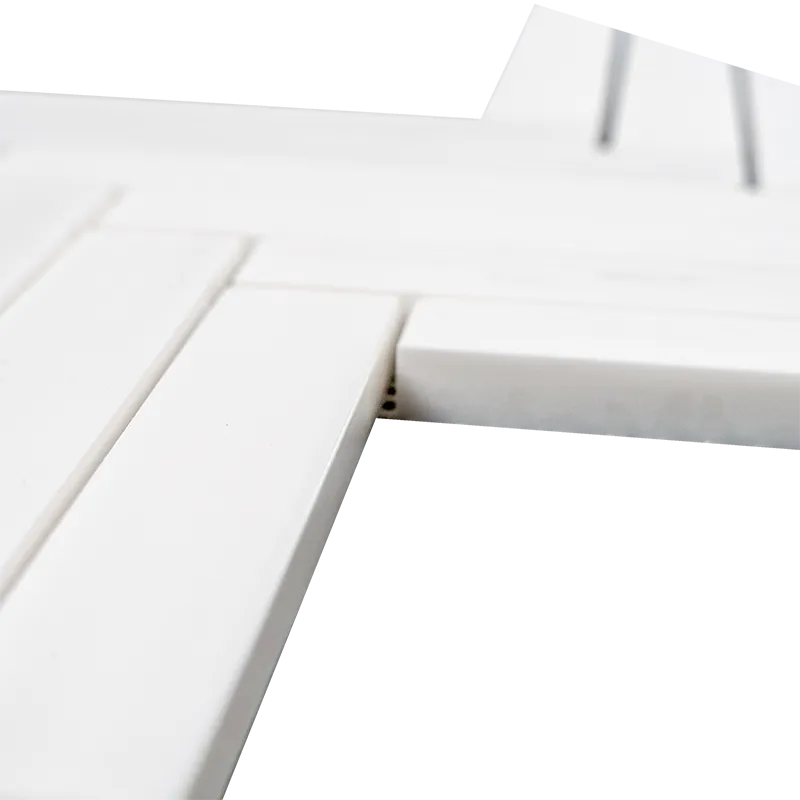
  • Finish: Honed – matte, refined look

  • Sheet Size: 8.4″ x 16.6″

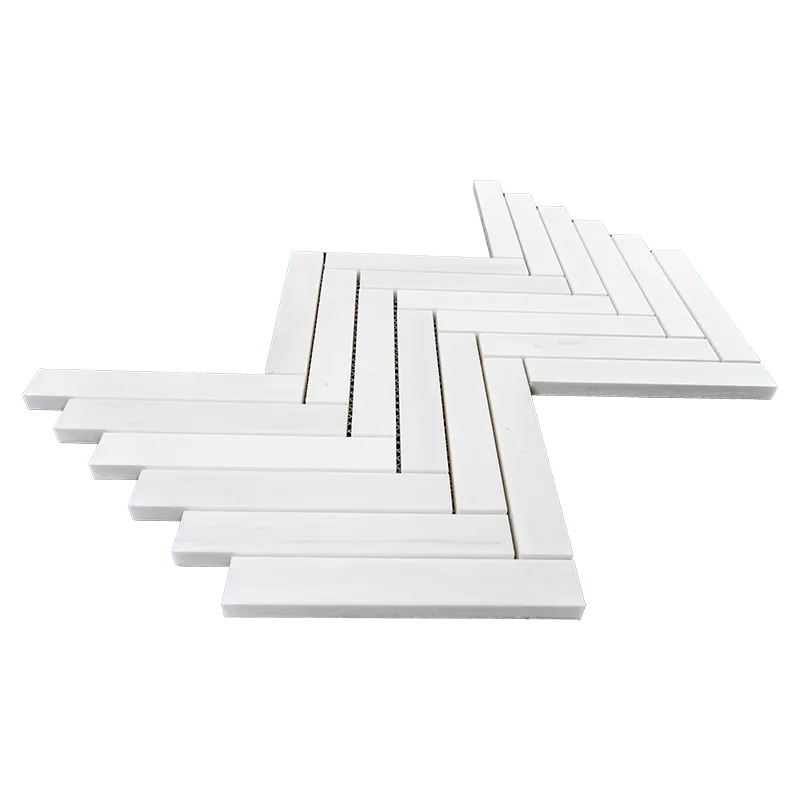
  • Thickness: 3/8″ (0.95 cm)

  • Applications: Floors, walls, bathrooms, kitchens, showers

  • Durability: Scratch and moisture resistant

  • Installation: Mounted on mesh backing for fast, precise placement

Recommended Uses

  • Kitchen backsplashes for a sleek, modern touch

  • Bathroom and shower walls for spa-like elegance

  • Accent walls in living rooms or entryways

  • Commercial interiors, showrooms, or office spaces

Why Choose Dolomite Mosaic Tile?

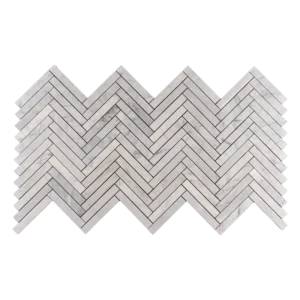
  • Timeless Elegance: Soft white tones and subtle veining complement both modern and classic designs

  • Versatile Style: Works seamlessly with minimalist, luxury, or transitional interiors

  • Durable & Long-Lasting: Natural stone that withstands daily wear and moisture

Need Help?
Our team can assist with design guidance, bulk pricing, or personalized recommendations.

Contact: info@stonemarketusa.net

Transform your space with the refined beauty of premium dolomite herringbone mosaic tiles.

Weight7.8 lbs
Dimensions8.4 × 16.6 × 0.40 in
Color

Finish

Thickness

Size (inches)

Chip Size (Inches)

Material

Design

Herringbone

Usage Area

Backsplash, Commercial Interior Floors, Commercial Interior Walls, Residential Interior Walls, Shower Floors, Shower Walls

Collection

Dolomite Collection

1×6 Herringbone Dolomite Mosaic Tile – Step-by-Step Installation Guide

Tools & Materials You’ll Need:
✅ High-quality tile adhesive (thin-set mortar)
✅ Notched trowel
✅ Tile spacers
✅ Level
✅ Tile cutter or wet saw
✅ Grout
✅ Grout float
✅ Sponge & bucket of clean water
✅ Measuring tape
✅ Pencil & straightedge


Step 1: Prepare the Surface

Ensure your surface is clean, dry, and perfectly level.

  • For backsplashes, remove grease and dust.

  • For floors, make sure the subfloor is stable to prevent movement.

  • Apply a waterproofing membrane in wet areas such as showers for extra protection.

Step 2: Plan Your Layout

Dry-lay the mosaic sheets to find the optimal arrangement and reduce unnecessary cuts.

  • Use a chalk line or level to mark your starting point.

  • Align the herringbone pattern carefully for a seamless, professional finish.

Step 3: Apply the Adhesive

Spread a thin, even layer of adhesive with a notched trowel at a 45-degree angle to create grooves for better bonding.

  • Work in small sections to prevent the adhesive from drying too quickly.

Step 4: Set the Tiles

Press each mosaic sheet firmly into the adhesive.

  • Use tile spacers to maintain uniform gaps.

  • Adjust the sheets as needed before the adhesive sets to ensure straight, even lines.

Step 5: Cutting Tiles

Trim tiles at edges or corners using a wet saw or tile cutter.

  • Measure carefully—measure twice, cut once—to avoid mistakes.

Step 6: Let Adhesive Cure

Allow tiles to set for at least 24 hours before grouting.

  • Avoid walking on or applying pressure to the tiles during this period.

Step 7: Grouting

Choose a grout color that complements the dolomite marble.

  • Apply grout diagonally with a rubber float to fill all joints.

  • Wipe away excess grout with a damp sponge, rinsing frequently.

  • Let grout cure for 24 hours before final cleaning.

Step 8: Sealing & Maintenance

Seal the dolomite to protect it from stains and moisture.

  • Apply a penetrating stone sealer and reapply every 6–12 months.

  • Clean regularly using a pH-neutral stone cleaner and avoid acidic products like vinegar.


Pro Tips:
✔️ Follow manufacturer instructions for adhesives and grout.
✔️ Use a waterproof membrane in wet areas.
✔️ Allow expansion joints in large installations.
✔️ Work in manageable sections to prevent the adhesive from drying too fast.
✔️ Hire a professional if unsure about any step.

Category
Category
Material
Material
Color
Color
Size
Size
Finish
Finish
Design
Design
Thickness
Thickness
Application
Usage Area
Request a Quote
Tell us briefly about your project, sq ft, and timing.