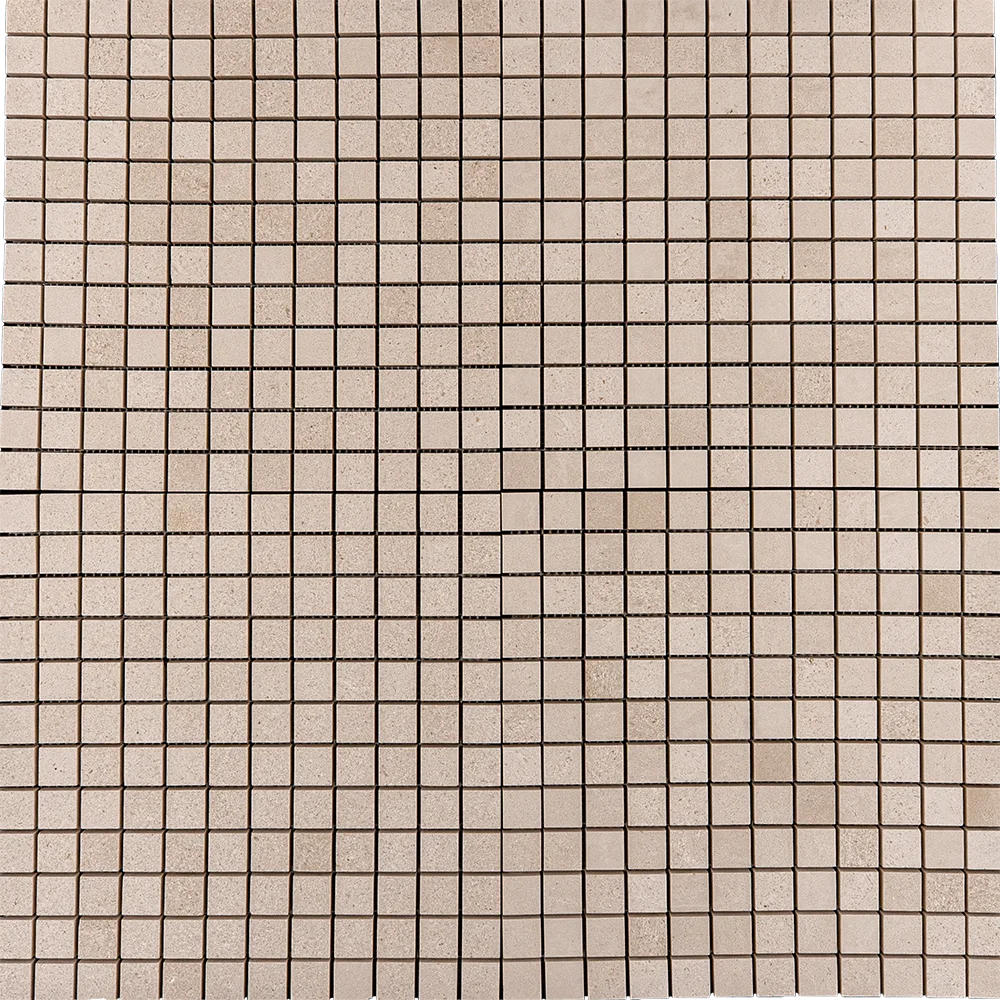
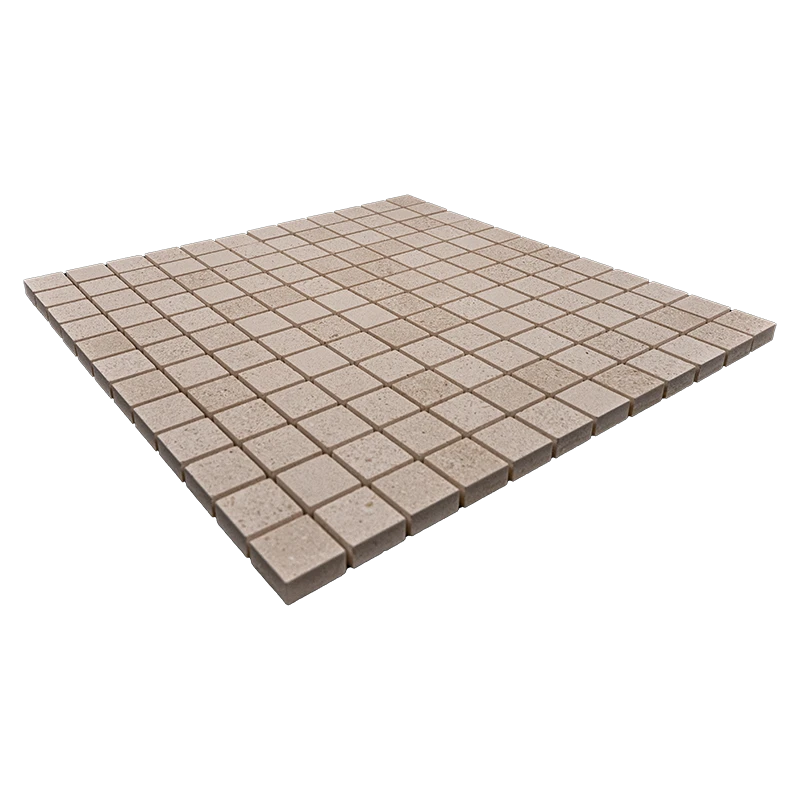
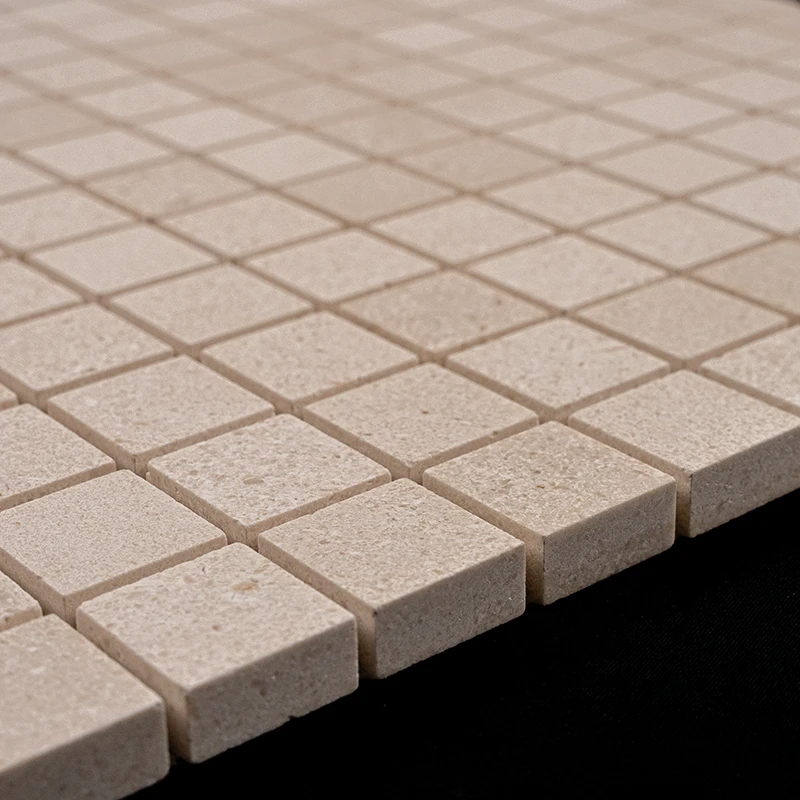
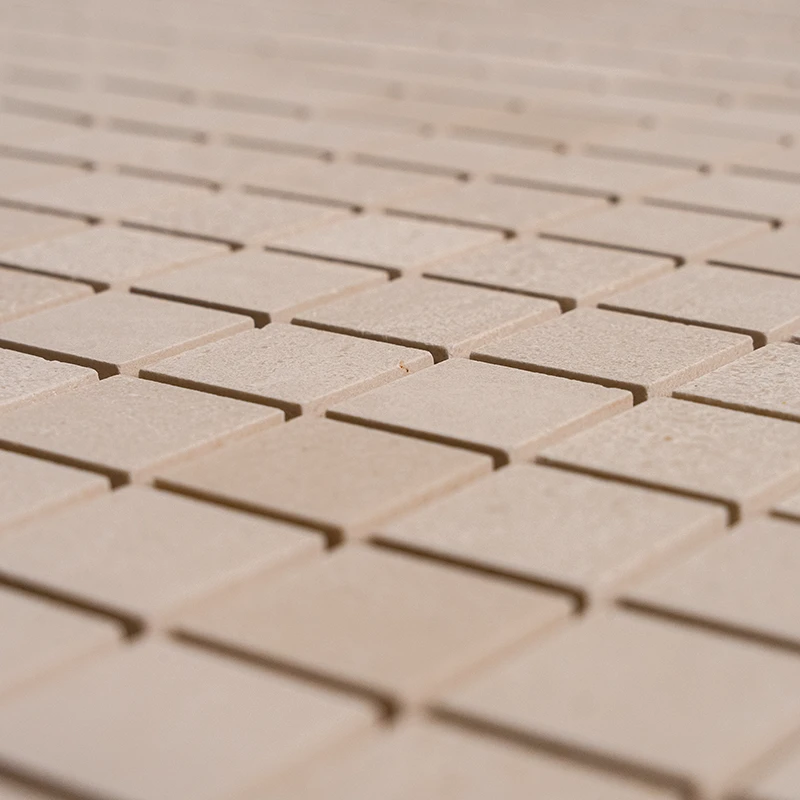
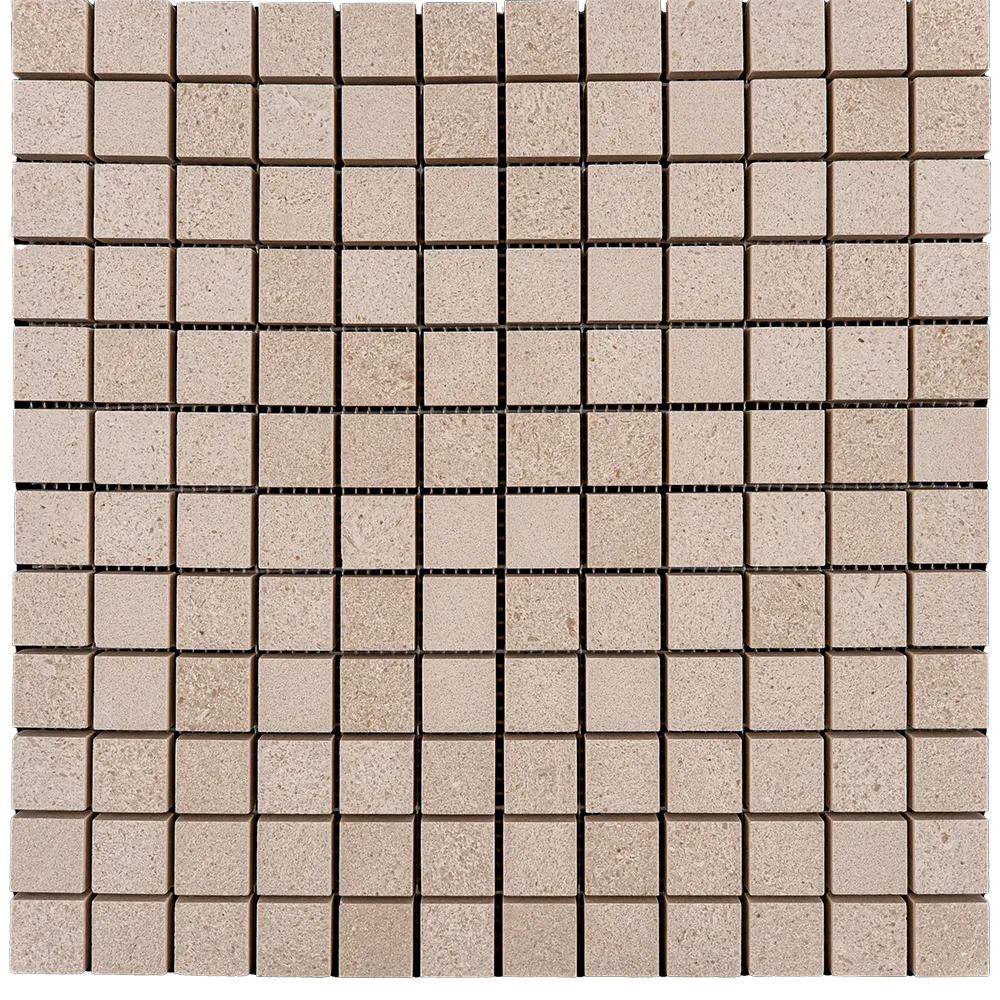
Limestone Mosaic Honed Tile – Installation Guide
Maximize the Performance of Your Limestone Mosaic Honed Tile
Ensure a flawless, long-lasting installation of your Limestone Mosaic Honed Tile by following these essential steps. Proper preparation and careful installation will preserve the stone’s natural beauty and durability.
Step 1: Surface Preparation
A smooth, stable surface is essential. Make sure the substrate is:
Clean, dry, and free from wax, grease, soap residue, or debris
Structurally sound, level, and free of cracks or loose areas
Properly waterproofed, especially in moisture-prone zones
Cleared of moldings, trims, or obstacles that may interfere with tile placement
Evened with a self-leveling compound if necessary
Step 2: Layout Planning
Measure the installation area and mark the center points of all walls
Snap chalk lines between opposite walls to create a precise grid
Dry-lay tiles along the center lines to verify distribution and balance
Adjust the center line if edge cuts are too small
Use tile spacers for consistent grout lines
Step 3: Selecting & Applying Adhesive
Recommended Adhesives: High-quality white thin-set mortar such as Mapei, Laticrete, or Ardex
Application:
Mix only the amount of mortar that can be used within 30 minutes
Apply a 1/4-inch layer of adhesive with the flat side of a notched trowel
Comb adhesive at a 45-degree angle to create even ridges
Work in small sections (approx. 2’ x 3’) to prevent premature drying
For moisture-sensitive stone, follow manufacturer guidelines
Step 4: Cutting & Fitting Tiles
Mark tiles accurately with a pencil or marker
Use a tile cutter for straight cuts; a wet saw with a diamond blade for precision
Smooth rough edges with a rubbing stone
Use a tile nipper for curves, removing material gradually
Dry-fit tiles before applying adhesive to ensure proper alignment
Step 5: Setting the Tiles
Begin at the center and work outward following the grid
Place tiles with a slight twisting motion for a strong bond
Avoid sliding tiles into position to prevent adhesive displacement
Use spacers to maintain uniform grout joints
Tap tiles gently with a rubber mallet for even placement
Wipe off excess adhesive immediately with a damp sponge
Allow at least 24 hours for adhesive curing before grouting
Step 6: Grouting & Finishing
Remove spacers before grouting
Use high-quality, unsanded grout suitable for polished limestone
Spread grout diagonally with a rubber float, filling joints completely
Remove excess grout immediately
After 15–20 minutes, wipe off grout haze with a damp sponge
Allow grout to cure for 72 hours before heavy use
Apply a penetrating sealer once grout has fully cured to protect the stone from moisture and stains
Maintenance Tips
Clean with pH-neutral stone cleaners to maintain natural appearance
Avoid acidic or harsh cleaning agents that could damage the surface
Reseal periodically to preserve durability and finish
Use felt pads under furniture to prevent scratches
Important Notice
Stonemarket USA is not responsible for improper installations
For optimal results, hire a professional tile installer and use premium materials
Contact Stonemarket USA Customer Support for guidance or questions
Following these expert guidelines ensures your Limestone Mosaic Honed Tile remains beautiful and durable for years to come.