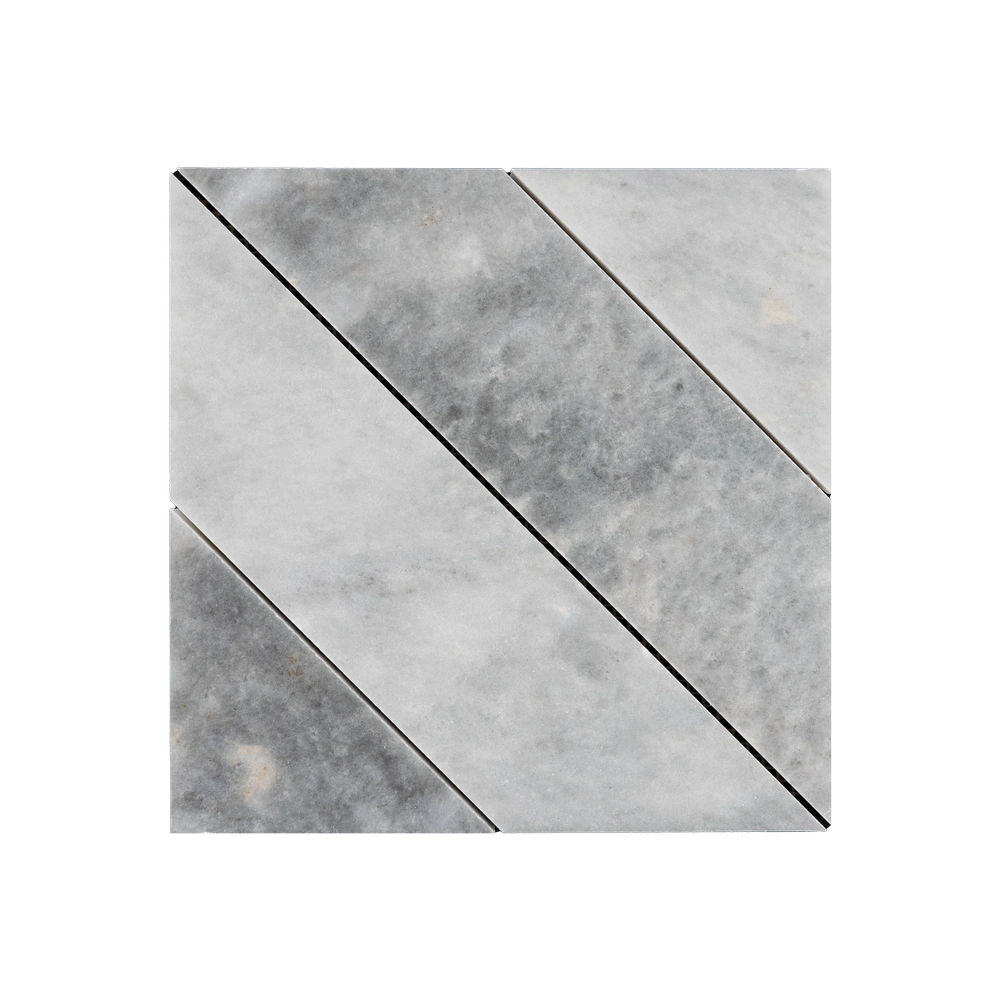
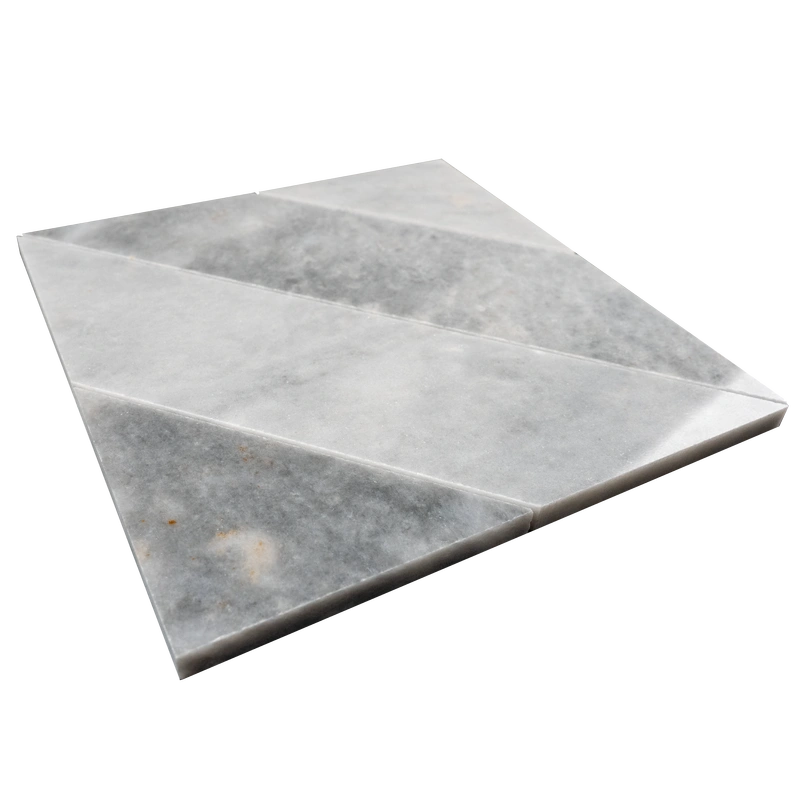
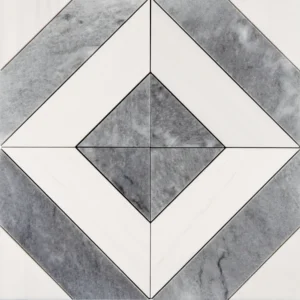
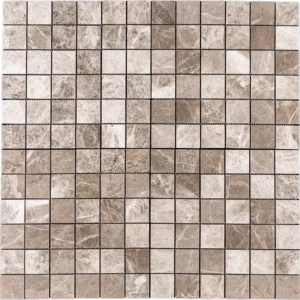
Installation Guide – Bardiglio Gray Piela Mosaic Tile (8″ x 8″)
Step 1: Surface Preparation – Build a Strong Base
Begin with a clean, dry surface free from dust, grease, or debris—proper preparation ensures a long-lasting installation. Confirm that the substrate is level, stable, and free of cracks. For wet areas like showers or backsplashes, apply a high-quality waterproofing membrane to protect the marble. Remove any trims, outlet covers, or obstructions, and use a self-leveling compound where necessary to achieve a perfectly smooth surface.
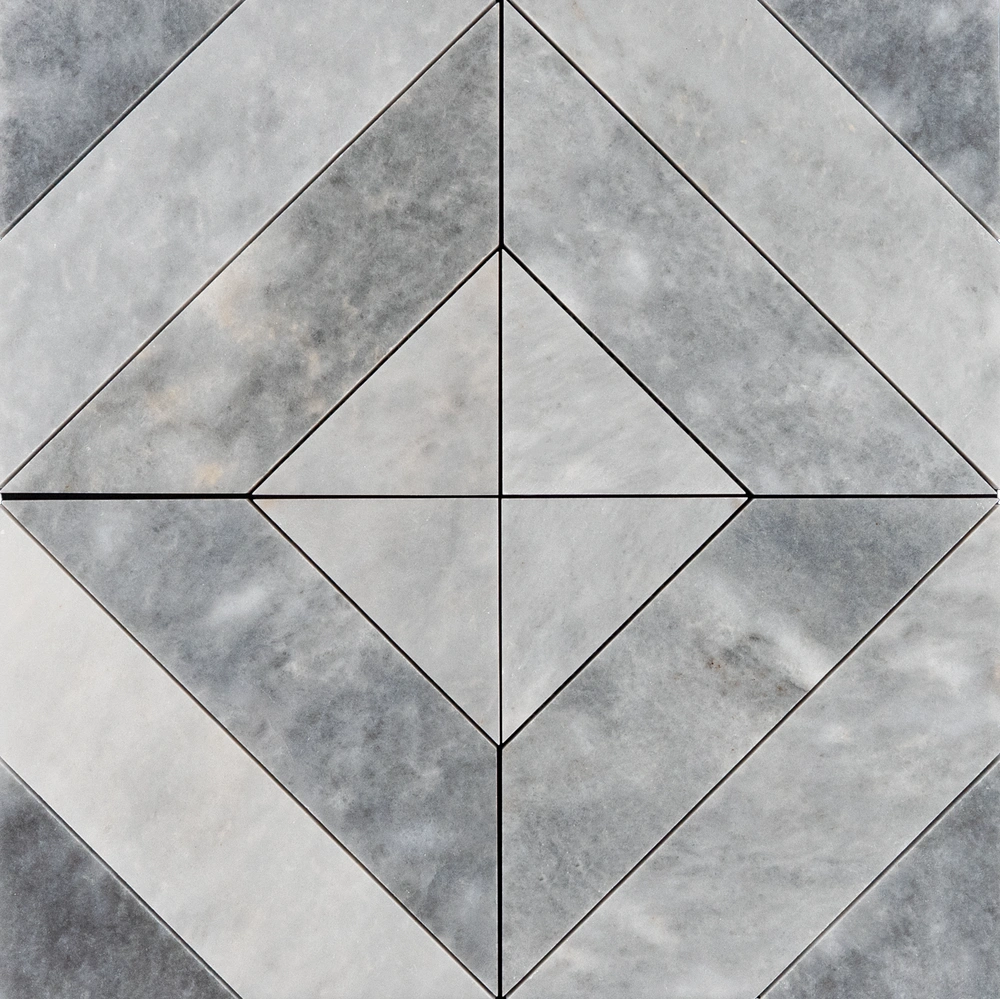
Step 2: Layout Planning – Perfect Symmetry
Locate the center of your installation area to maintain balance in the Piela pattern. Dry-lay several mesh-backed sheets to preview the blend of smoky Bardiglio tones and lighter gray accents. Adjust placement to avoid thin or awkward cuts at edges and corners. Maintain consistent grout spacing with 1.5–3 mm spacers for even alignment.
Step 3: Adhesive Application – Ensure a Strong Bond
Recommended thin-set mortars for natural stone: Mapei, Laticrete, Ardex. Use a white, non-staining thin-set to protect the polished marble. Mix small batches for 30-minute usability. Spread adhesive with a 1/4″ notched trowel—flat side first, then comb at 45° for uniform coverage. Back-butter each sheet to improve adhesion and eliminate voids. Work in sections to prevent mortar from drying prematurely.
Step 4: Cutting & Fitting – Precision Matters
Use a wet saw with a fine diamond blade to cut marble cleanly without chipping. Mark cuts accurately and smooth edges with a stone file or rubbing stone. Dry-fit pieces in corners, edges, or around obstacles to ensure perfect alignment before final placement.
Step 5: Setting Tiles – Align and Level
Begin at the center and work outward to maintain symmetry. Press mesh-backed sheets firmly into the adhesive, using spacers for consistent grout lines. Tap gently with a rubber mallet to level tiles and remove air pockets. Immediately clean any excess thin-set from the polished surface with a damp sponge. Allow adhesive to cure for 24 hours before grouting.
Step 6: Grouting & Sealing – Protect and Shine
Use non-sanded grout to safeguard the polished surface. Apply diagonally with a rubber float, pressing grout fully into the joints. Remove excess grout promptly and buff off haze after 15–20 minutes with a soft cloth. After grout cures (typically 72 hours), apply a penetrating sealer suitable for polished marble to protect against moisture and stains.
Maintenance Tips – Keep Marble Beautiful
Clean with pH-neutral stone-safe products; avoid acidic cleaners.
Reapply sealer periodically, depending on traffic and moisture exposure.
Place felt pads under furniture to prevent scratches.
Wipe spills immediately, especially oils or dark liquids, to avoid staining.
Shipping & Packaging
Each 8″ x 8″ Bardiglio Gray Piela mosaic sheet is individually cushioned and mesh-backed for easy handling, precise alignment, and minimal breakage during transport.
Important Note
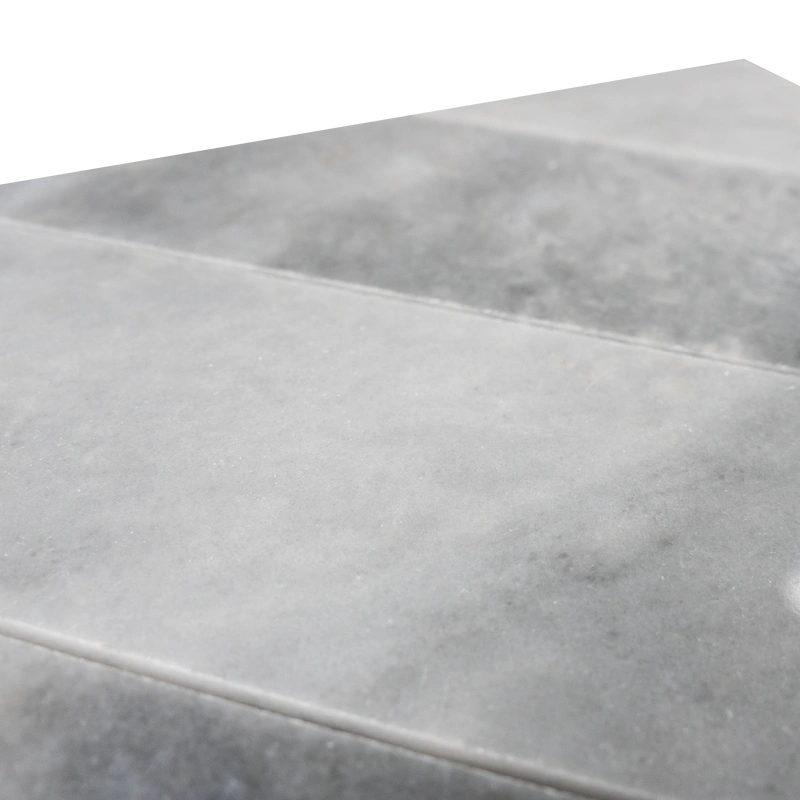
Bardiglio and gray marble are natural stones; expect subtle variations in tone, veining, and pattern. These differences enhance the unique character of your installation. For best results, professional installation and the use of premium adhesives and sealers are recommended. Stonemarket USA is not responsible for improper installation.