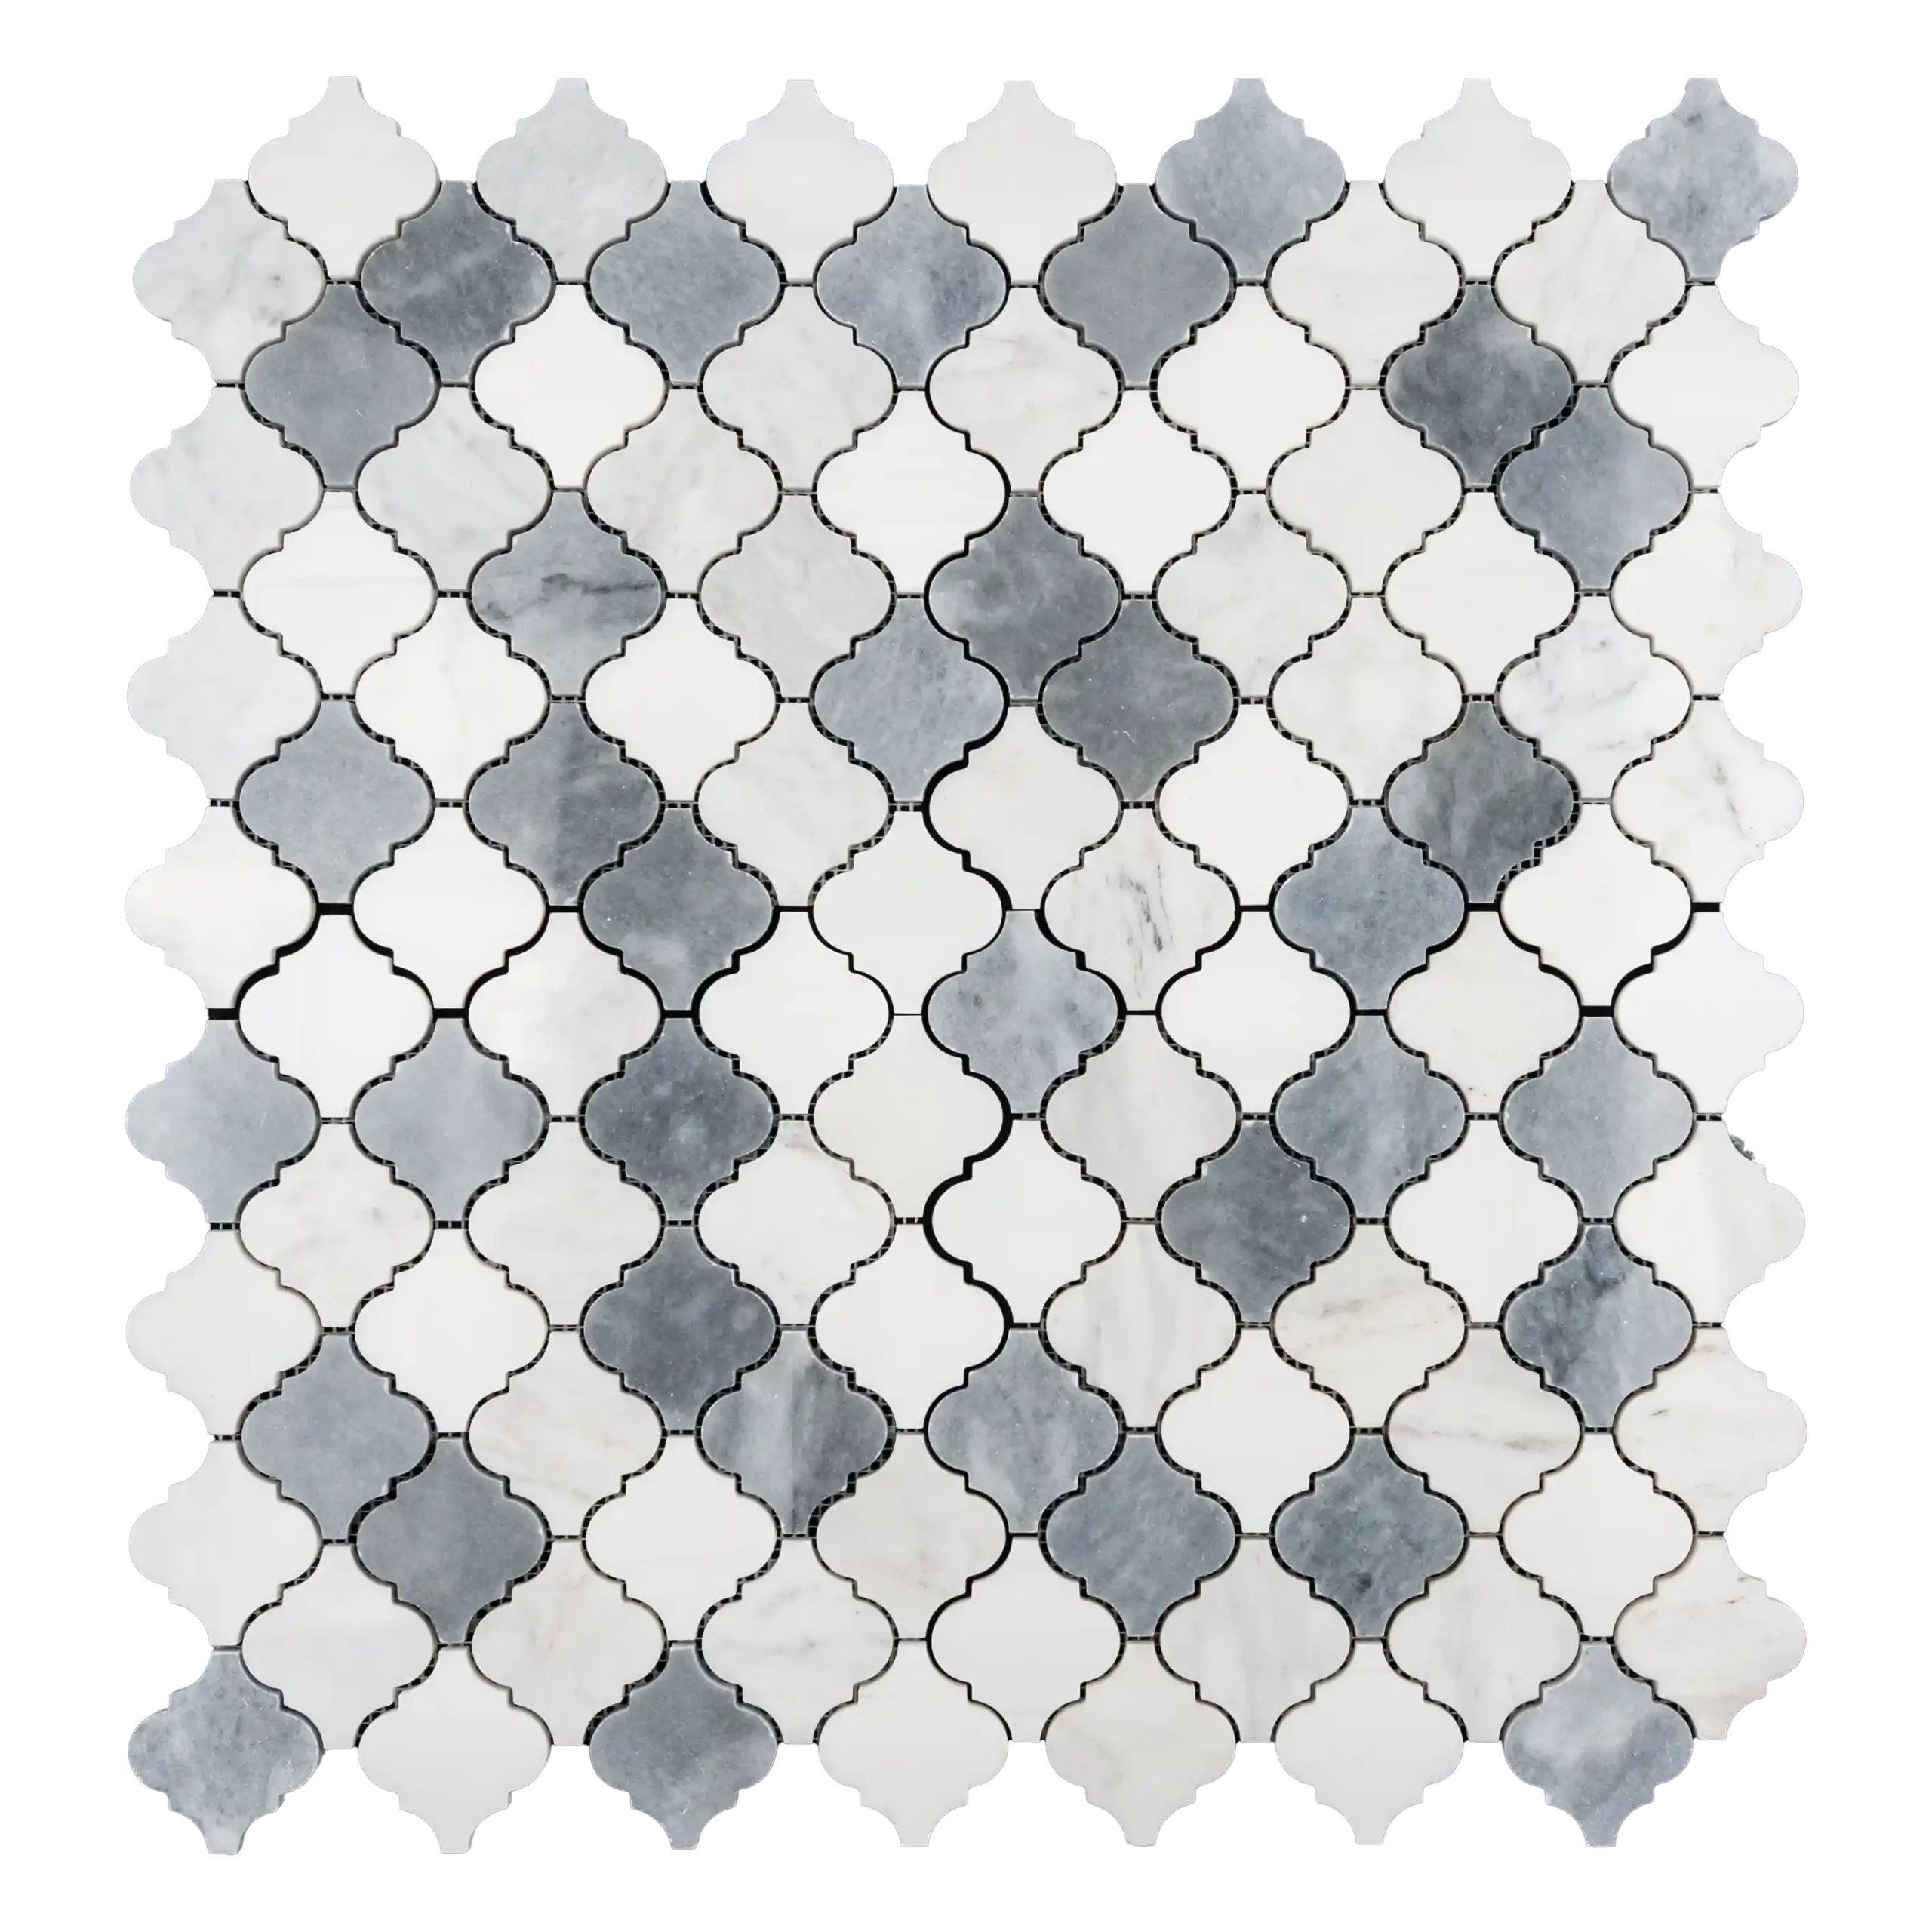
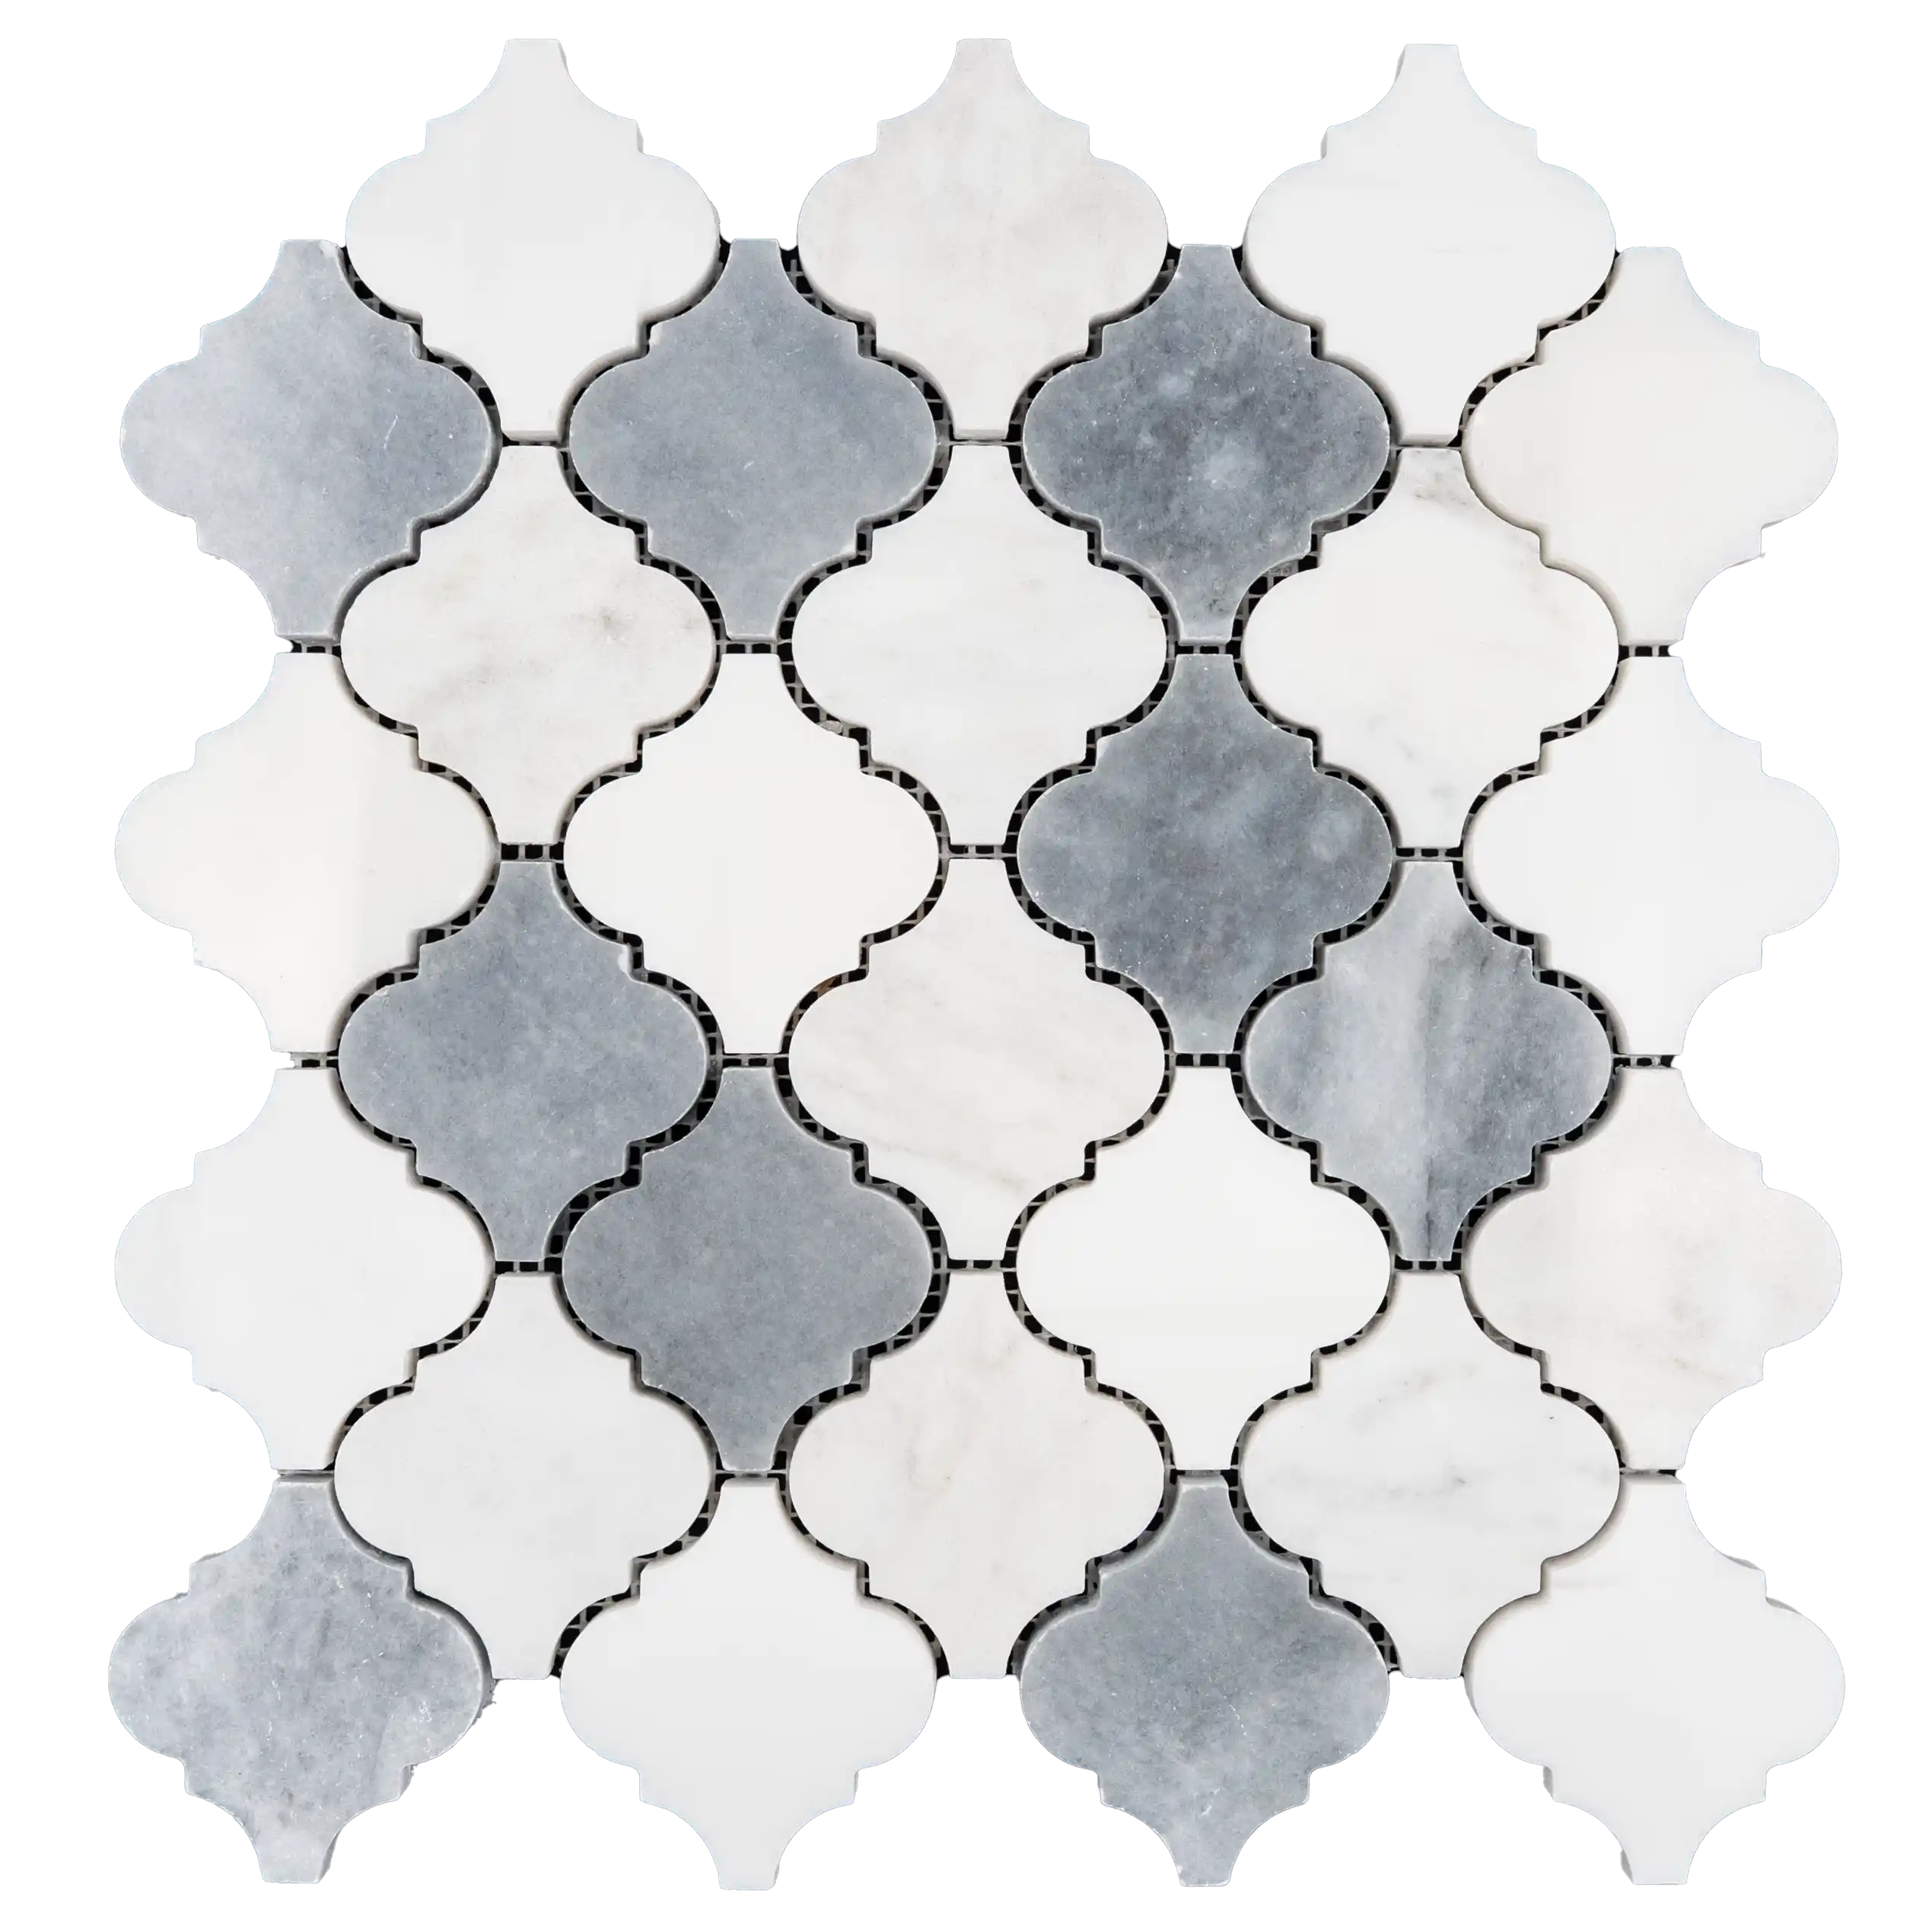
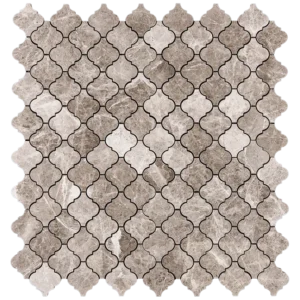
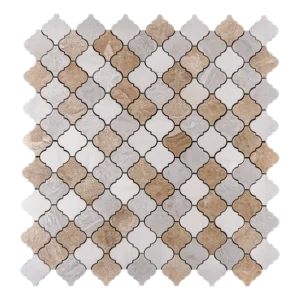
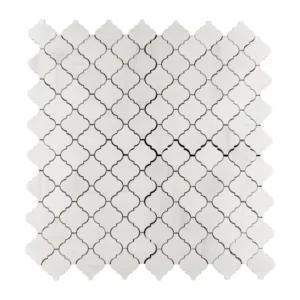
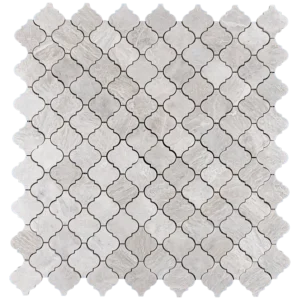
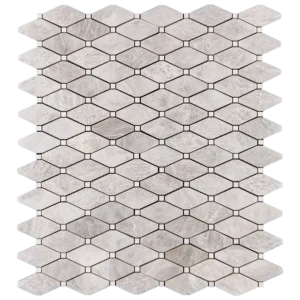
Arabesque Polished Marble Mosaic Tile – Dolomite, Bardiglio & Imperial White
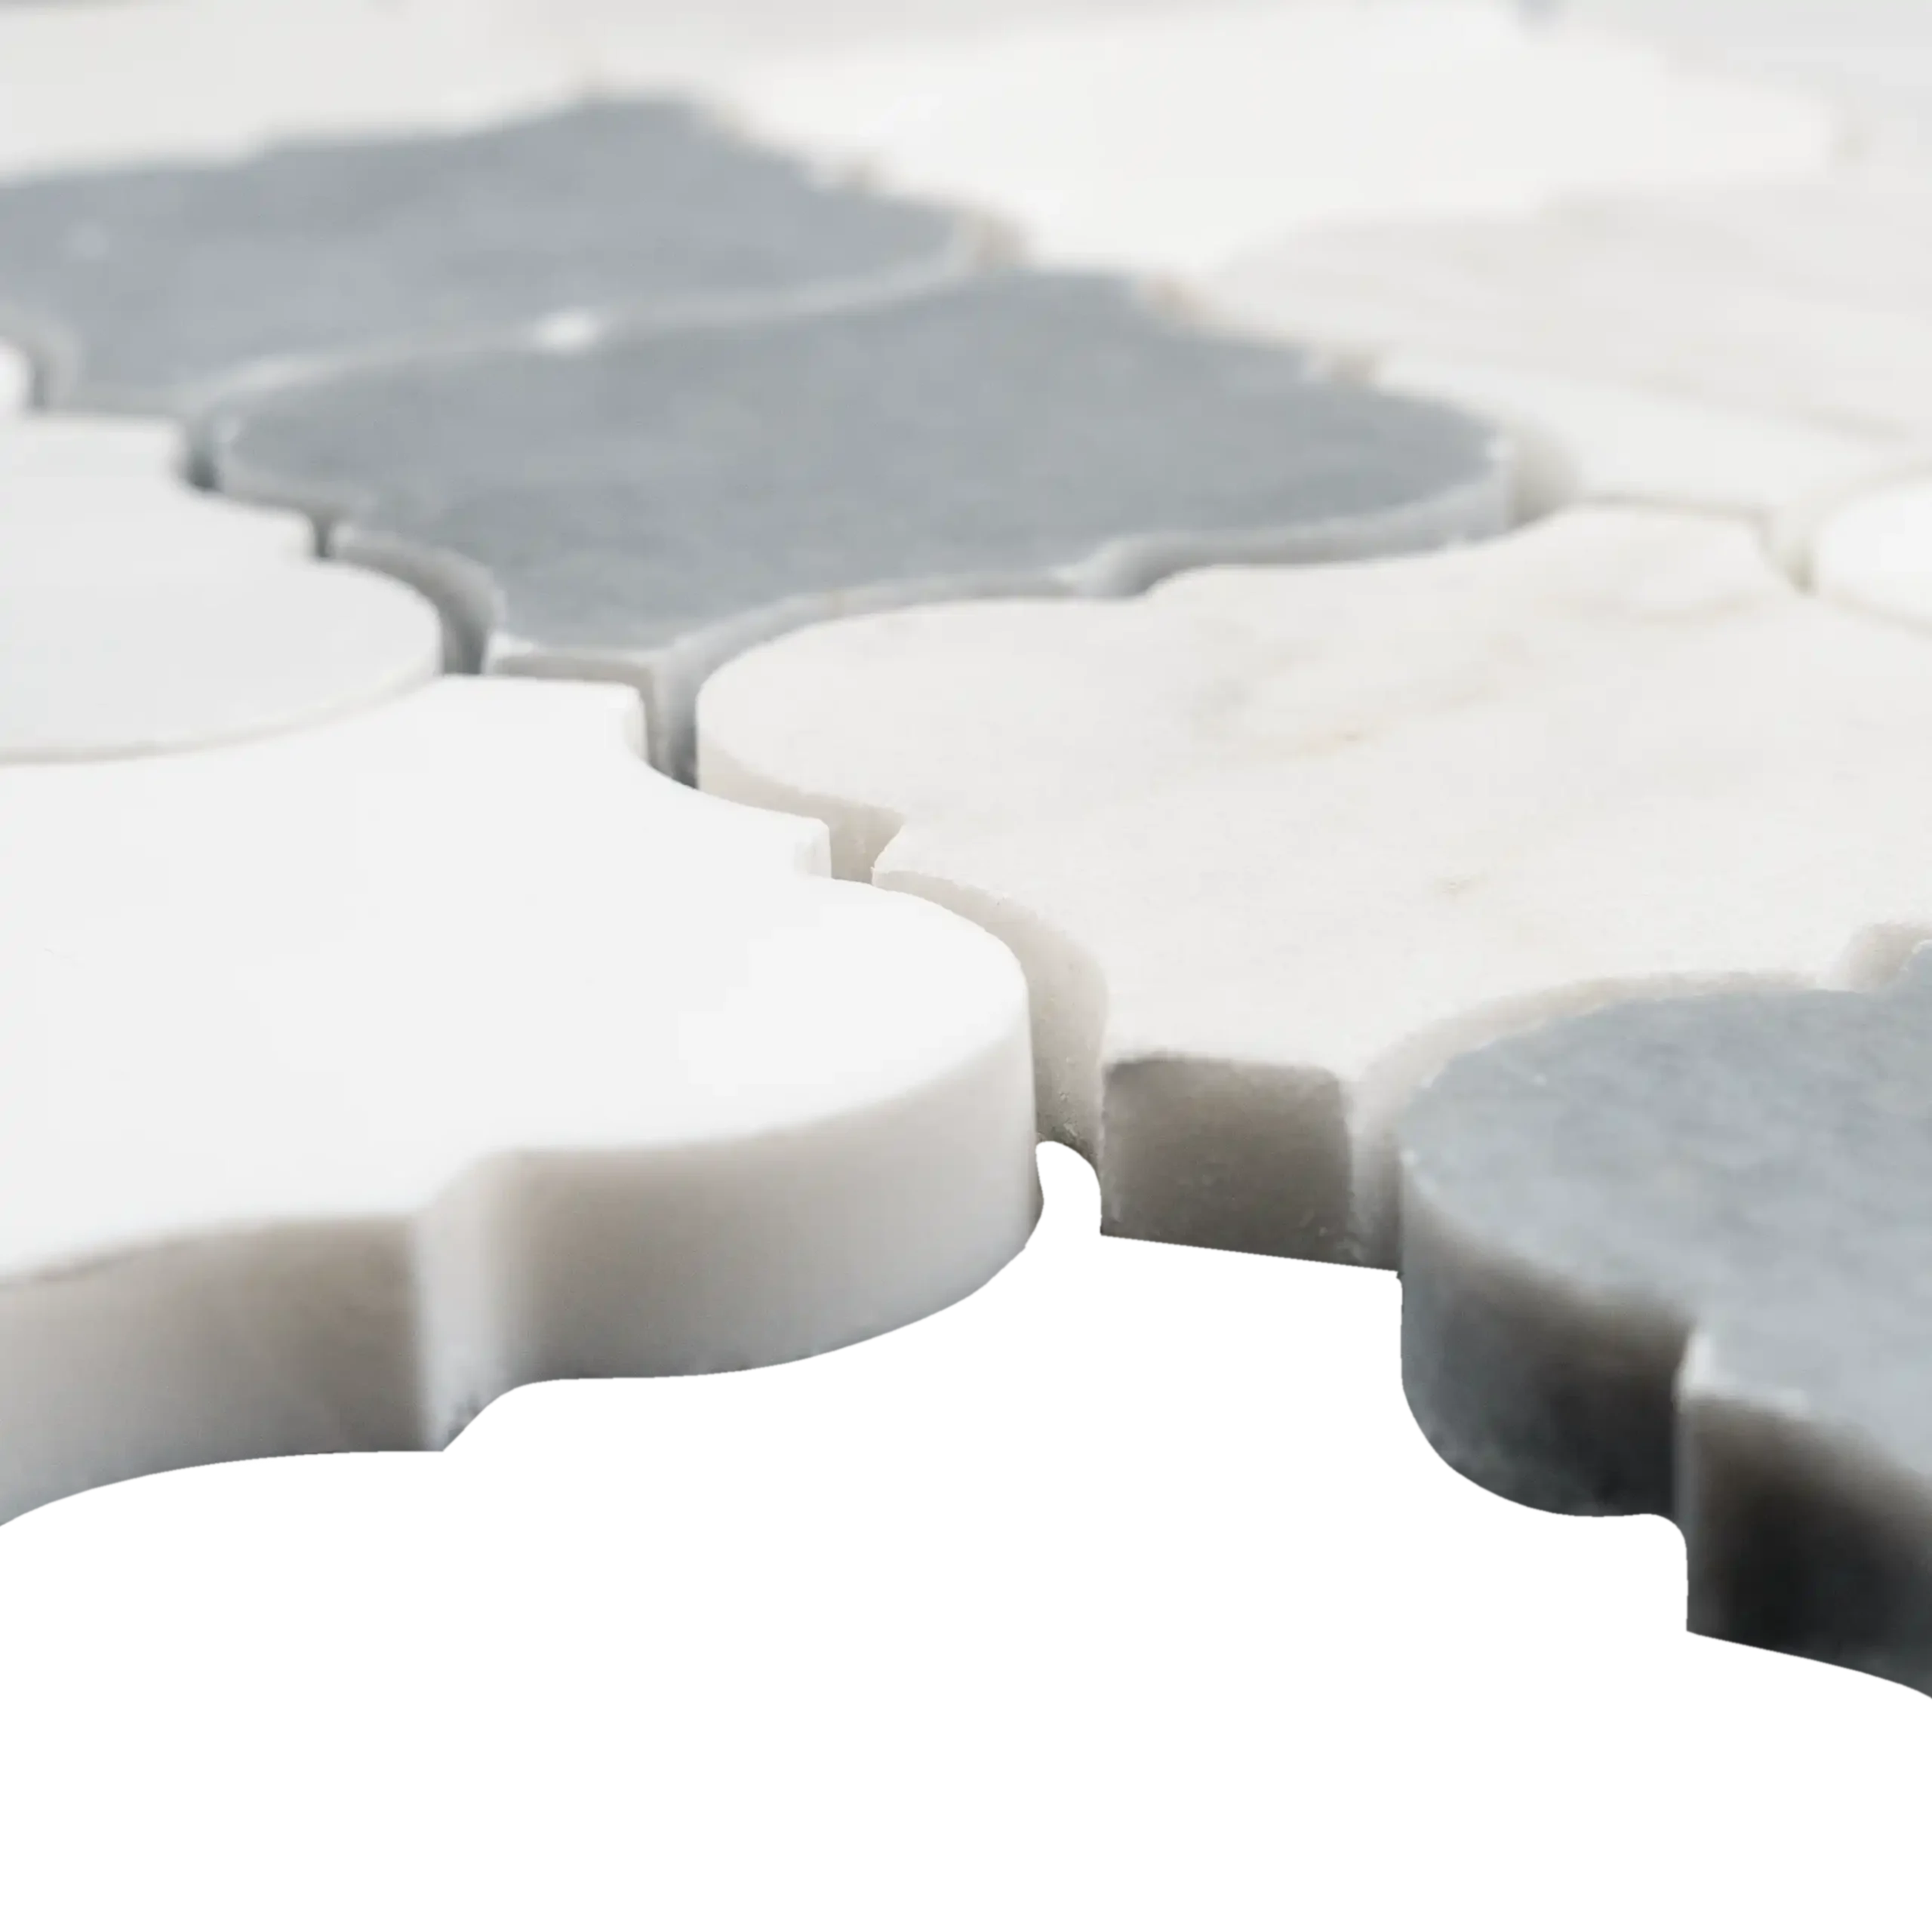
Elevate your interiors with the refined elegance of our Arabesque Polished Marble Mosaic Tile. Crafted from a luxurious mix of Dolomite, Bardiglio, and Imperial White marbles, this mosaic blends soft whites, sophisticated grays, and subtle taupe hues. Its polished finish highlights the natural veining, adding depth and a luminous sheen to any wall application.
Why Choose This Mosaic Tile?
Combining classic elegance with modern versatility, the arabesque shape creates visual interest and movement. Ideal for kitchens, spa-inspired bathrooms, or feature walls, this mosaic delivers both style and lasting quality.
Key Features
Material: Premium Natural Stone – Dolomite, Bardiglio, Imperial White
Finish: Polished for a glossy, reflective surface
Color Palette: Soft white, elegant gray, and light taupe
Pattern: Arabesque – classic yet contemporary design
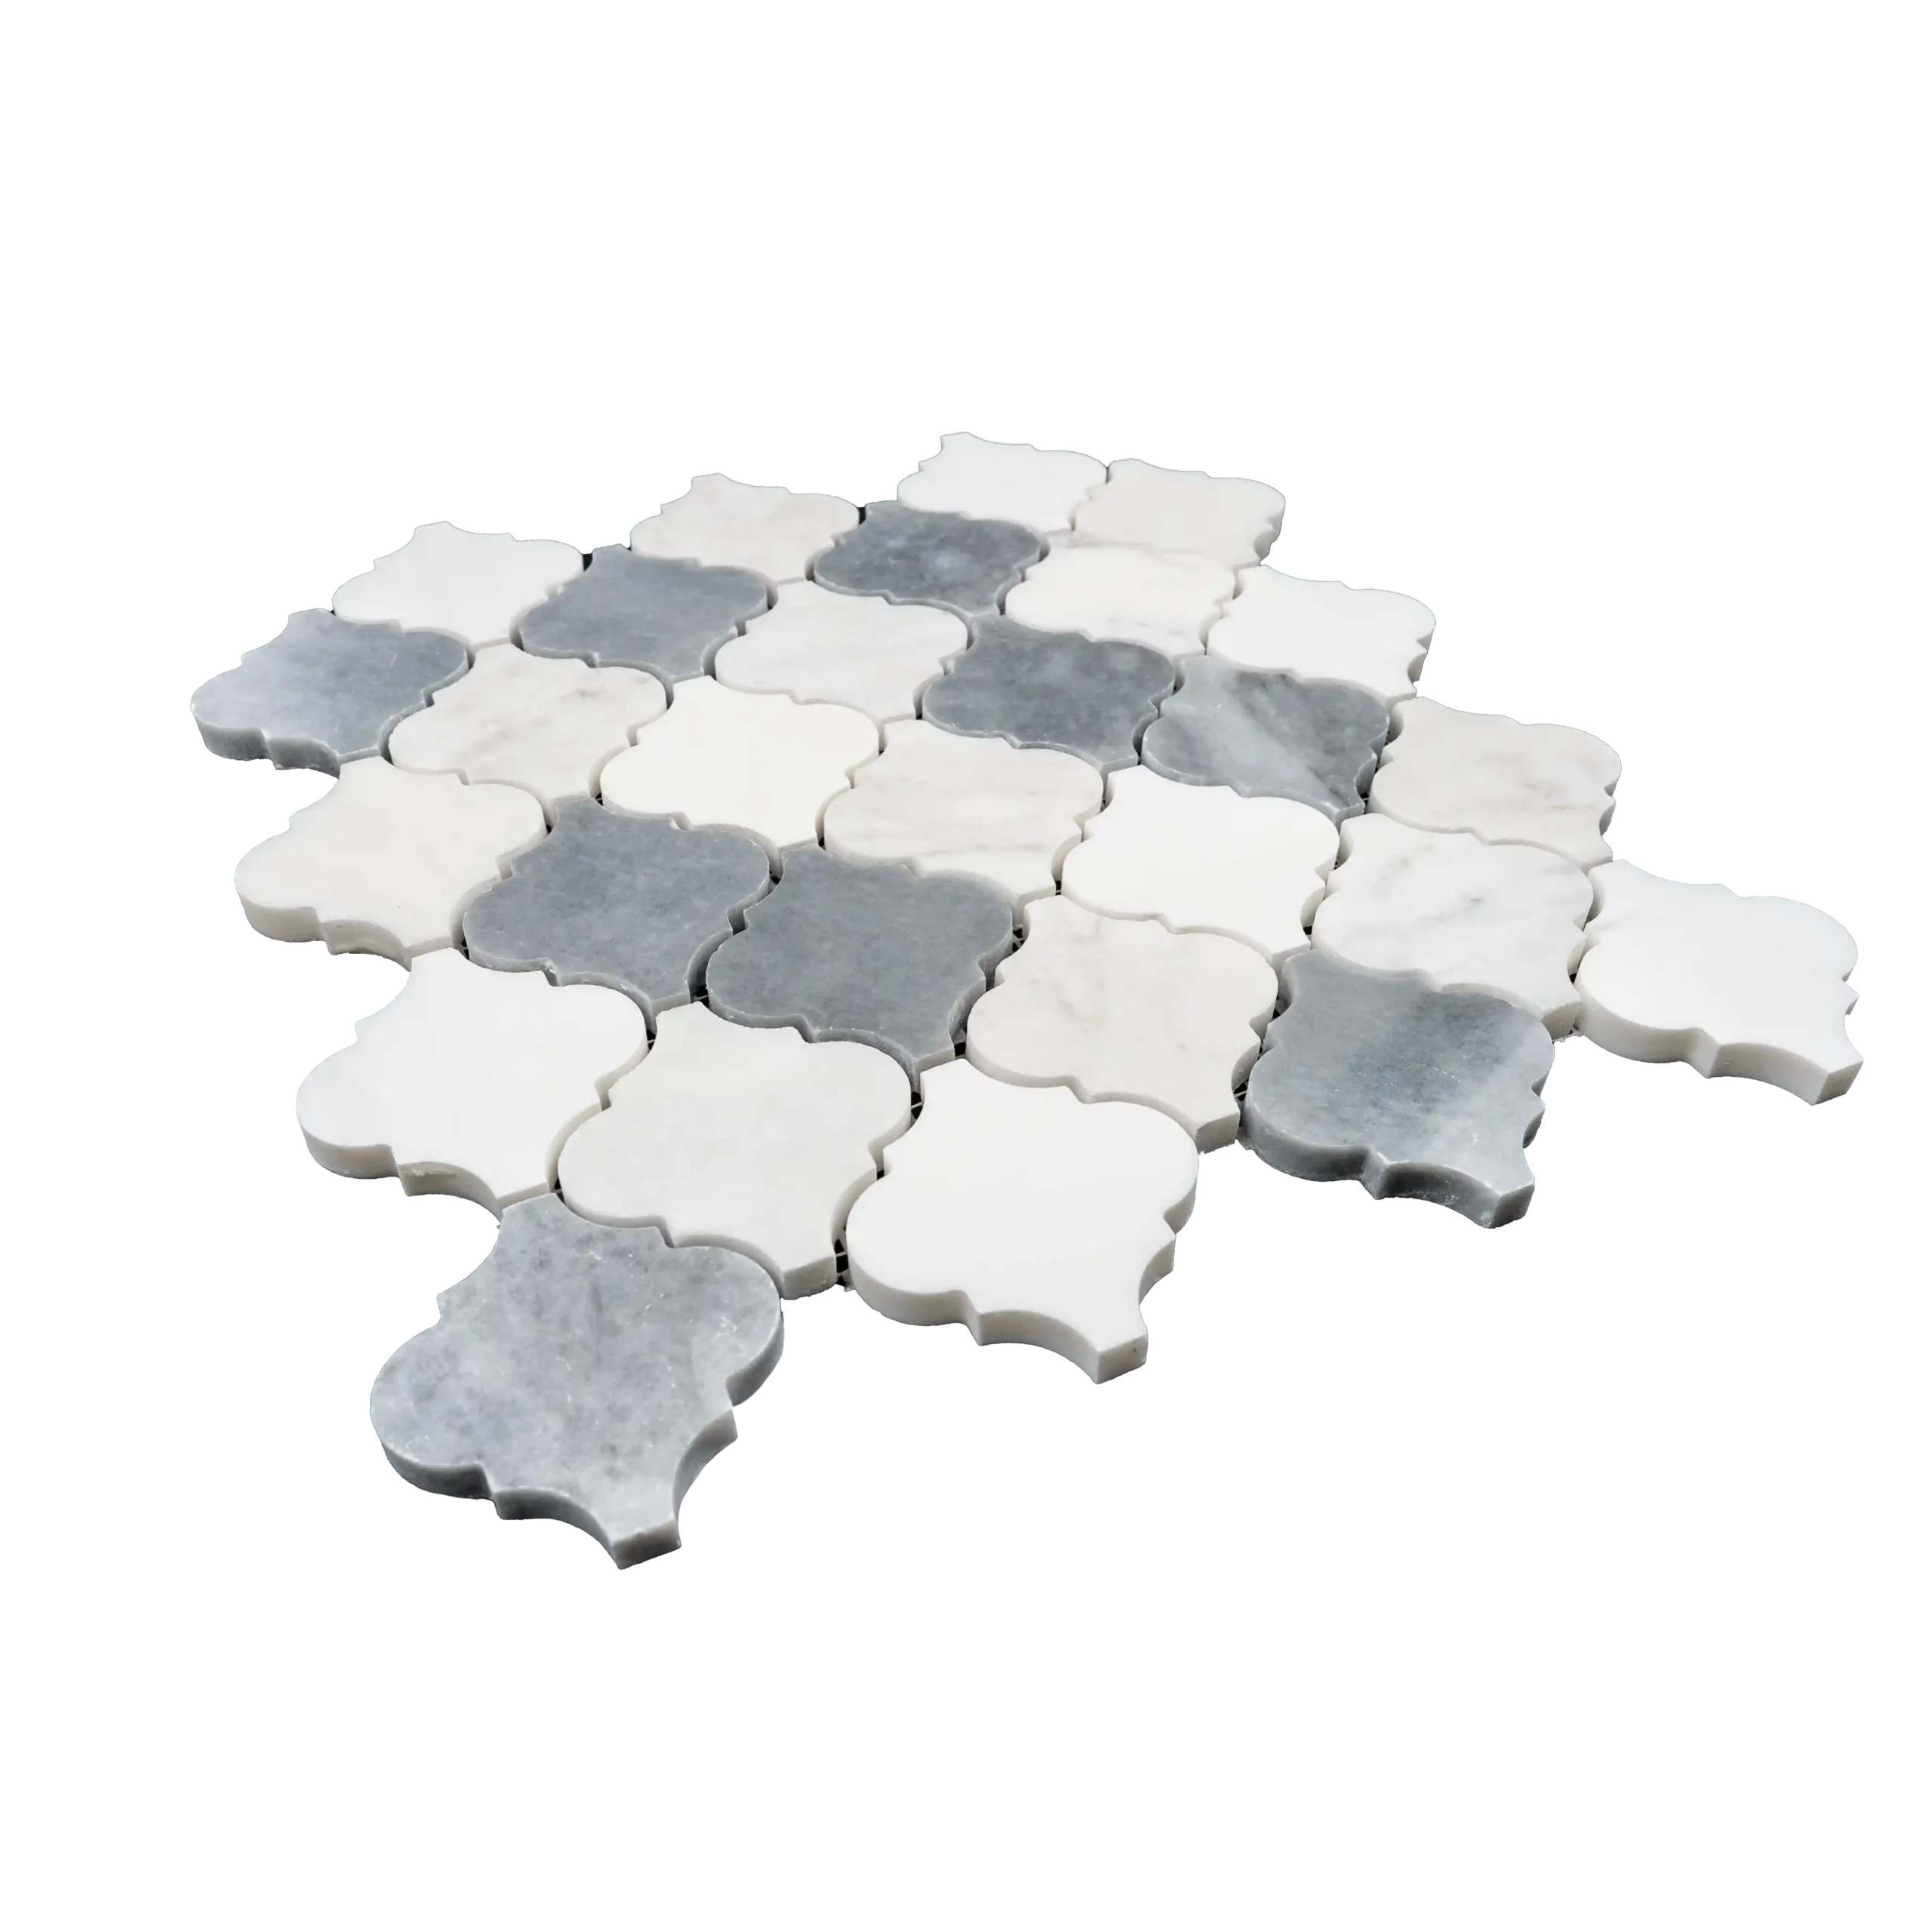
Sheet Size: 12″ x 12.4″ (30.5 x 31.5 cm)
Coverage: Approx. 1.03 sq. ft. per sheet
Packaging: 5 sheets per box (~5.15 sq. ft.)
Usage: Indoor walls – suitable for wet or dry areas
Benefits
Hand-selected natural stone ensures quality and character
Polished finish enhances veining and color variations
Elegant arabesque pattern adds sophistication and visual flow
Mesh-backed sheets make installation faster and precise
Versatile design works in both residential and light commercial spaces
Recommended Applications
Kitchen backsplashes: Add timeless charm to culinary spaces
Bathroom feature walls: Create a spa-like, luxurious atmosphere
Fireplace surrounds: Introduce warmth and elegance to living areas
Shower floors and niches: Durable and water-resistant for wet zones
Accent strips: Enhance any wall with subtle sophistication
Order Today: Upgrade your space with the lasting beauty of Dolomite, Bardiglio, and Imperial White marbles. Our experts are ready to assist with design ideas and project planning for a flawless installation.
Installation Guide – Arabesque Polished Marble Mosaic Tile
Follow these steps to achieve a flawless installation of your Arabesque Polished Marble Mosaic Tile. This guide ensures your polished marble retains its shine while the arabesque pattern flows seamlessly.
Step 1: Surface Preparation – Clean and Level
Make sure the surface is clean, dry, and free from dust, grease, or debris.
Confirm the substrate is stable, level, and free of cracks or damage.
Apply a waterproofing membrane in wet areas such as showers or backsplashes.
Remove any baseboards, fixtures, or outlet covers that could interfere with installation.
Use a leveling compound as needed to create a smooth, even surface.
Step 2: Layout Planning – Align the Pattern
Mark the center of the wall to create a symmetrical layout.
Dry-lay mosaic sheets to preview veining and color distribution across Dolomite, Bardiglio, and Imperial White marbles.
Adjust placement for a balanced design and to avoid uneven cuts along edges.
Use 1.5–3 mm spacers to maintain consistent grout lines.
Ensure the arabesque pattern aligns perfectly from sheet to sheet.
Step 3: Adhesive Application – Premium Thin-Set
Recommended Brands: Mapei, Laticrete, Ardex
Application Tips:
Mix small batches of thin-set to avoid premature drying.
Apply a thin, even layer with the flat side of a 1/4″ notched trowel.
Comb the adhesive at a 45° angle with the notched side for full coverage.
Lightly back-butter each sheet to strengthen adhesion and prevent voids.
Work in manageable sections to maintain workability.
Special Notes for Dolomite, Bardiglio & Imperial White:
Handle sheets carefully to avoid chipping delicate veining.
Pre-seal lighter areas like Dolomite and Imperial White to reduce staining risk during grouting.
Arrange sheets thoughtfully to showcase natural color variations.
Step 4: Cutting & Fitting – Maintain Precision
Use a wet saw with a high-quality diamond blade for clean cuts.
Mark cut lines clearly with a pencil or wax marker.
Smooth sharp edges using a rubbing stone or fine sandpaper.
Dry-fit all pieces to ensure proper alignment and pattern continuity.
Step 5: Setting the Tiles – Preserve Pattern Flow
Begin at the center and work outward to maintain balance.
Press mesh-backed sheets into the thin-set with a gentle twisting motion.
Avoid shifting tiles after placement to preserve alignment.
Use spacers to maintain uniform grout lines.
Tap lightly with a rubber mallet to level tiles.
Remove excess thin-set immediately with a damp sponge.
Allow adhesive to cure for at least 24 hours before grouting.
Step 6: Grouting & Sealing – Protect Your Marble
Remove all spacers before grouting.
Use unsanded grout to avoid scratching the polished surface.
Apply grout diagonally with a rubber float and clean excess promptly.
After 15–20 minutes, buff the surface with a soft cloth to remove any haze.
Let grout cure for 72 hours before applying a penetrating marble sealer.
For maintenance, use a pH-neutral, stone-safe cleaner to preserve the polished finish.
Important Notice
Professional installation is highly recommended. Always use premium adhesives, grout, and sealers for a durable and beautiful finish. Stonemarket USA is not responsible for improper installations.