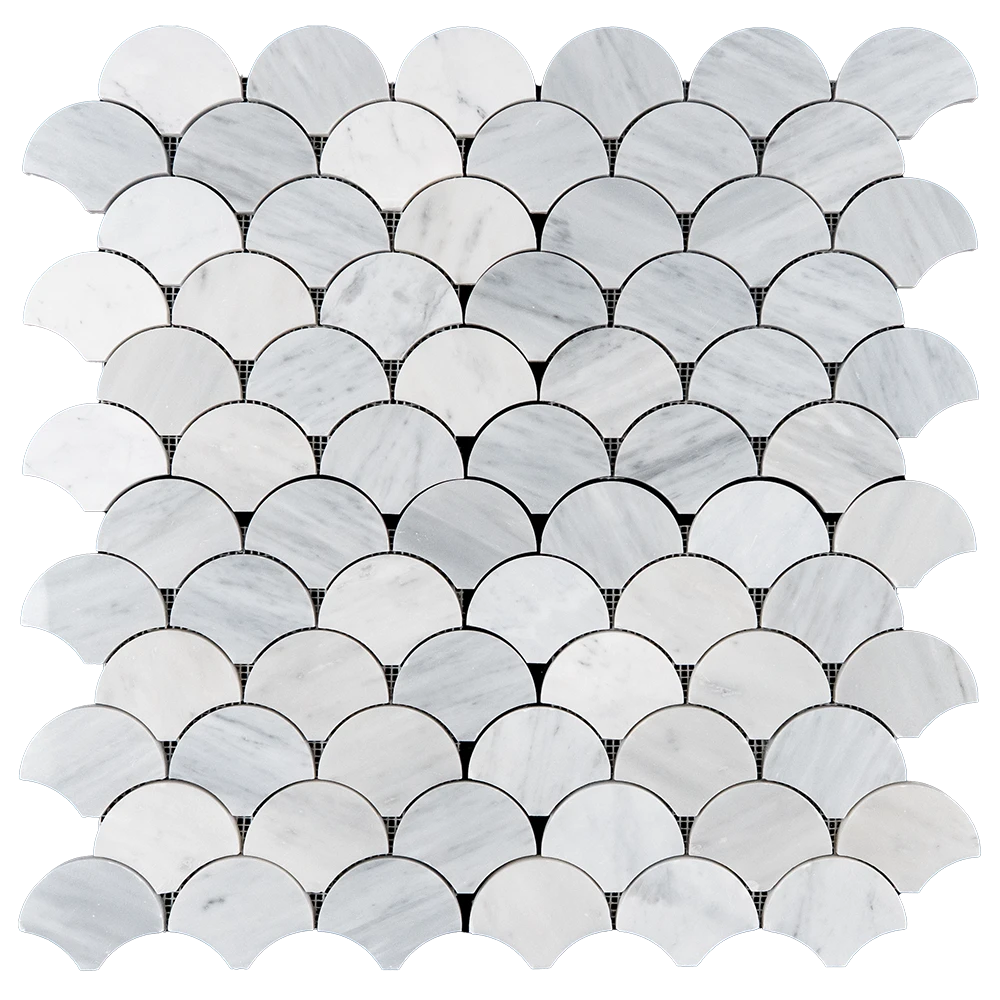
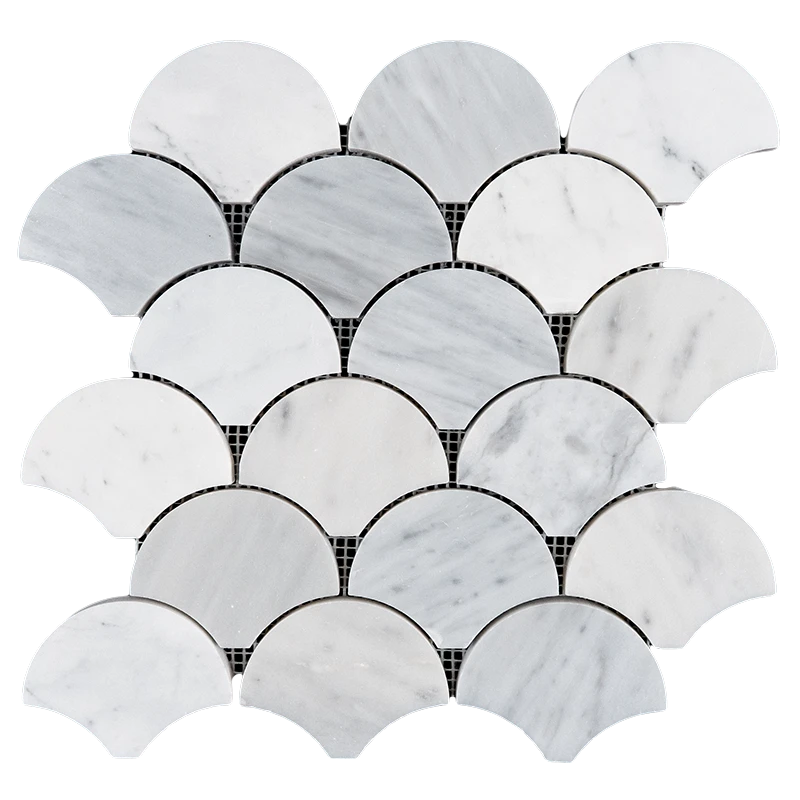
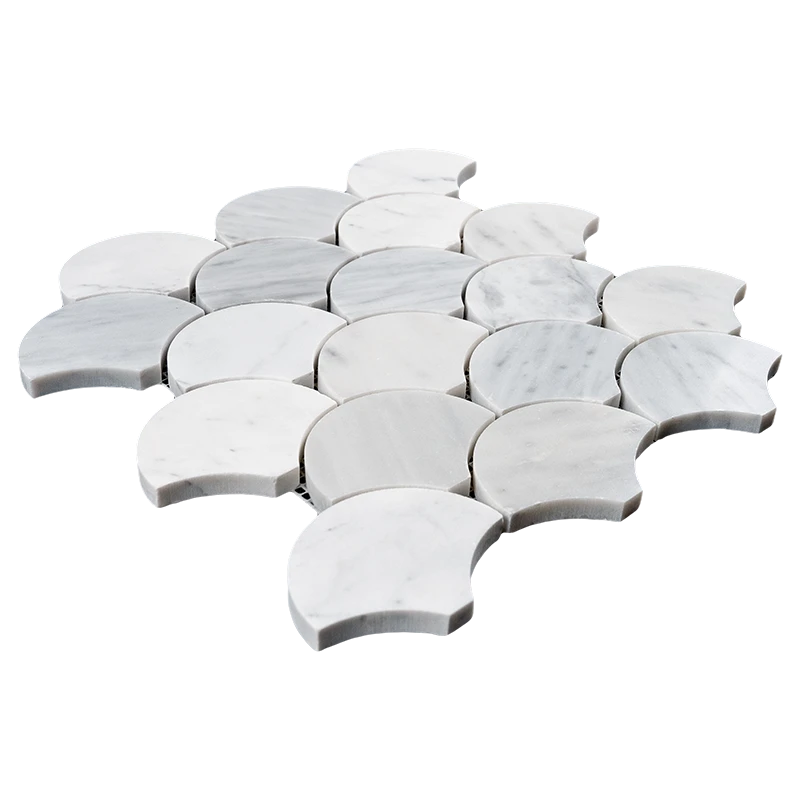
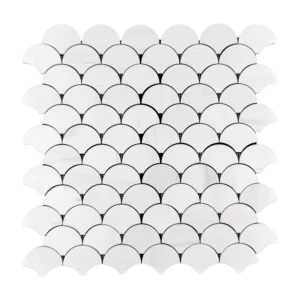
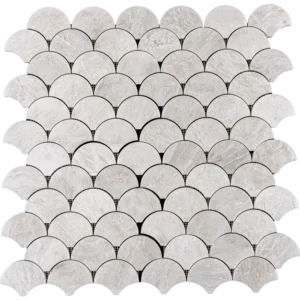
Fish Scale Carrara White Marble Mosaic Tile – Polished Finish
Bring a modern twist to classic design with the Fish Scale Carrara White Marble Mosaic Tile. Featuring a soft white base with delicate gray veining, this mosaic adds subtle texture and timeless elegance to any interior space.
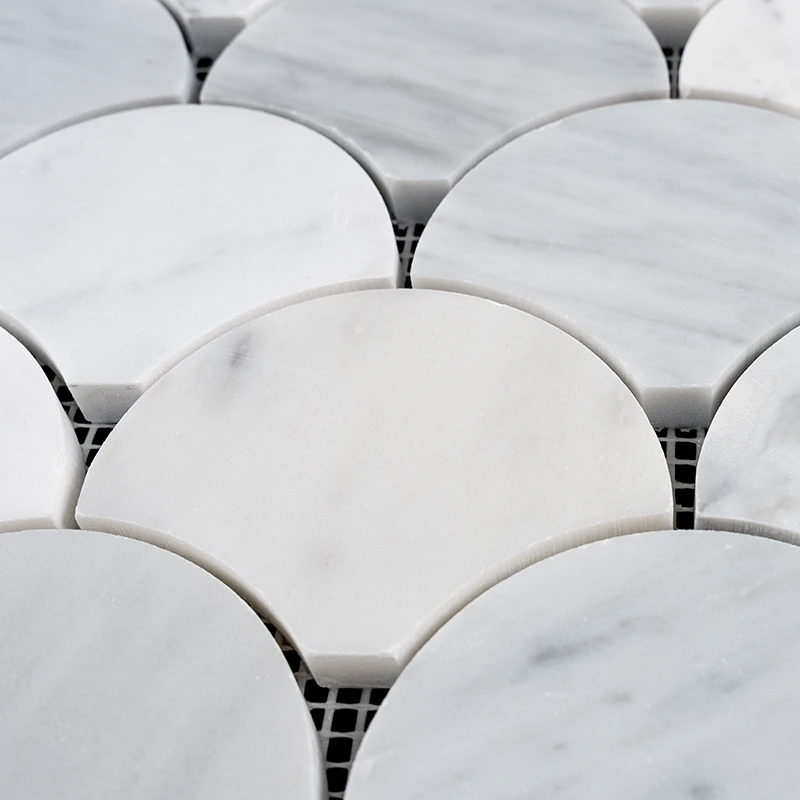
The polished surface enhances the marble’s natural luster, while the iconic fish scale pattern creates movement and visual flow. Its graceful curves make it an excellent choice for homeowners or designers seeking a sophisticated yet contemporary look.
Why Choose This Tile?
Made from premium Carrara white marble
Polished finish reflects light for a bright, elegant effect
Curved fish scale design adds dynamic, soft motion
Ideal for bathrooms, backsplashes, and feature walls
Mesh-backed for straightforward installation
Product Details
Material: Natural Carrara Marble
Finish: Polished
Pattern: Fish Scale
Color: White with subtle gray veining
Sheet Size: 10.4″ x 10.8″ (26.5 x 27.5 cm)
Coverage: Approx. 0.78 sq. ft. per sheet
Weight: Approx. 4.22 lbs per sheet
Recommended Use: Indoor walls, suitable for both wet and dry areas
This Carrara white marble mosaic brings effortless elegance and a sense of movement to your interiors. Perfect for a luxurious shower or a refined backsplash, it combines enduring beauty with a handcrafted, artistic appeal.
Fish Scale Carrara White Marble Mosaic Tile – Polished Finish (10.4″ x 27.8″)
Install Elegant Curves with Confidence
Achieve a flawless and long-lasting finish by following this professional guide for installing your Fish Scale Carrara White Marble Mosaic Tile. Each step ensures the polished surface is protected and the flowing fish scale pattern is highlighted beautifully.
Step 1: Surface Preparation – Create a Solid Base
Clean and dry the wall, removing dust, grease, or soap residue
Confirm the substrate is stable, level, and free of cracks
Apply a waterproof membrane in wet areas like bathrooms or backsplashes
Remove baseboards, outlet covers, or any trim that may obstruct installation
Use a self-leveling compound to correct uneven surfaces
Step 2: Layout Planning – Align the Pattern
Snap chalk lines at the center of the wall to guide placement
Dry-lay sheets to check spacing, alignment, and flow
Adjust layout to prevent thin edge cuts
Insert 1.5–3mm spacers to maintain consistent grout lines
Ensure curved patterns align smoothly across sheets
Step 3: Adhesive Application – Premium Thin-Set Mortar
Recommended Brands:
Application Tips:
Mix only the amount you can use within 30 minutes
Spread with the flat side of a 1/4″ notched trowel
Comb at a 45° angle for full coverage
Back-butter each sheet for stronger adhesion
Work in small sections to prevent premature drying
Step 4: Cutting & Fitting – Precision for Curves
Use a wet saw with a diamond blade for clean cuts
Mark tiles with a pencil or wax marker before cutting
Smooth edges with a rubbing stone to protect the finish
Use tile nippers for small or curved adjustments
Dry-fit pieces before applying mortar
Step 5: Setting the Tiles – Maintain the Fish Scale Flow
Start from the center and move outward for symmetry
Press mesh-mounted sheets into mortar with a gentle twist
Avoid sliding sheets after placement
Use spacers to keep grout lines uniform
Tap lightly with a rubber mallet for even placement
Remove excess mortar with a damp sponge
Allow 24 hours curing time before grouting
Step 6: Grouting & Sealing – Protect Your Marble
Remove spacers before grouting
Use unsanded grout to avoid scratching the polished surface
Apply grout diagonally with a rubber float
Clean off excess grout immediately
Wipe haze after 15–20 minutes with a damp sponge
Let grout cure for 72 hours
Apply a penetrating marble sealer to safeguard against moisture and stains
Maintenance Tips – Keep It Looking Elegant
Clean regularly with pH-neutral, stone-safe cleaners
Avoid acidic or abrasive products
Reapply sealer periodically for continued protection
Use soft pads under nearby furniture to prevent scratches
Important Notice
Stonemarket USA is not responsible for improper installations. For best results, professional installation and high-quality materials are recommended.
Need Assistance?
Contact our expert support team or connect with a licensed tile installer near you.