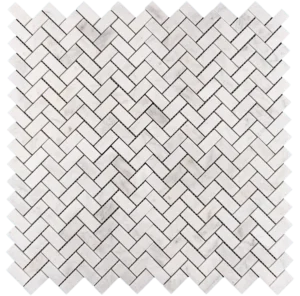
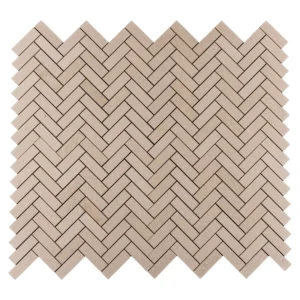
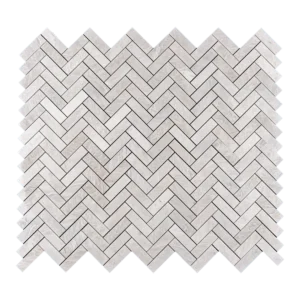
Installation Guide – Royal Beige 1″x6″ Herringbone Honed Marble Mosaic Tile
Material Notes
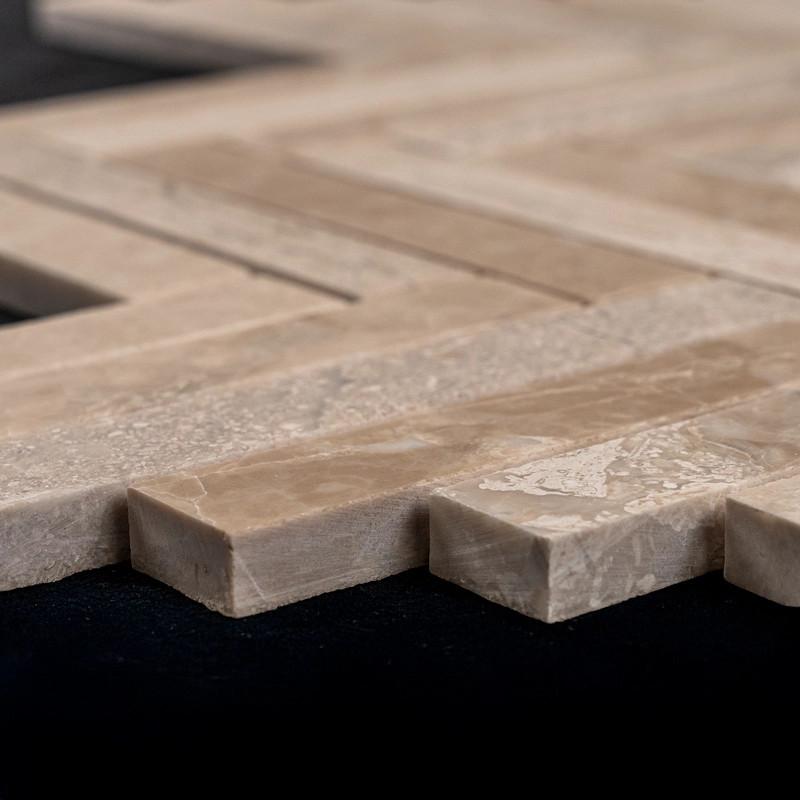
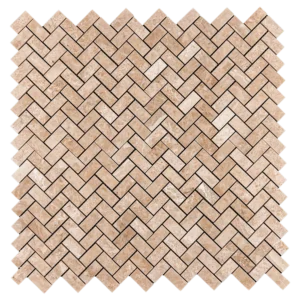
Premium Royal Beige marble with a honed matte finish.
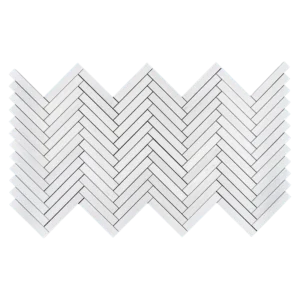
1″x6″ linear strips, factory-mounted in a herringbone pattern (~12″x12″ sheets; some may be paper-faced).
Suitable for walls, backsplashes, shower surrounds, and light-traffic residential floors. Multiple grout lines provide added traction.
Step 1: Surface Preparation
Ensure the substrate is clean, dry, rigid, and very flat (≤1/8″ in 10′; ≤1/16″ preferred for narrow strips). Patch or skim as needed.
Approved substrates: cement backer board, properly cured concrete, or mortar bed per ANSI standards.
For wet areas: install an ANSI A118.10 waterproofing membrane; shower floors require a 1/4″ per foot slope.
Always use white setting materials under light beige marble to prevent shadowing or picture-framing.
Step 2: Dry Layout & Planning
Blend sheets from multiple boxes to evenly distribute natural veining and color variation.
Snap level reference lines to guide the herringbone layout and ensure straight courses.
Stagger sheet seams so the mesh grid is hidden; trim mesh edges for tight interlocks.
Plan perimeter and obstacle cuts to maintain a continuous, clean pattern.
Step 3: Adhesive (White Thin-Set) Application
Use: White, polymer-modified thin-set for natural stone (ANSI A118.4/A118.15). Avoid premixed mastics in wet areas.
Trowel & Technique: Apply 3/16″ V-notch (or 1/4″x3/16″) on flat substrates. Key in mortar with the flat side, comb in one direction, lightly flatten ridges to prevent telegraphing through narrow strips. Work in areas you can cover within 10–15 minutes to avoid skinning.
Step 4: Setting the Sheets
Align the first sheet to reference lines; press in with a rubber grout float or beating block for full contact.
Use wedge spacers to maintain straight lines and consistent herringbone angles.
Back-butter individual strips as needed to correct lippage; lift and reset immediately if required.
Remove squeeze-through thin-set immediately with a barely damp sponge or microfiber.
For paper-faced sheets: set paper out, beat in, lightly wet paper after initial grab (~10–20 min), remove paper, then true up joints.
Step 5: Cutting & Detailing
Use a wet saw with a continuous-rim diamond blade; apply painter’s tape over cut lines to reduce chip-out.
For small trims, use mosaic nippers sparingly; finish edges with a rubbing stone.
Exposed edges may be finished with stone trims, metal profiles, or matching moldings.
Step 6: Grouting (Honed Marble)
Allow thin-set to cure (≈24 hours).
Use unsanded grout for joints ≤1/8″; for wider joints, select fine-aggregate, marble-safe grout and test first.
Optional: pre-seal or use marble-safe grout release on light stone to prevent pigment absorption.
Pack joints diagonally with a rubber float; clean with minimal water to avoid washout or shading.
Step 7: Sealing
After grout cures (≈72 hours), apply a penetrating, breathable sealer suitable for marble and grout.
Re-seal periodically based on use (every 1–2 years in wet/high-traffic areas).
Maintenance
Clean with pH-neutral, non-abrasive stone cleaners. Avoid acids, bleach, vinegar, or abrasive pads.
In showers, squeegee or wipe dry to reduce mineral deposits; use marble-safe scale removers if needed.
Movement Joints
Honor structural/expansion joints and provide soft joints per TCNA EJ171 at perimeters and changes of plane.
Use 100% silicone (stone-safe) in corners and where tile meets dissimilar materials.
Important Notes & Disclaimer
Natural marble varies in tone and veining; dry-lay and blend sheets prior to installation. Flat substrates are essential for long, narrow strips.
Always use white thin-set under Royal Beige to prevent shadowing.
Stonemarket USA is not responsible for substrate issues or improper installation. Professional installation is recommended.