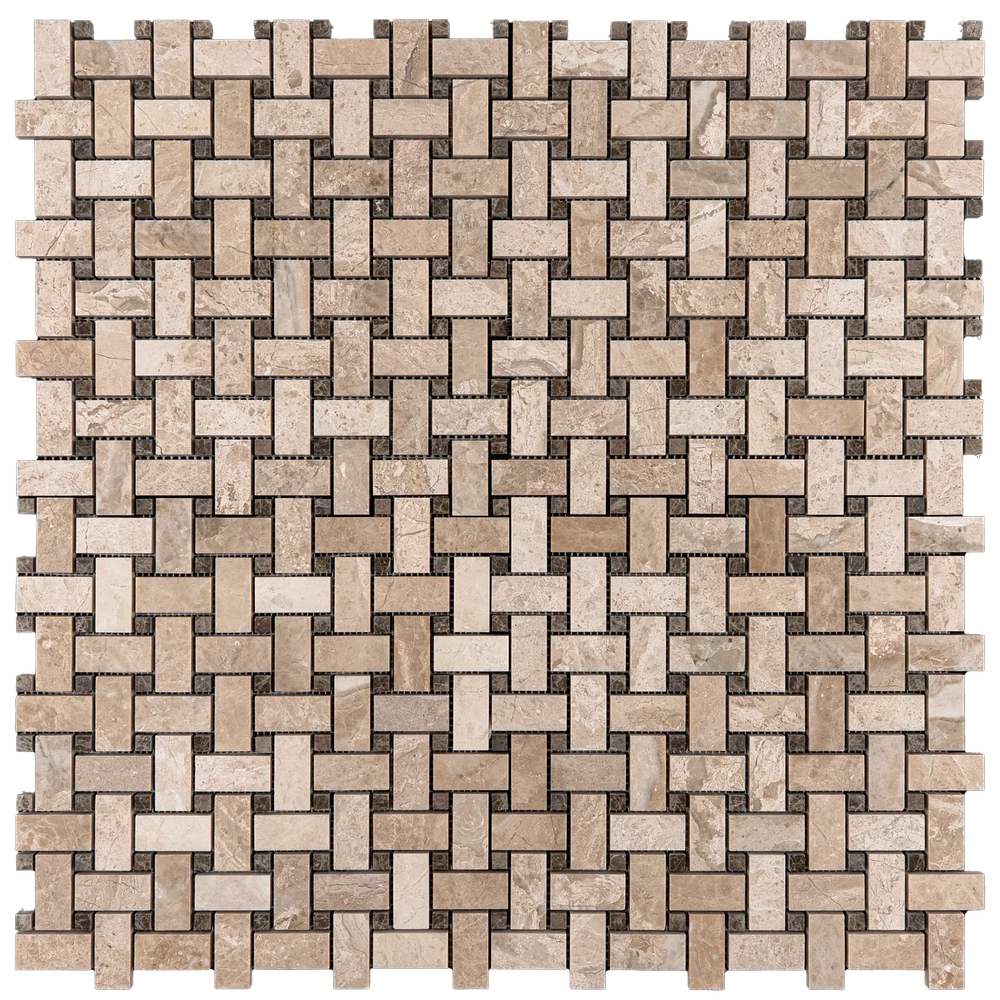
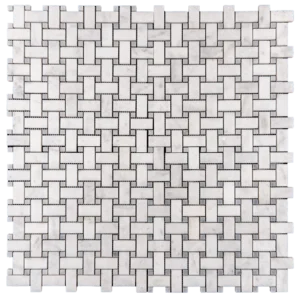
Basket Weave Royal Beige & Emperador Marble Mosaic Tile – 12″ x 12″ Polished
Timeless Warmth with Modern Elegance
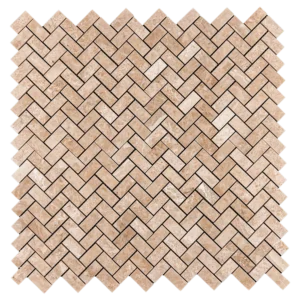
Elevate your interiors with the Basket Weave Royal Beige & Emperador Marble Mosaic. Each 12″ x 12″ polished sheet showcases a sophisticated basket weave pattern, blending warm Royal Beige hues with rich Emperador marble accents. This combination adds depth, texture, and a touch of luxury to kitchens, bathrooms, and feature walls.
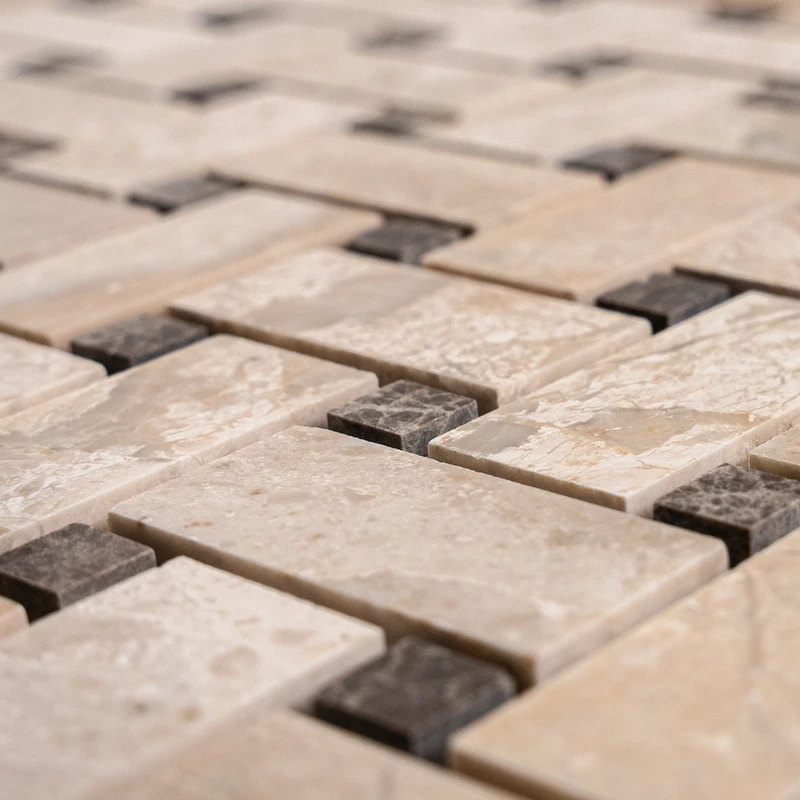
The polished finish highlights the marble’s natural veining and color variation, reflecting light to create a bright and spacious atmosphere. Its warm palette pairs beautifully with both classic and contemporary designs, making it a versatile choice for a variety of projects.
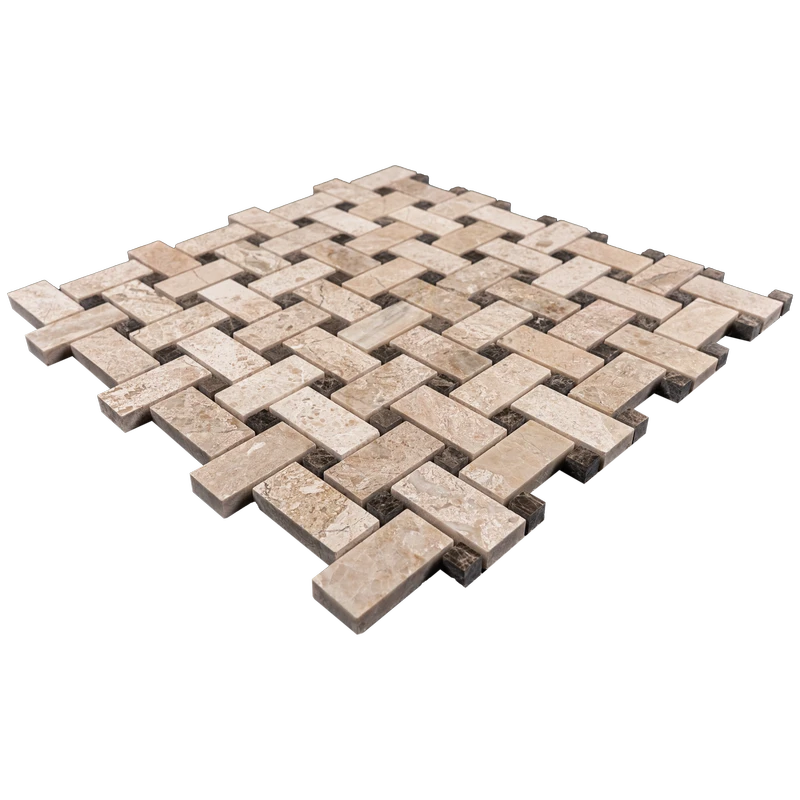
Thanks to its durable natural stone construction, this mosaic is ideal for long-lasting installations. Mesh-mounted backing ensures effortless alignment and professional results. The tile performs well in high-moisture areas like showers and backsplashes while remaining easy to maintain.
Key Features – Royal Beige & Emperador Basket Weave
Material: Natural Royal Beige & Emperador Marble
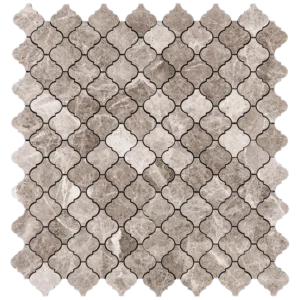
Color: Warm beige with deep brown Emperador accents
Finish: Polished – smooth and glossy
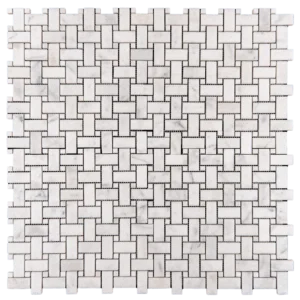
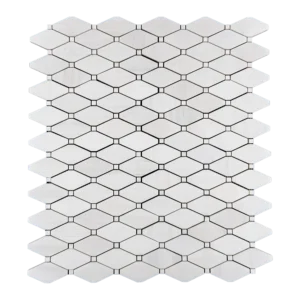
Pattern: Basket weave – classic elegance with a modern twist
Sheet Size: 12″ x 12″ (30.5 x 30.5 cm)
Thickness: 0.4″ (1 cm)
Installation: Mesh-mounted for precise and easy placement
Applications: Indoor walls – kitchens, bathrooms, accent walls
Why Choose This Mosaic Tile?
This tile blends premium marble with a timeless basket weave pattern. The polished surface enhances the warmth of Royal Beige and the richness of Emperador, creating a look that is both luxurious and versatile. Perfect for residential and light commercial spaces.
Installation & Care Tips
Use high-quality white thin-set adhesive for secure installation.
Seal after installation to protect against stains and moisture.
Apply non-sanded grout to preserve the polished finish.
Clean with a pH-neutral stone cleaner to maintain the marble’s shine.
Packaging & Coverage
Sold per box – includes 5 mesh-mounted sheets
Coverage: ~5 sq. ft. per box
Weight: ~24 lbs per box
Carefully packaged to minimize breakage during shipping
Installation Guide – Step by Step
Understanding Your Stone – Key Properties
Honed Finish: This basket weave mosaic features a soft, matte surface. While it reduces glare compared to polished marble, it still requires proper sealing to prevent stains and etching.
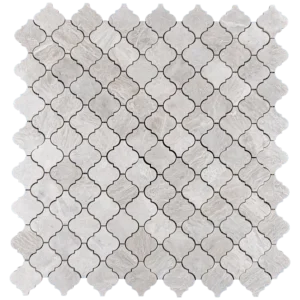
Porosity: Dolomite marble is moderately porous. Applying a high-quality penetrating sealer is essential, especially in moisture-prone areas like showers.
Color & Variation: Expect subtle differences in tone and natural veining between sheets. Dry-lay the tiles first to align patterns and achieve a consistent appearance.
Acid Sensitivity: As a carbonate stone, dolomite is prone to etching from acids. Use only pH-neutral cleaners and avoid acidic spills during installation and maintenance.
Cutting Considerations: Although dense and durable, dolomite can chip at edges. Always cut with a wet saw equipped with a fine diamond blade and smooth edges afterward.
Step 1: Surface Preparation – Build a Solid Foundation
Ensure the substrate is clean, dry, and free of dust, oil, or debris.
Verify that the surface is level, stable, and crack-free.
Apply a waterproofing membrane in wet areas such as showers.
Remove trims, outlet covers, and any obstacles.
Use a leveling compound if needed to create a smooth, even surface.
Step 2: Layout Planning – Keep the Pattern Consistent
Identify the center of the area to create a balanced and symmetrical layout.
Dry-lay the sheets to preview veining and pattern alignment. Adjust placement for uniformity.
Avoid awkward cuts at edges and corners.
Use 1.5–3 mm spacers between sheets to maintain consistent grout lines.
Step 3: Applying Adhesive – Select a Reliable Thin-Set
Recommended Brands:
Instructions:
Mix small batches that can be used within 30 minutes.
Spread adhesive with the flat side of a 1/4″ notched trowel.
Comb at a 45° angle for even coverage and strong bonding.
Lightly back-butter each mosaic sheet to ensure full adhesion and reduce lippage.
Work in sections to prevent the thin-set from drying prematurely.
Step 4: Cutting & Fitting – Precision Matters
Use a wet saw with a fine diamond blade for clean cuts.
Mark cuts accurately with a pencil or wax marker.
Smooth rough edges with a stone file or rubbing block.
Dry-fit all pieces before permanent installation to maintain pattern continuity.
Step 5: Setting Tiles – Maintain Pattern Flow
Start from the center and work outward for symmetry.
Press each mesh-backed sheet firmly into the adhesive, avoiding air pockets.
Use spacers to keep grout lines consistent.
Lightly tap tiles with a rubber mallet to ensure even height.
Clean excess adhesive immediately with a damp sponge.
Allow the installation to cure for at least 24 hours before grouting.
Step 6: Grouting & Sealing – Protect Your Marble
Use non-sanded grout to avoid scratching the honed surface.
Apply grout diagonally with a rubber float for full joint coverage.
Wipe off excess grout promptly, then buff lightly after 15–20 minutes.
Allow grout to cure for 72 hours before sealing.
Seal with a high-quality, penetrating stone sealer designed for honed marble to protect against moisture and stains.
Maintenance Tips – Keep Your Mosaic Looking New
Clean regularly with pH-neutral, stone-safe products.
Avoid acidic or abrasive cleaners that can damage the surface.
Reseal periodically, especially in high-traffic or wet areas.
Use felt pads under furniture to prevent scratches.
Shipping & Packaging
Each Basket Weave Dolomite Marble Mosaic sheet is carefully mesh-mounted and packaged to prevent breakage during transit.
Important Note
Natural stone variations are part of the mosaic’s charm. For best results, we strongly recommend professional installation using high-quality adhesives and sealers. Stonemarket USA is not responsible for improper installation.