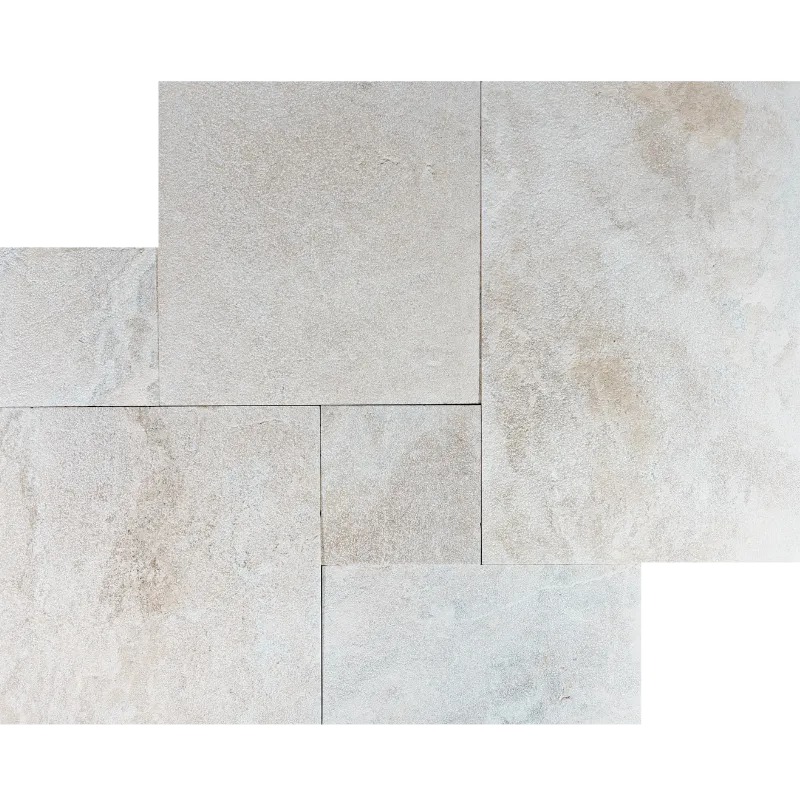
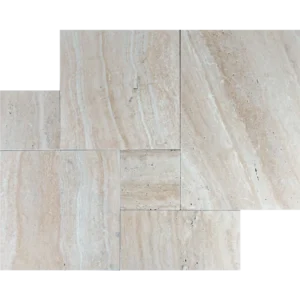
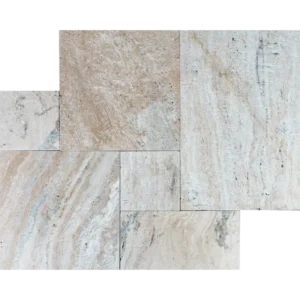
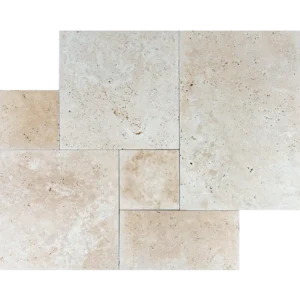
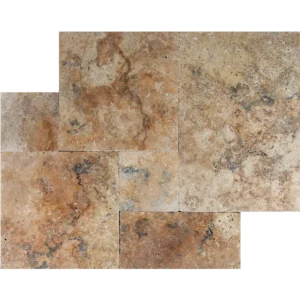
Diana Royal Leather Finish Marble – French Pattern Luxury Pavers
Elevate your interiors and exteriors with Diana Royal Leather Finish Marble. This premium marble features a soft, creamy beige palette with delicate veining, adding warmth and sophistication to any space. Its leathered texture provides a subtle matte finish that highlights natural variation while offering slip resistance, making it both elegant and practical. The French pattern layout creates visual movement and depth, perfect for modern or classic designs.
French Pattern Set Composition:
(2) pcs – 16″ x 16″
(1) pc – 16″ x 24″
(1) pcs – 8″ x 16″
(2) pc – 8″ x 8″
Product Highlights:
Premium marble with creamy beige and ivory tones
Leathered finish for texture and soft matte elegance
Timeless French pattern layout adds visual flow
Durable 1-1/4″ thickness – ideal for indoor and outdoor spaces
Perfect for luxury bathrooms, foyers, terraces, and pool decks
Sold in French pattern sets (8 sq. ft. per set) – 22 sets per crate (176 sq. ft.)
Installation Guide – Diana Royal French Pattern Leather Finish Marble Pavers
Follow this step-by-step guide to ensure a secure, visually striking installation of Diana Royal Leather Finish Marble Pavers.
Step 1: Base Preparation – Level & Stable Foundation
Excavate and compact the sub-base for outdoor installations (patios, terraces, pool decks).
For indoor floors, ensure the substrate is clean, level, and fully cured.
Apply a sand-set base, mortar bed, or adhesive system suitable for marble pavers.
Check for proper slope in wet areas to ensure drainage.
Step 2: Dry Layout – Plan Your Design
Dry-lay several French pattern sets to preview the layout, veining, and color distribution.
Adjust tile placement for visual balance and consistent flow.
Mark guide lines for straight and symmetrical alignment.
Step 3: Adhesive / Mortar Application
Recommended Materials:
Spread adhesive evenly across small sections using a notched trowel.
Back-butter pavers for full contact and stronger bonding.
Place tiles carefully, following the French pattern layout.
Step 4: Joint Spacing & Alignment
Allow 1/8″–1/4″ spacing between tumbled edges for natural fit and expansion.
Use spacers if necessary to maintain consistent gaps.
Check alignment with a level and adjust pavers before the adhesive sets.
Step 5: Cutting & Fitting
Use a wet saw with a diamond blade designed for natural stone.
Carefully cut corner and edge pieces to maintain pattern continuity.
Smooth cut edges with a stone file or diamond pad for a seamless finish.
Step 6: Grouting & Finishing
Allow adhesive/mortar to cure for 24 hours before grouting.
Use a non-sanded grout to avoid scratching the leathered marble surface.
Apply grout evenly and wipe excess immediately with a damp sponge.
Buff surface with a soft cloth after 30–45 minutes to remove haze.
Step 7: Sealing – Protect & Enhance
Apply a penetrating marble sealer suitable for leathered finishes once grout has fully cured (typically 72 hours).
Re-seal periodically depending on foot traffic, exposure to moisture, or outdoor conditions.
Maintenance Tips
Clean with pH-neutral, stone-safe cleaners only.
Avoid acidic or abrasive products that can damage leathered marble.
Wipe up spills promptly, especially oils or acidic liquids.
For outdoor use, inspect grout joints and reapply sealer as needed.
Important Note:
Diana Royal Marble is natural stone. Veining and tone may vary between pavers. Always dry-lay pieces to ensure visual consistency. Stonemarket USA is not responsible for installation errors or natural variation in the stone.