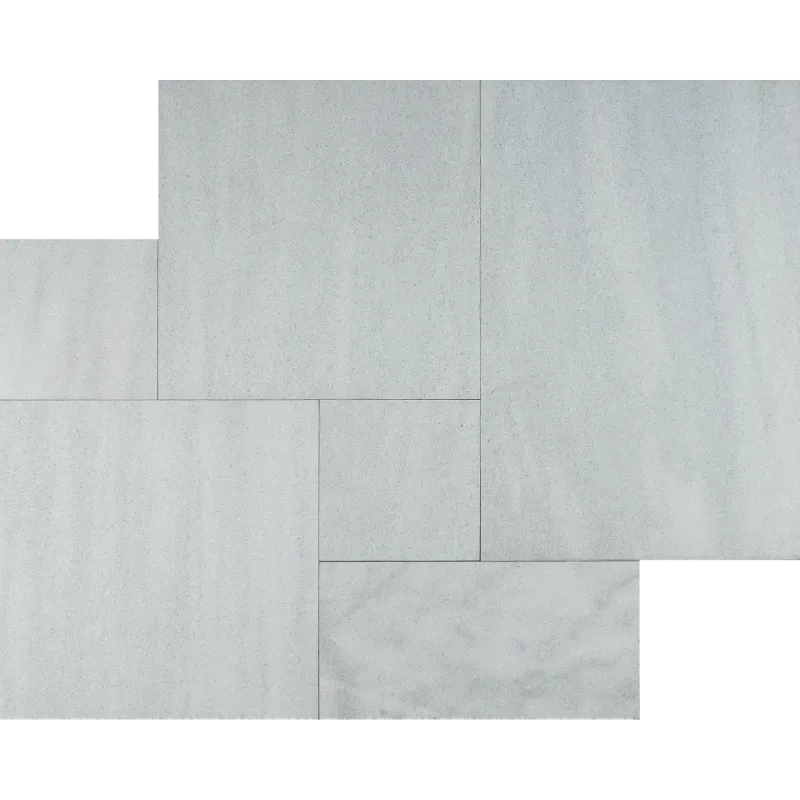
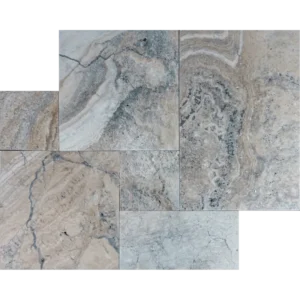
Florida Blue – French Pattern Sandblasted Marble Paver delivers a serene, sophisticated look with soft veining and subtle blue-grey undertones. Its sandblasted surface provides gentle texture and slip resistance, making it ideal for upscale outdoor areas where safety and style are equally important.
Arranged in a classic French Pattern, each set combines multiple pre-cut sizes to create a dynamic, flowing visual effect. Perfect for pool decks, contemporary patios, and elegant driveways, Florida Blue marble adds a refined, timeless touch to any exterior space.
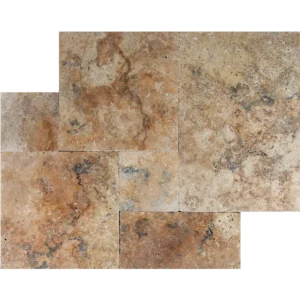
French Pattern Set Includes:
(2) pieces – 16″ x 16″
(1) piece – 16″ x 24″
(1) piece – 8″ x 16″
(2) pieces – 8″ x 8″
Installation Guide – Florida Blue French Pattern Sandblasted Marble Pavers
Tools & Materials Needed
Materials: crushed stone or gravel base, leveling sand or flexible thin-set mortar, joint filler (polymeric sand, fine sand, or grout), penetrating stone sealer, clean water.
Tools: tape measure, shovel, plate compactor, long level, rubber mallet, screed board, wet saw with diamond blade, grout float, spacers, broom, protective gear (gloves, goggles).
Step 1 — Base Preparation: Stable & Level Foundation
Excavate the area to accommodate paver thickness plus base layers.
Compact the soil thoroughly.
Spread and compact 4–6″ (100–150 mm) of crushed stone or gravel. For vehicle traffic, increase to 8–12″ (200–300 mm).
Ensure proper drainage with a slope of ~1/4″ per foot (2%).
Apply a 1″ (25 mm) layer of leveling sand or 3/4–1″ (20–30 mm) mortar and screed smooth.
Step 2 — Dry Layout: Plan the French Pattern
Dry-lay the pavers to preview the French Pattern and blend tones naturally.
Mix pavers from multiple crates for uniform color distribution.
Mark centerlines or reference points for symmetry.
Plan edge cuts ahead of installation.
Step 3 — Setting the Pavers: Sand-Set or Mortar-Set
Sand-Set Method:
Place pavers on the prepared sand bed.
Lightly tap each paver with a rubber mallet.
Check level using a long straightedge or level.
Install edge restraints to secure the layout.
Mortar-Set Method:
Spread flexible thin-set mortar on the base.
Back-butter each paver for full adhesion.
Set pavers, tap lightly, and ensure level alignment.
Allow mortar to cure according to manufacturer’s instructions.
Step 4 — Joint Spacing: Natural Look
Step 5 — Filling Joints
Sand-Set: Sweep polymeric sand or fine sand into joints.
Mortar-Set: Use non-sanded or flexible grout.
Remove excess material before it hardens.
Test filler on a small area first to avoid staining the blue-grey marble.
Step 6 — Sealing: Protect & Enhance
Once joints are cured, apply a penetrating stone sealer.
Test the sealer on a small sample area.
Reapply every 1–3 years depending on traffic and weather exposure.
Avoid surface film sealers that can alter texture or slip-resistance.
Step 7 — Initial Cleaning & Curing
Avoid heavy traffic until mortar or filler is fully cured (24–72 hrs).
Sweep and rinse gently to remove dust.
Use only pH-neutral cleaners; avoid acidic or abrasive products.
Maintenance Tips
Sweep or rinse regularly to prevent dirt buildup.
Clean spills immediately to prevent staining.
Avoid harsh chemicals and salt-based deicers.
Reseal periodically to maintain protection and color.
⚠️ Important Note: Florida Blue marble is natural stone; color, veining, and texture may vary. Always dry-lay and inspect pavers before permanent installation for a harmonious layout.