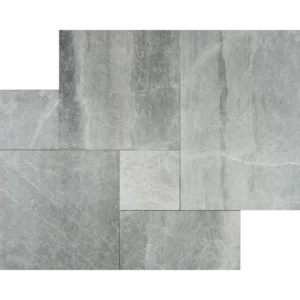
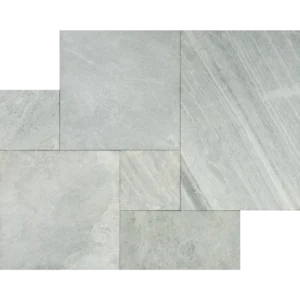
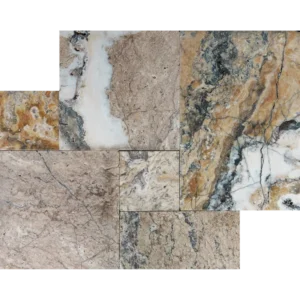
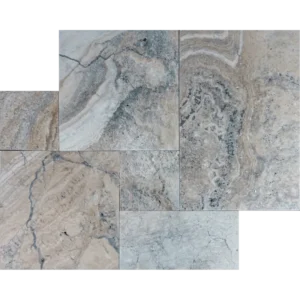
Installation Guide – Myra Shell French Pattern Leathered Limestone Paver
Step 1: Base Preparation – Stable & Level Foundation
Excavate the installation area to a suitable depth for sand-set or mortar.
Compact the sub-base thoroughly and add 2–4″ of crushed stone or gravel.
Check for proper slope (1/4″ per foot) for drainage in outdoor applications.
Screed a layer of sand or mortar level for paver installation.
Step 2: Dry Layout – Plan & Blend
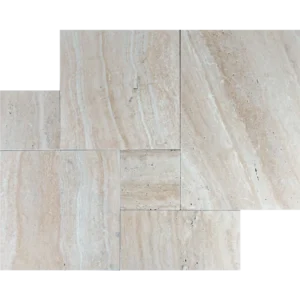
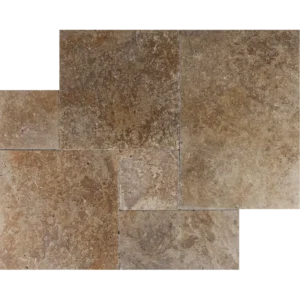
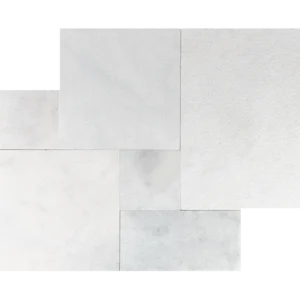
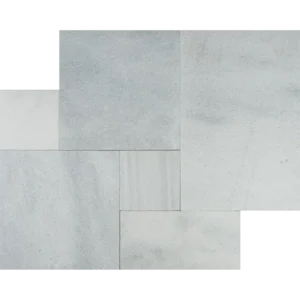
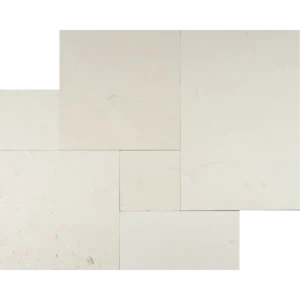
Dry-lay a few pavers to visualize the French Pattern arrangement and natural shell variation.
Mix pieces from multiple crates to achieve a harmonious color and texture blend.
Mark centerlines or reference points to maintain symmetry across the installation.
Step 3: Setting the Pavers – Sand-Set or Mortar Method
Sand-set: Place pavers directly on screeded sand, tap gently into position.
Mortar-set: Spread a flexible thin-set mortar and back-butter each paver for full adhesion.
Ensure all pavers are level using a rubber mallet and long level.
Step 4: Joint Spacing – Natural Alignment
Step 5: Grouting or Joint Filling
Fill joints with polymeric sand, sand, or non-sanded grout depending on the installation method.
Sweep off excess material before it hardens to prevent surface residue.
Step 6: Sealing – Protect & Enhance
Apply a penetrating stone sealer to protect against stains and enhance natural color.
Reapply periodically based on exposure to weather, moisture, and foot traffic.
Maintenance Tips
Sweep or rinse regularly to remove debris.
Clean spills promptly to prevent staining.
Use pH-neutral stone cleaners; avoid acidic or abrasive chemicals.
Important Note
Myra Shell Limestone is a natural stone with inherent variations in color, fossils, and texture. Always dry-lay and inspect each paver prior to installation to ensure visual harmony and pattern continuity.