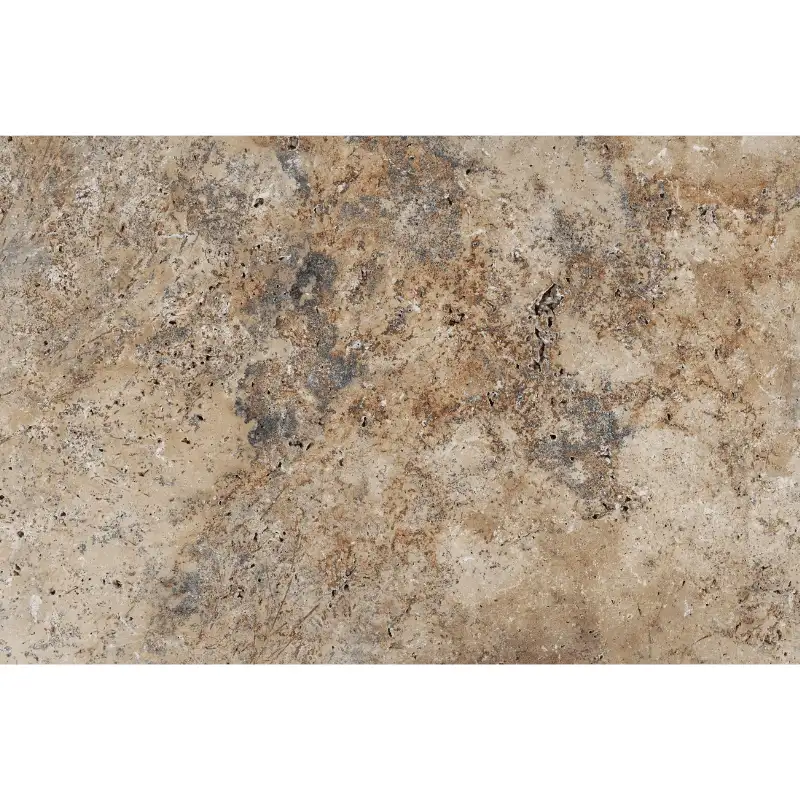
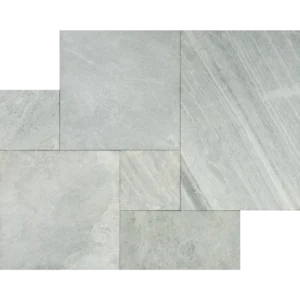
Country Classic 16″x24″ Tumbled Travertine Paver – Rustic Elegance for Outdoor Spaces
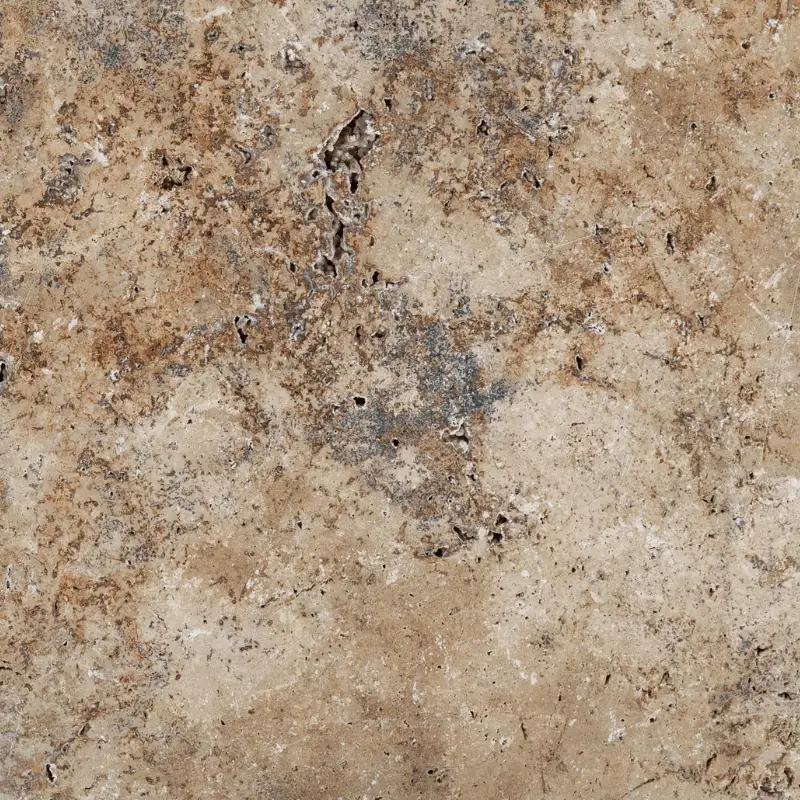
Elevate your outdoor areas with the Country Classic 16″x24″ Tumbled Travertine Paver, designed to bring timeless warmth and charm. Its soft beige and cream tones blend naturally with any environment, while the tumbled finish offers a gently weathered, textured surface. The slip-resistant design makes it ideal for patios, pool decks, garden paths, and other high-traffic areas.
The generous 16″x24″ size allows for faster installation and fewer grout lines, creating a clean, seamless appearance that suits both compact and expansive spaces. Made from high-quality natural travertine, these pavers are built to endure daily wear and changing weather, maintaining their beauty over time.
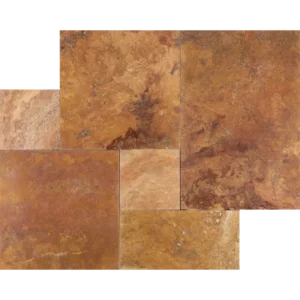
Each paver features subtle veining and natural color variations, giving your layout a handcrafted, one-of-a-kind look. Versatile in design, they can be arranged in straight, staggered, or modular patterns to complement modern or traditional aesthetics, adding character and flow to any outdoor setting.
Specifications:
Material: Premium natural travertine
Color: Warm beige and cream with natural variations
Finish: Tumbled for a rustic, textured, non-slip surface
Size: 16″x24″ (nominal)
Edge: Tumbled for a softened, antique effect
Ideal for: Patios, pool areas, walkways, and courtyards
Create an inviting, durable, and stylish outdoor space with the Country Classic 16″x24″ Tumbled Travertine Paver, where elegance meets long-lasting performance.
Installation Guide – Country Classic 16″x24″ Tumbled Travertine Paver
Important Notice
This guide focuses solely on the paver installation phase. Ensure that sub-base and bedding preparations are completed by qualified professionals before beginning.
Step 1: Dry Layout & Planning
Lay out pavers without adhesive to review natural color, veining, and texture variations.
Arrange in a harmonious pattern—running bond, ashlar, or staggered grid—to evenly distribute tones.
Use chalk lines or a laser level to mark reference lines for straight, aligned rows.
Step 2: Paver Placement
Position each 16″x24″ paver carefully on the prepared bedding surface.
Keep joint widths consistent, ideally between 1/8″ and 1/4″.
Gently tap with a rubber mallet to fully seat each paver and ensure a level surface.
Step 3: Cutting & Edge Finishing
Use a wet saw with a diamond blade suitable for travertine for precise cuts.
Support large pavers during cutting to prevent edge breakage.
Smooth cut edges with a rubbing stone to preserve the tumbled texture.
Step 4: Joint Filling
Fill joints with polymeric sand or a travertine-compatible joint filler.
Lightly compact the surface and sweep away excess material.
If using polymeric sand, mist lightly to activate bonding, following the manufacturer’s guidelines.
Step 5: Sealing & Care
After installation is fully dry, apply a breathable, penetrating travertine sealer.
Reapply every 1–2 years depending on traffic and weather exposure.
Clean routinely with pH-neutral stone cleaners; avoid acidic or abrasive products.
Disclaimer
Travertine is a natural stone with inherent color variation, veining, and surface pits. These characteristics are natural, not defects. Always dry-lay and inspect pavers before installation. Professional installation is strongly recommended for best results and long-lasting performance.