Silver Tumbled 6″x12″ Travertine Paver – Cool Gray, Timeless Style
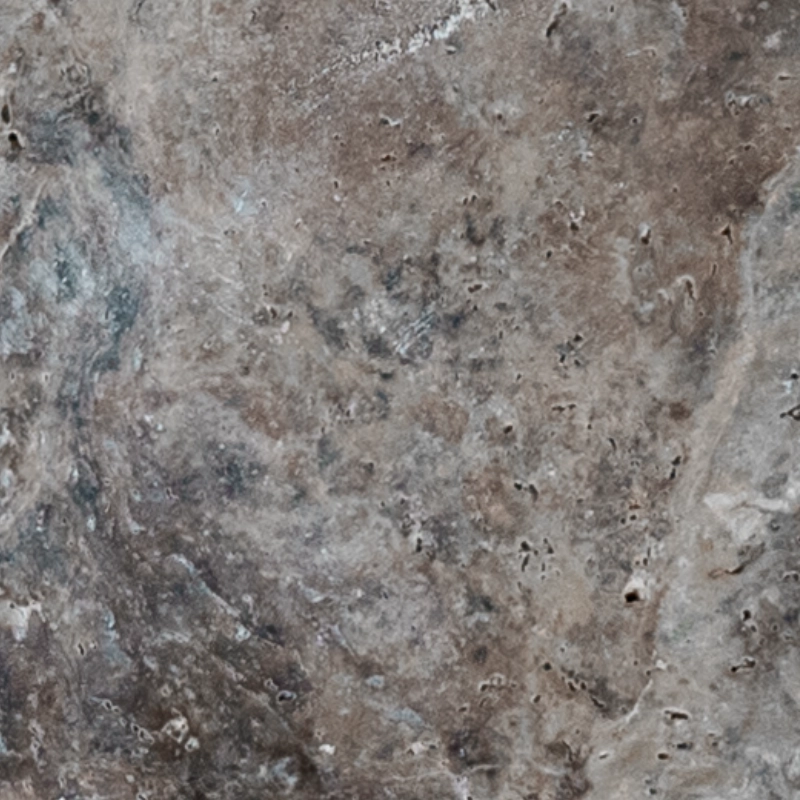
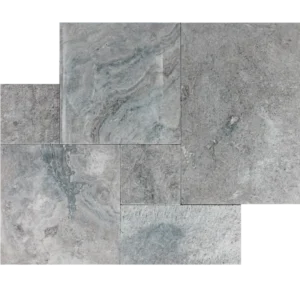
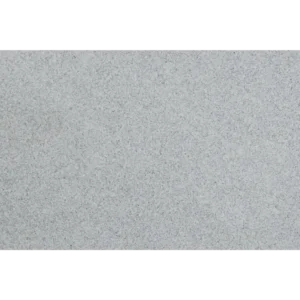
Enhance your outdoor areas with the Silver Tumbled 6″x12″ Travertine Paver. Its cool gray hues with soft beige accents create a serene, contemporary look, while the tumbled surface adds subtle texture and a comfortable feel underfoot.
The compact 6″x12″ format allows for versatile design options. Build herringbone walkways, running-bond patios, or decorative borders with ease. Softened edges give a natural, weathered charm that complements wood, metal, and lush landscaping.
Key Features
Material: High-quality natural travertine
Color: Silver gray with gentle beige variation
Finish: Tumbled for natural grip and character
Size: 6″x12″ nominal
Edge: Soft, rounded, and slightly aged
Patterns: Herringbone, running bond, stacked, or border layouts
Applications: Patios, pathways, pool areas, courtyards, and entrances
Perfect for those seeking clean geometry with a relaxed, coastal vibe, this silver travertine maintains its beauty for years with minimal sealing and seasonal care.
Installation Guide – Silver Tumbled 6″x12″ Travertine Paver
Important Note
This guide focuses exclusively on the paver installation stage. Proper sub-base and bedding preparation must be completed by qualified professionals beforehand.
Step 1: Dry Layout & Planning
Arrange pavers without adhesive to assess natural color variation, veining, and tumbled edge differences.
Select a pattern suitable for 6″x12″ pavers, such as herringbone, basketweave, or running bond.
Mark straight reference lines using chalk or a laser to ensure consistent alignment.
Step 2: Placing Pavers
Gently set each paver onto the prepared bedding layer according to your planned layout.
Maintain uniform joint spacing of 1/8″–1/4″.
Tap lightly with a rubber mallet to seat each paver and create a level surface.
Continuously check for lippage and adjust the bedding layer as needed.
Step 3: Cutting & Edge Treatment
Use a wet saw with a travertine-rated diamond blade for precise cuts.
Support small-format pavers during cutting to prevent chipping.
Smooth any cut edges with a rubbing stone to match the tumbled finish.
Step 4: Filling Joints
Fill joints with polymeric sand or a compatible travertine joint filler.
Compact gently and sweep away excess material.
If using polymeric sand, lightly mist to activate per manufacturer instructions.
Step 5: Sealing & Maintenance
Once the installation is fully dry, apply a breathable, penetrating sealer suitable for exterior travertine.
Reapply sealer every 1–2 years based on exposure and foot traffic.
Clean only with pH-neutral stone cleaners; avoid acidic or abrasive products.
Disclaimer
Travertine is a natural stone with inherent tonal variations, pits, and veining. These are not defects. Always dry-lay and inspect materials before final installation. Professional installation is recommended for optimal durability and appearance.