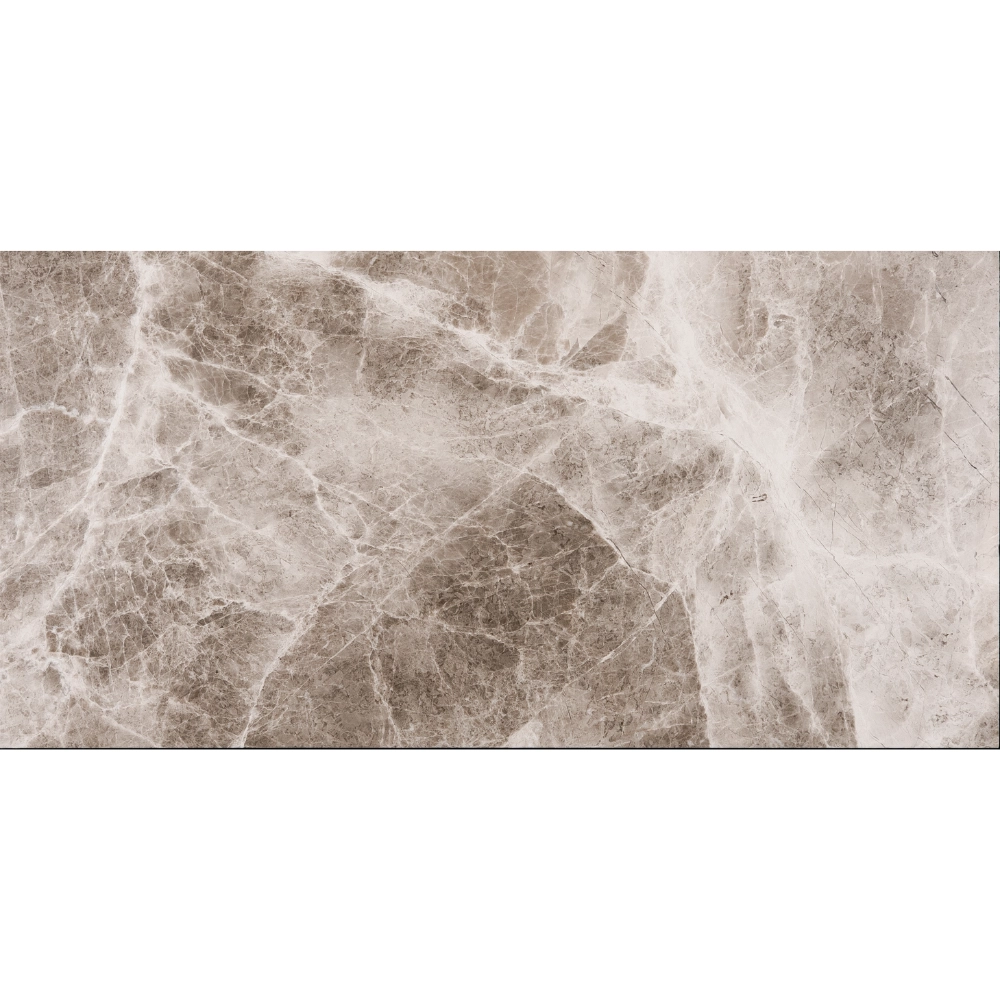
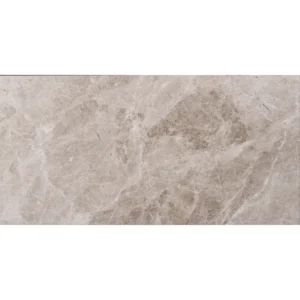
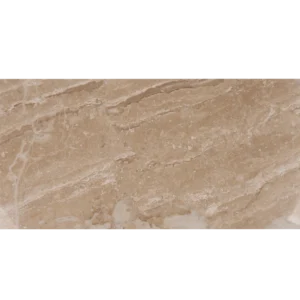
Beige Diamond Marble 12″x24″ Polished Tile – Lustrous Beige Elegance
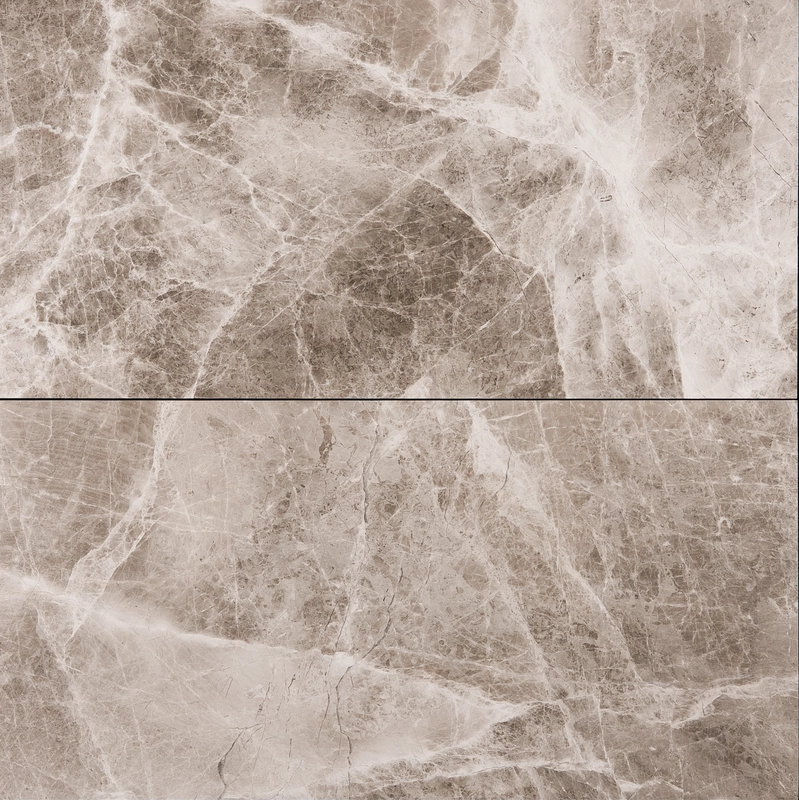
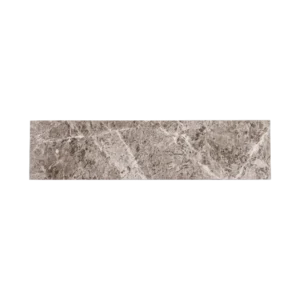
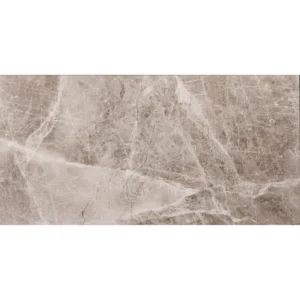
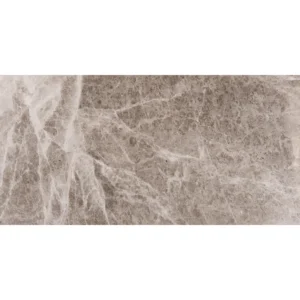
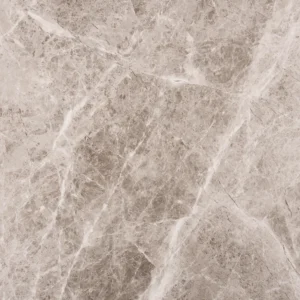
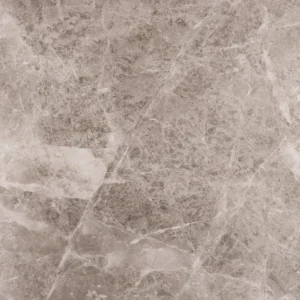
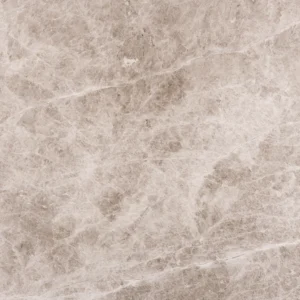
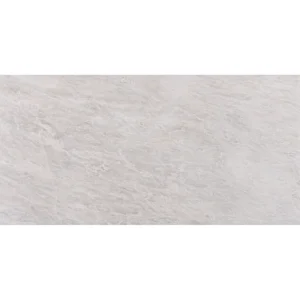
Elevate your interiors with the Beige Diamond 12″x24″ Polished Marble Tile. Made from premium natural marble, this tile showcases warm cappuccino-beige tones with delicate veining, offering a sophisticated yet neutral aesthetic. Its polished finish creates a glossy, light-reflective surface that brightens spaces and gives rooms a more expansive, airy feel.
Perfect for both residential and commercial settings, the straight-edge 12″x24″ format ensures clean alignment and fewer grout lines, delivering a seamless, high-end appearance. Ideal for floors, walls, bathrooms, kitchens, entryways, and boutique hospitality projects, this tile blends effortlessly into modern and transitional designs.
Key Features
Material: Natural Beige Diamond marble
Color: Warm beige with subtle cappuccino undertones
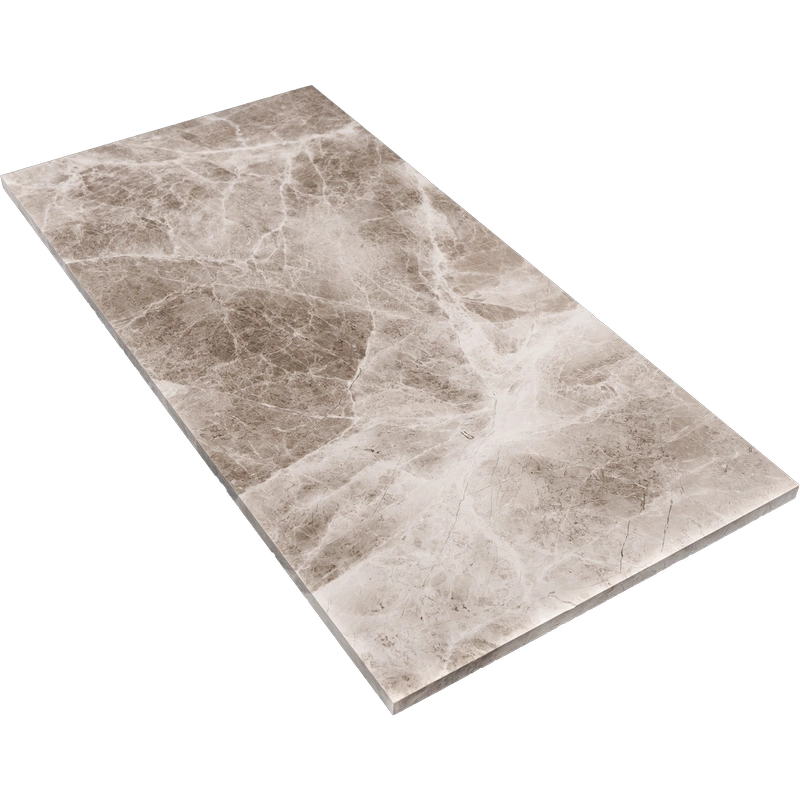
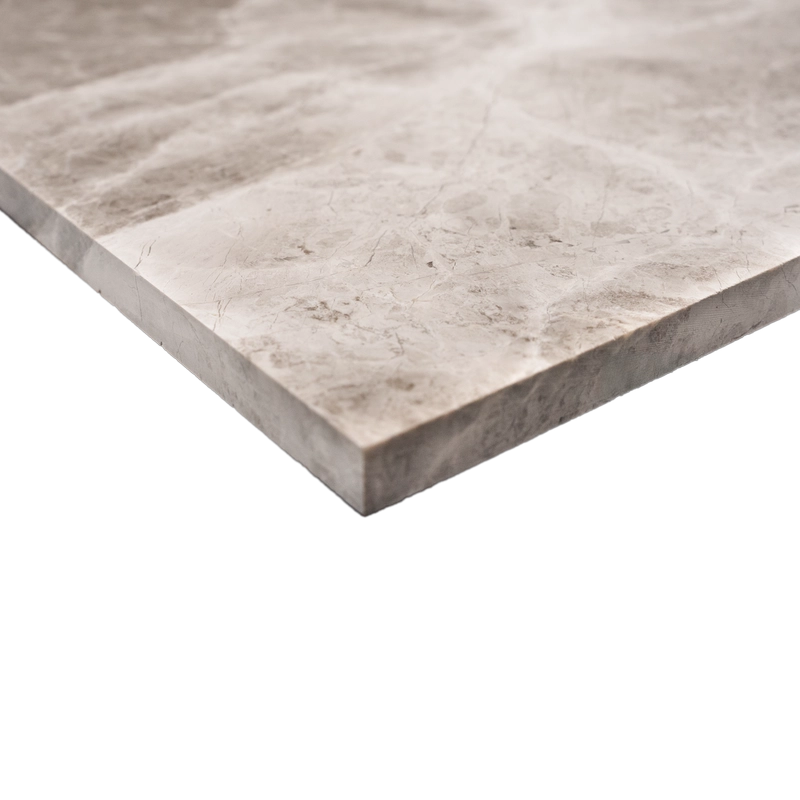
Finish: Polished – glossy, reflective surface
Size: 12″x24″ (30.5 x 61 cm)
Thickness: 0.47″ (1.2 cm)
Edge: Straight edge for precise installation
Benefits & Recommended Use
Enhances contemporary interiors with a polished, luxurious finish
Versatile for walls and floors in both residential and light commercial spaces
Durable, easy to maintain with pH-neutral stone cleaners
Large format and straight edges provide visual continuity and elegance
Beige Diamond Marble 12″x24″ Polished Tile – Installation Guide
Step 1: Surface Preparation – Flat, Clean, and Stable
Ensure the substrate is completely clean, dry, and free of dust, oils, or old adhesive.
Check flatness using a 10-ft straightedge; deviations should not exceed 1/8″.
Use a self-leveling underlayment to correct uneven areas if necessary.
Apply a waterproofing membrane in wet areas such as bathrooms or showers.
Step 2: Layout Planning – Dry-Lay for Consistency
Mark centerlines and reference points to maintain symmetry across the installation.
Dry-lay multiple tiles to assess natural color variation and polished finish clarity.
Blend tiles from different boxes for a uniform, harmonious look.
Maintain 1/16″–1/8″ grout joints for straight-edge tiles to achieve a seamless appearance.
Step 3: Mortar Application – White Thin-Set Recommended
Recommended Adhesives:
Instructions:
Spread adhesive evenly using a 1/2″ square-notched trowel.
Back-butter each tile to ensure full contact and eliminate voids.
Work in small sections to prevent mortar from drying too quickly before tile placement.
Step 4: Cutting & Fitting – Precise and Smooth
Cut tiles with a wet saw and a continuous-rim diamond blade to avoid chipping.
Polish exposed edges with a marble pad for a professional finish.
Dry-fit all custom cuts to verify alignment and spacing before final installation.
Step 5: Setting Tiles – Level and Flush
Use a leveling system to prevent lippage on large-format tiles.
Press tiles evenly and tap lightly with a rubber mallet to ensure alignment.
Maintain uniform grout spacing with spacers.
Wipe off excess mortar immediately to prevent haze on polished surfaces.
Allow 24 hours curing time before grouting.
Step 6: Grouting & Sealing – Preserve the Polished Finish
Pre-seal polished marble with a penetrating sealer prior to grouting.
Use non-sanded grout to avoid scratching the polished surface.
Apply grout diagonally with a rubber float, cleaning joints promptly.
Buff the tile surface after 20–30 minutes to remove any haze.
Apply a second coat of sealer once grout has cured (typically 72 hours).
Maintenance Tips – Keep Marble Looking Its Best
Clean with pH-neutral, stone-safe products only.
Wipe spills immediately to prevent staining or etching.
Re-seal every 6–12 months depending on traffic and moisture exposure.
Use floor mats or protective pads in high-traffic areas to minimize wear.
Shipping & Packaging
Each 12″x24″ Beige Diamond Polished Marble Tile is packaged with cushioning and edge protection. Store flat in a dry area and inspect all tiles before installation.
Important Note
Beige Diamond is a natural stone with inherent variations in veining and tone. Always dry-lay and blend tiles before installation. Stonemarket USA is not responsible for installation errors or natural stone inconsistencies.