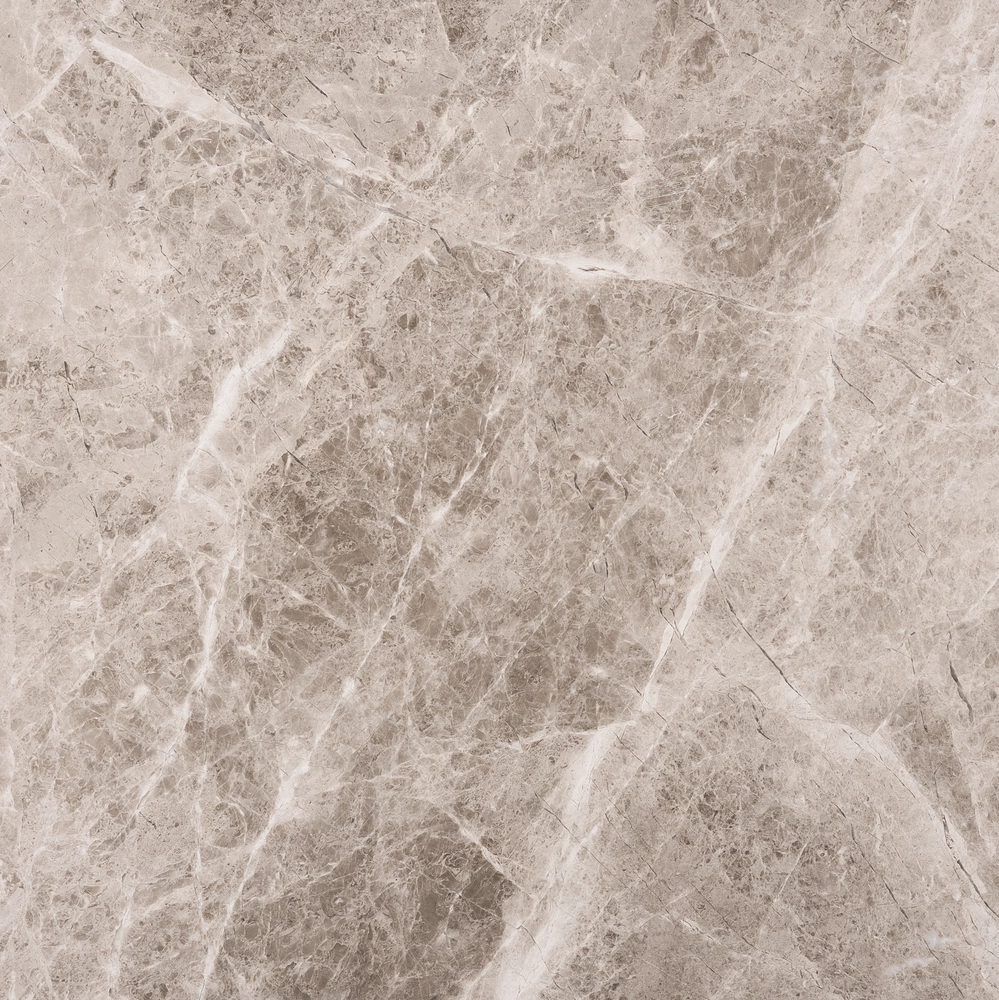
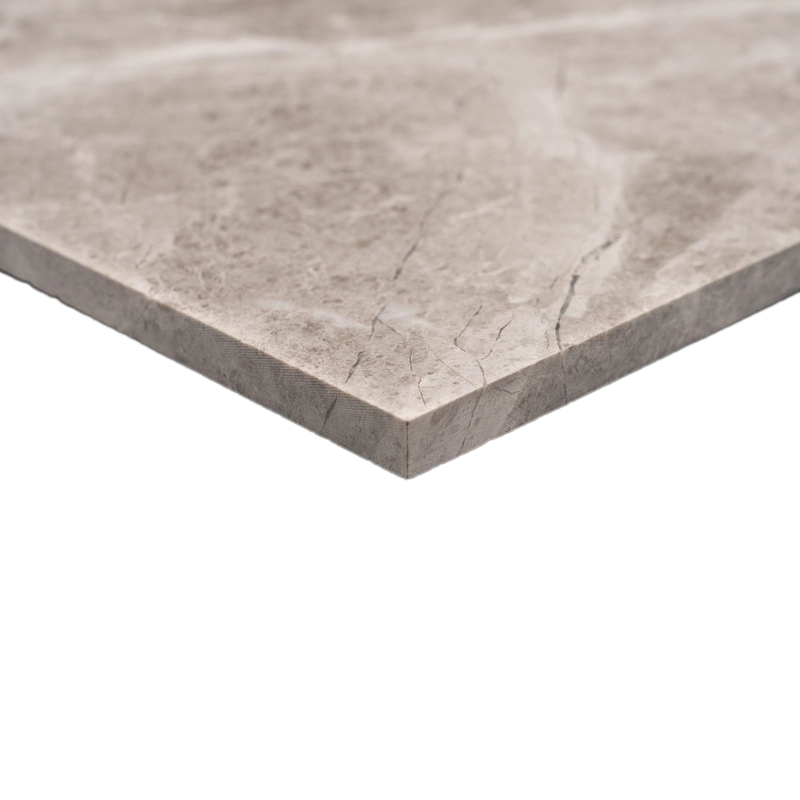
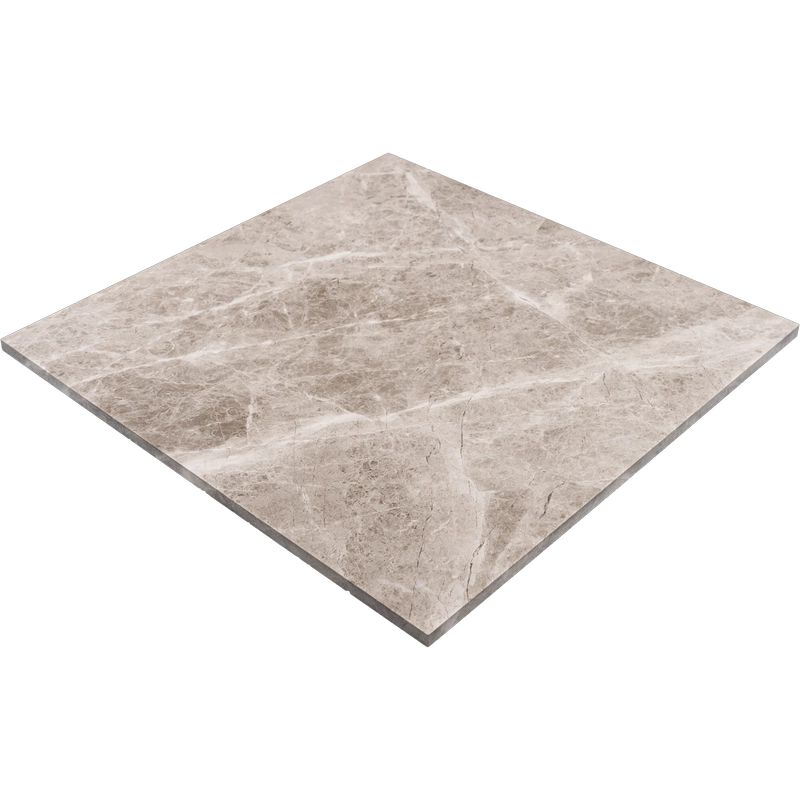
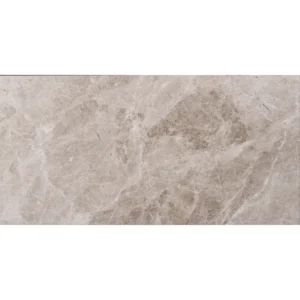
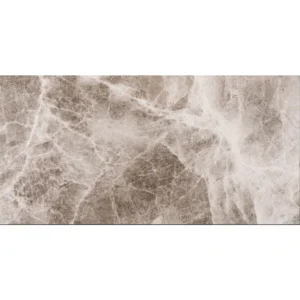
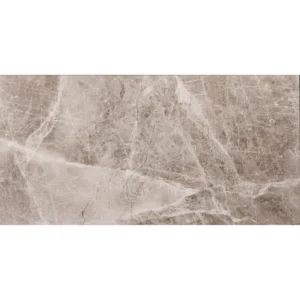
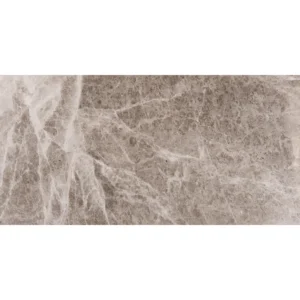
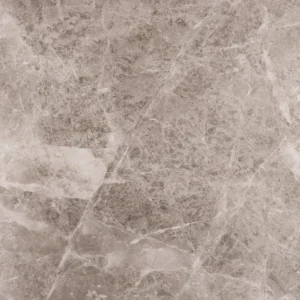
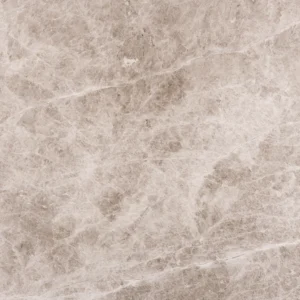
Beige Diamond Tile 18″x18″ Honed – Straight Edge Beige Marble
Balanced Elegance in Natural Marble
The Beige Diamond Honed Tile combines understated luxury with architectural precision. Its warm beige marble, subtly veined with gray, features a smooth, matte finish that softens light and enhances the sense of space, creating calm and harmonious interiors.
The 18″x18″ square format brings rhythm and proportion to any surface, whether expansive floors or smaller areas. With straight edges for clean alignment, this versatile tile complements both contemporary and classic settings—perfect for residences, lobbies, galleries, or sophisticated commercial spaces.
Product Details
Material: Beige Diamond Marble
Color: Warm beige with delicate gray veining
Finish: Honed – matte, velvety texture
Size: 18″x18″ (45.7 x 45.7 cm)
Thickness: 0.47″ (1.2 cm)
Edge: Straight for precise grout lines
Use: Interior floors and walls – residential and commercial
Suggested Applications
Floors – creates continuity in open layouts or corridors
Feature walls – adds texture and depth without overwhelming
Bathrooms – spa-inspired, tranquil surfaces
Reception and lounge areas – refined, timeless luxury
Installation Guide – Beige Diamond Polished Marble Tile 18″x18″
Follow this step-by-step guide to achieve a flawless and durable installation of your Beige Diamond Polished Marble Tile. Using the right techniques and materials will ensure your tiles maintain their elegance and longevity.
Step 1: Prepare the Surface
Thoroughly clean the area to remove dust, dirt, and debris.
Ensure the subfloor or wall is level, smooth, and dry.
Repair any cracks or uneven areas to create a stable foundation.
Step 2: Plan the Layout
Dry-lay tiles to determine the best arrangement and minimize cuts.
Mark reference lines to ensure alignment and symmetry.
Begin at the center and work outward for a balanced, professional look.
Step 3: Apply Adhesive
Use a high-quality white thin-set mortar for optimal adhesion.
Spread the adhesive evenly with a notched trowel held at a 45° angle.
Work in small sections to prevent the mortar from drying prematurely.
Step 4: Install the Tiles
Press each tile firmly into the adhesive, twisting slightly to ensure full contact.
Use spacers for consistent joint widths.
Regularly check with a level to maintain even alignment.
Step 5: Grouting
Allow adhesive to cure (typically 24 hours).
Remove spacers and clean excess adhesive from the joints.
Apply non-sanded grout with a rubber float, filling joints completely.
Wipe away excess grout with a damp sponge before it dries.
Step 6: Seal the Marble
Once grout has fully cured (48–72 hours), apply a penetrating stone sealer to protect against stains and moisture.
Follow the sealer manufacturer’s instructions for best results.
Step 7: Cleaning & Maintenance
Clean regularly with a pH-neutral, stone-safe cleaner.
Avoid acidic or abrasive products that may damage the polished finish.
Wipe up spills promptly to prevent staining.
For further guidance or expert tips on maintaining your Beige Diamond Polished Marble Tile 18″x18″, please contact our team.


