Beige Diamond Tile 18″x36″ Polished – Elegant Beige Marble with Straight Edge
Spacious Luxury with Timeless Appeal
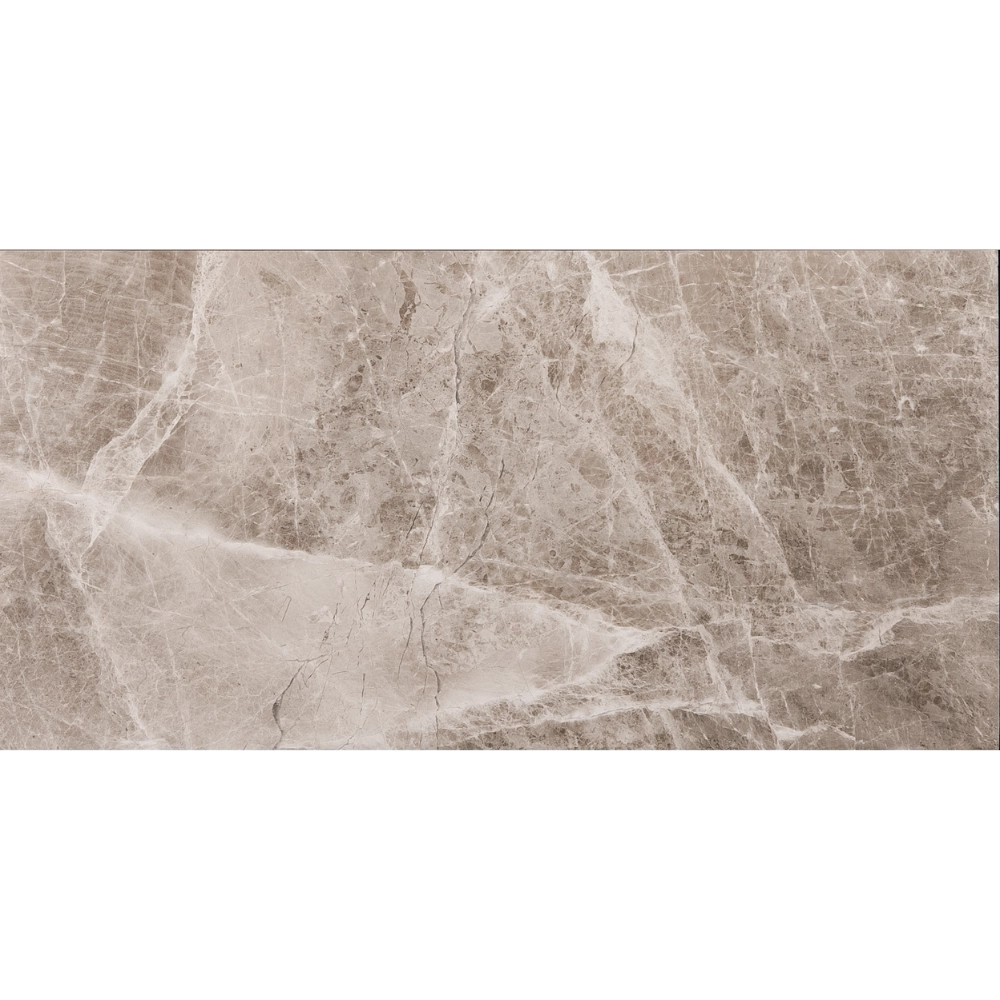
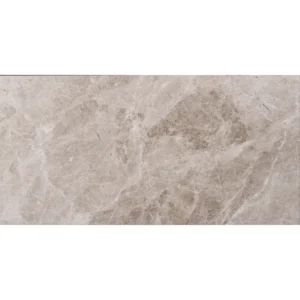
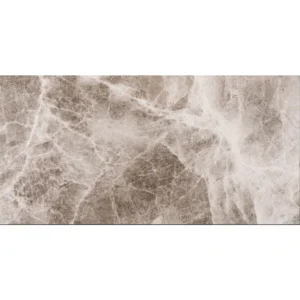
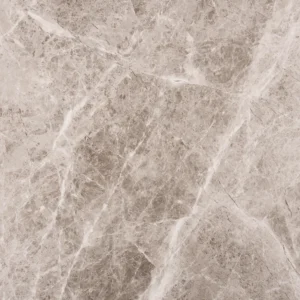
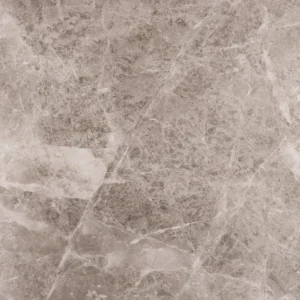
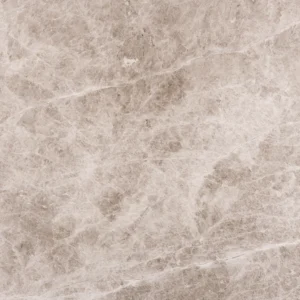
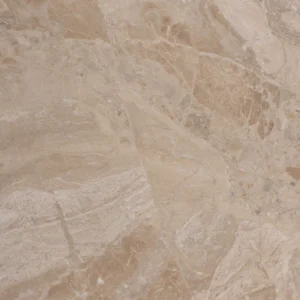
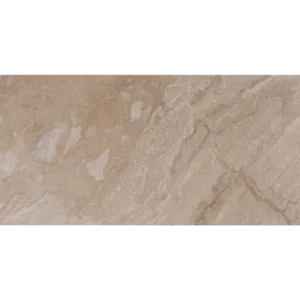
Transform your interiors with the Beige Diamond 18″x36″ Polished Tile, crafted from premium beige marble. Its warm tones, enriched with soft cappuccino and gray veining, create a refined and welcoming atmosphere. The polished surface enhances the natural beauty of the stone, adding a radiant shine that reflects light and brightens any room.
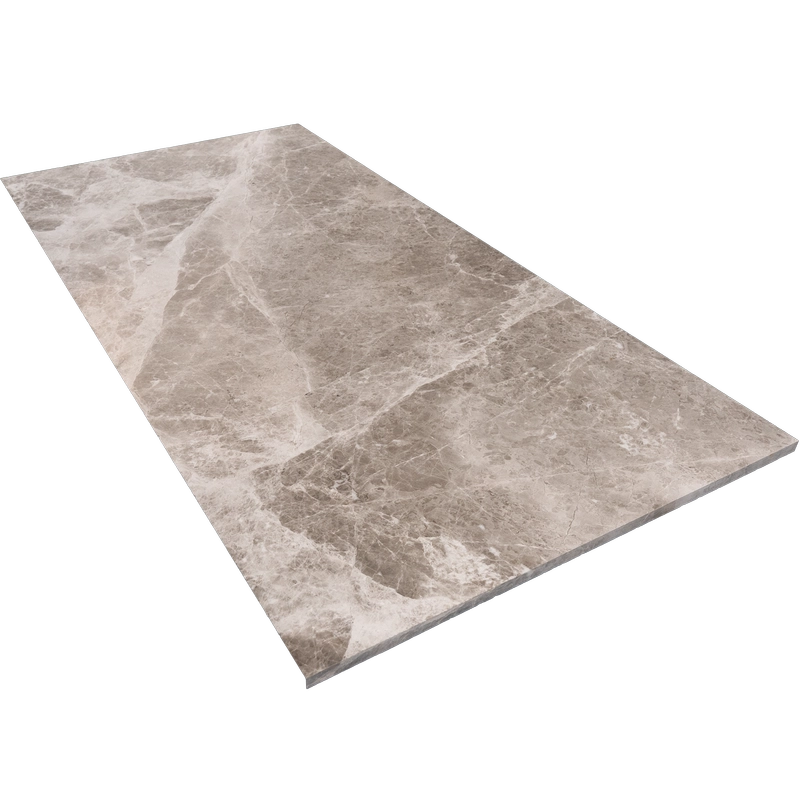
The expansive 18″x36″ format paired with straight edges ensures a sleek, modern layout. With fewer grout lines, spaces appear more seamless—perfect for wide-open floors, grand hallways, or statement feature walls.
Key Features – Beige Diamond Tile
Material: Premium Beige Diamond marble
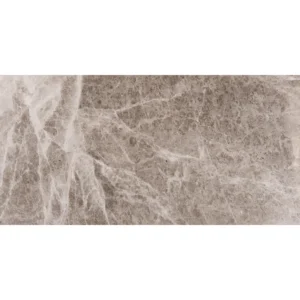
Color: Warm beige with subtle cappuccino and gray veining
Finish: Polished – glossy and light-reflective
Size: 18″x36″ (45.7 x 91.4 cm)
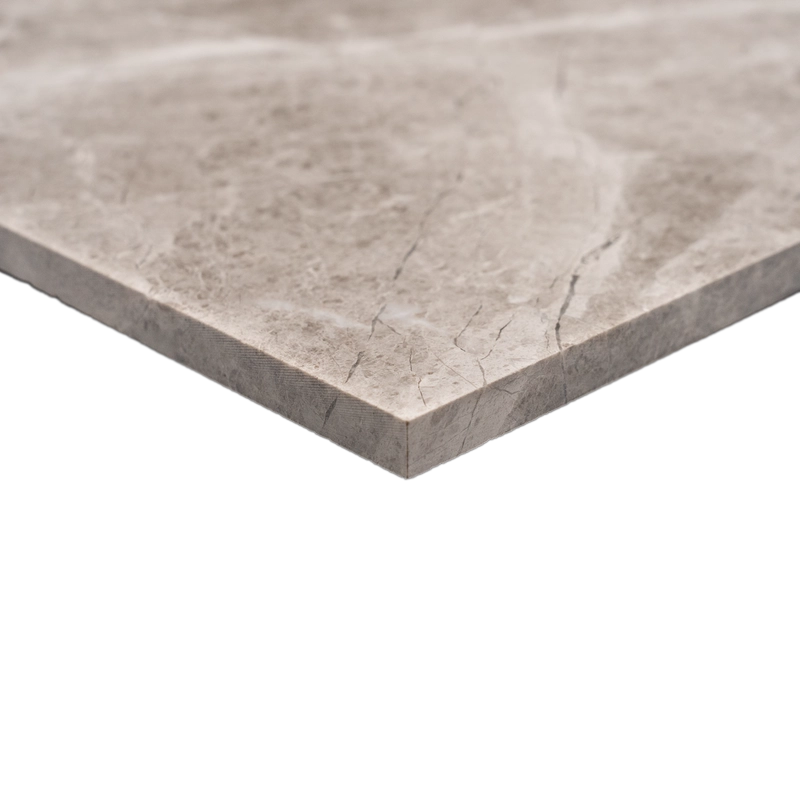
Thickness: 0.47″ (1.2 cm)
Edge: Straight edge for seamless alignment
Applications: Floors, walls, bathrooms, and upscale commercial interiors
Why Choose Beige Diamond Marble?
This tile combines elegance with functionality. The large format creates an open, uncluttered feel, while the polished finish highlights the marble’s natural character. Whether in a modern home or a luxury commercial project, Beige Diamond marble delivers timeless sophistication and lasting value.
Beige Diamond Marble Tile Installation Guide – Step by Step
Step 1: Surface Preparation – Stable, Clean & Level
Make sure the substrate is structurally sound, completely dry, and free of dust or residue.
Check flatness using a 10-ft straightedge—variation should not exceed 1/8″.
Correct uneven areas with a self-leveling compound if necessary.
In wet zones like bathrooms or shower surrounds, apply a waterproofing membrane for added protection.
Step 2: Layout Planning – Balance & Natural Flow
Mark centerlines and reference points to achieve symmetry and reduce awkward cuts.
Dry-lay tiles to preview the warm beige tones and natural veining of Beige Diamond marble.
Blend tiles from several boxes to maintain consistent color and pattern flow.
Use 1/16″–1/8″ grout joints for a refined, seamless look with straight-edged tiles.
Step 3: Mortar Application – White Thin-Set Required
Recommended Mortars:
Instructions:
Spread mortar with a 1/2″ square-notched trowel to achieve full coverage.
Back-butter each tile to improve adhesion and eliminate hollow spots.
Work in small sections to ensure thin-set remains workable before setting tiles.
Step 4: Cutting & Fitting – Smooth, Accurate Cuts
Cut tiles with a wet saw equipped with a continuous-rim diamond blade for marble.
Polish visible cut edges using marble pads or a fine stone file.
Dry-fit tiles before final installation to confirm alignment and sizing.
Step 5: Setting Tiles – Keep Surfaces Flush
Use a tile leveling system designed for large-format pieces to prevent lippage.
Press tiles evenly and use spacers to maintain uniform grout joints.
Remove any excess mortar from the polished surface immediately with a damp sponge.
Allow thin-set to cure for at least 24 hours before grouting.
Step 6: Grouting & Sealing – Protect the Gloss Finish
Pre-seal polished marble with a penetrating sealer to guard against grout stains.
Use non-sanded grout to avoid scratching the polished surface.
Apply grout diagonally with a rubber float, then clean joints carefully.
Buff the tile surface after 20–30 minutes to eliminate haze.
Once grout cures (about 72 hours), apply a second sealer coat for long-term protection.
Maintenance Tips – Keep the Shine
Clean only with pH-neutral, stone-safe products; never use acidic or abrasive cleaners.
Wipe spills immediately, especially oils or acidic liquids, to avoid staining or etching.
Re-seal polished marble every 6–12 months depending on traffic and exposure.
Protect high-use areas with rugs, mats, or felt pads under furniture.
Shipping & Packaging
Each 18″x36″ Beige Diamond Polished Marble Tile is carefully packed with foam protection and edge guards. Store flat in a dry location and inspect tiles prior to installation for consistency.
Important Note
As a natural marble, Beige Diamond may feature variations in tone and veining. Always dry-lay and blend before installation to achieve a harmonious design. Stonemarket USA is not responsible for installation errors or natural stone variation.