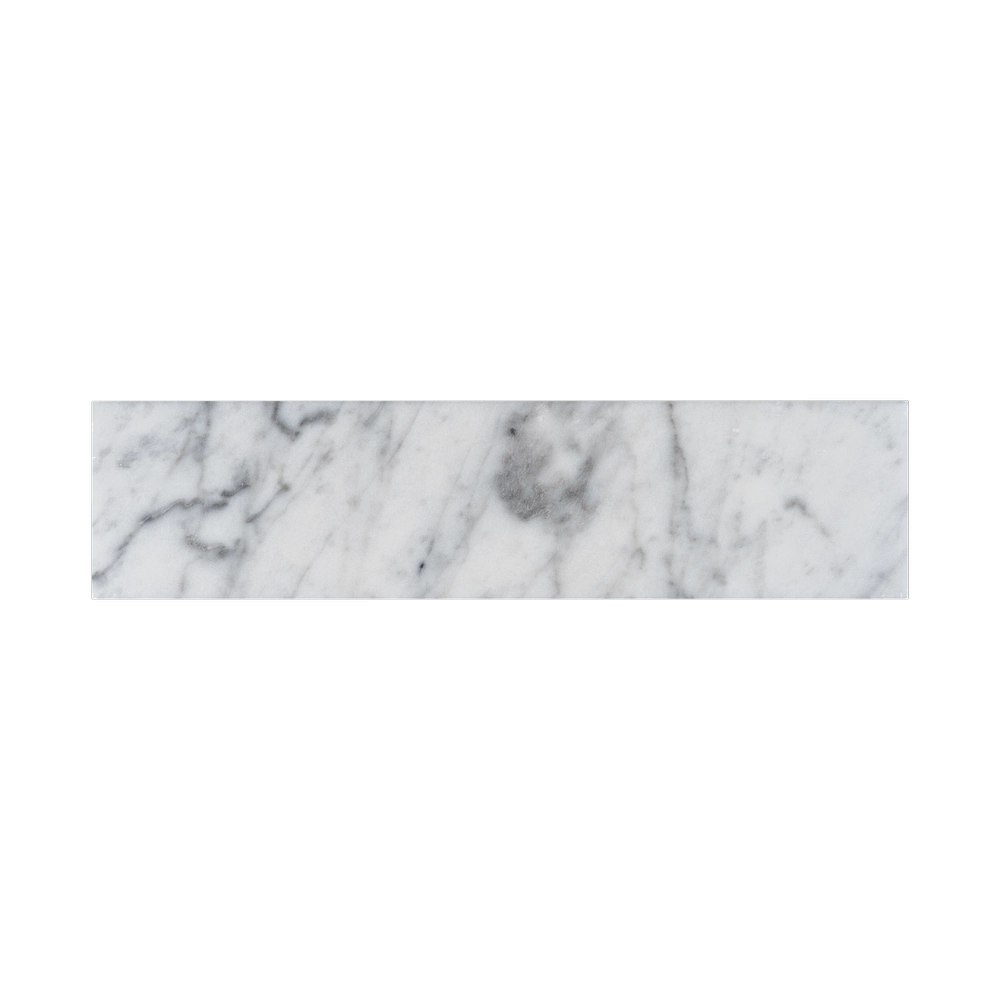
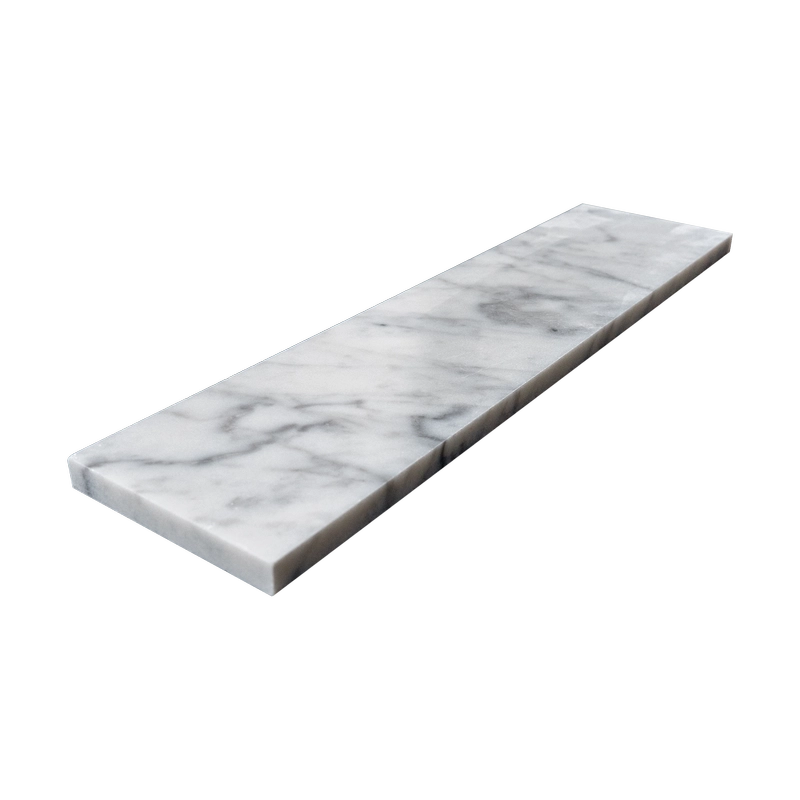
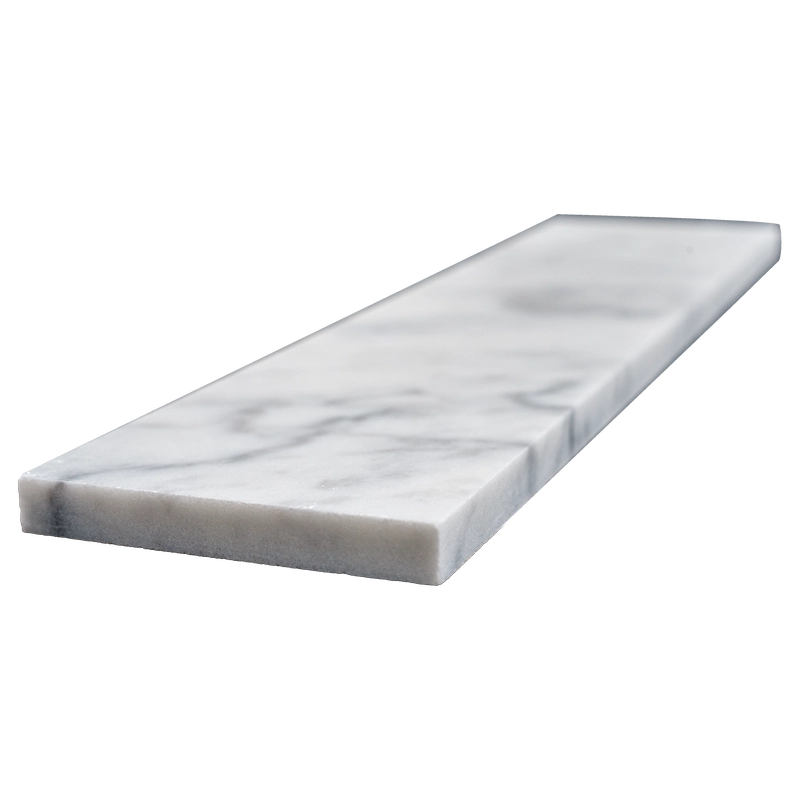
Carrara White Marble Tile 3″x12″ Polished – Timeless White, Sleek Design
Refined Linear Elegance for Modern Interiors
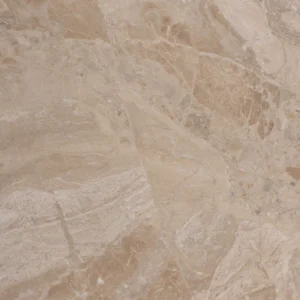
Elevate your interiors with the Carrara White Polished Marble Tile 3″x12″. This slim, versatile tile combines luxurious Carrara marble with a polished finish, showcasing crisp white tones and delicate gray veining. Its compact linear format is perfect for accent walls, backsplashes, fireplace surrounds, or creative trim work, adding depth and sophistication without overwhelming your space.
The straight-edge design allows for seamless installation and precise alignment, making it ideal for both horizontal and vertical applications. Its understated elegance complements contemporary, classic, or transitional interiors, offering endless design possibilities for kitchens, bathrooms, and living areas.
Product Features – Carrara White Polished Tile
Material: Premium Carrara White Marble
Finish: Polished – glossy, light-enhancing surface
Size: 3″x12″ (7.5 x 30.5 cm)
Edge: Straight edge for clean, precise installation
Application: Indoor walls, backsplashes, trim, and accent areas
Design Advantages
Ideal for decorative borders, geometric patterns, and wall accents
Perfect for backsplashes, shower niches, and fireplace surrounds
Pairs elegantly with larger tiles, subway formats, or mosaic sheets
Slim format enables creative layouts and subtle detailing
This Carrara White Polished Marble Tile brings understated luxury and a refined linear aesthetic to any interior space.
Step 1: Surface Preparation – Flat, Clean & Dry
Ensure the substrate is free from dust, grease, old adhesive, or debris.
Check for levelness using a straightedge; correct dips or high spots with patching or leveling compound.
Apply a waterproof membrane in moisture-prone areas such as showers or backsplashes.
Step 2: Layout Planning – Showcase Natural Veining
Snap chalk lines to establish a balanced layout.
Dry-lay several tiles to assess veining direction and tonal variation.
Mix tiles from multiple boxes for a harmonious appearance.
Maintain 1/16″ grout lines for a clean, modern look.
Step 3: Mortar Application – Use White Thin-Set
Recommended Mortars:
Instructions:
Apply mortar with a 1/4″ V-notched trowel suitable for slim tiles.
Back-butter each tile to ensure full coverage and prevent hollow spots.
Work in small sections to keep mortar fresh and effective.
Step 4: Cutting & Fitting – Precision Matters
Cut tiles with a wet saw using a continuous-rim diamond blade.
Smooth and polish visible cut edges for a refined appearance.
Dry-fit tiles to verify alignment and spacing before setting.
Step 5: Setting Tiles – Maintain Level & Alignment
Press tiles into the mortar using a slight twisting motion for full contact.
Use spacers or wedges to keep joints consistent.
Wipe away excess mortar immediately to avoid staining the polished surface.
Let adhesive cure for 24 hours prior to grouting.
Step 6: Grouting & Sealing – Protect and Finish
Apply a penetrating sealer to the marble before grouting to prevent staining.
Use non-sanded grout to preserve the polished finish.
Spread grout diagonally with a rubber float and remove residue promptly.
Buff any haze after 20–30 minutes with a soft cloth.
After grout cures (typically 72 hours), reseal for long-lasting protection.
Maintenance Tips – Preserve the Shine
Clean with pH-neutral, marble-safe products only.
Avoid acidic or abrasive cleaners that can damage the polished surface.
Reapply sealer every 6–12 months depending on traffic and moisture exposure.
Protect high-use areas with rugs or felt pads.
Shipping & Packaging
Each 3″x12″ Carrara White Polished Marble Tile is carefully boxed with protective padding. Inspect all tiles before installation to ensure quality and uniformity.
Important Note
Carrara marble features natural variation in veining and tone. Always dry-lay and blend tiles before installation. Stonemarket USA is not responsible for natural inconsistencies or improper installation.