Installation Guide – Step by Step
Step 1: Surface Preparation – Build a Solid Foundation
Thoroughly clean the installation surface, removing dust, grease, or debris that could compromise adhesion. Ensure the substrate is dry, flat, and structurally sound, as Bardiglio honed tiles need a level base for proper alignment. For wet areas like showers or bathrooms, apply a waterproofing membrane. Check for dips or high spots using a long level or straightedge, and use a self-leveling compound if necessary to achieve a smooth, even surface.
Step 2: Layout Planning – Achieve Symmetry
Locate the center of the installation area and mark layout lines to guide the placement. Dry-lay a row of tiles in both directions to determine the optimal starting point. Use spacers to maintain consistent grout joints—1/16″ to 1/8″ is recommended for straight-edge honed tiles. Mix tiles from multiple boxes to distribute color variation evenly and avoid small, thin cuts along edges by adjusting the layout as needed.
Step 3: Adhesive Application – Use White Thin-Set
Recommended Thin-Set Mortars (White, Non-Staining):
Instructions:
Apply adhesive with a 1/2″ square-notched trowel to support the tile’s weight and ensure full coverage. Back-butter each tile for maximum contact and to prevent voids that can lead to cracking. Work in small sections to avoid the thin-set drying before placement, and press tiles firmly, moving them slightly to collapse adhesive ridges for a secure bond.
Step 4: Cutting & Fitting – Precision Work
Use a wet saw with a fine diamond blade made for marble to achieve clean, chip-free cuts. Measure and mark carefully, and test-fit cut tiles before installation. For visible edges, lightly round or smooth the cut with a stone rubbing block to maintain a polished profile.
Step 5: Setting Tiles – Ensure Level and Alignment
Utilize a tile leveling system to prevent unevenness and lippage across large-format tiles. Insert spacers for uniform grout joints and tap tiles gently with a rubber mallet or tile beating block to align flush. Immediately remove any excess thin-set from the tile surface with a damp sponge to prevent haze. Allow adhesive to cure for at least 24 hours before grouting.
Step 6: Grouting & Sealing – Final Protection
Choose non-sanded or finely sanded grout depending on the joint width (≤ 1/8″ for non-sanded). Apply grout diagonally with a rubber float, filling joints completely, and wipe excess promptly with a damp sponge. Buff the surface after 15–20 minutes to remove haze without damaging the honed finish. Once the grout has fully cured (typically 72 hours), apply a penetrating sealer suitable for honed marble to protect against moisture, staining, and wear.
Maintenance Tips – Preserve the Finish
Clean with pH-neutral stone cleaners; avoid acidic, bleach, or abrasive products.
Wipe spills quickly, especially oils, citrus, or wine, to prevent staining.
Re-seal every 6–12 months depending on traffic and exposure.
Use mats or rugs in high-traffic areas and protective pads under furniture to reduce wear.
Shipping & Packaging
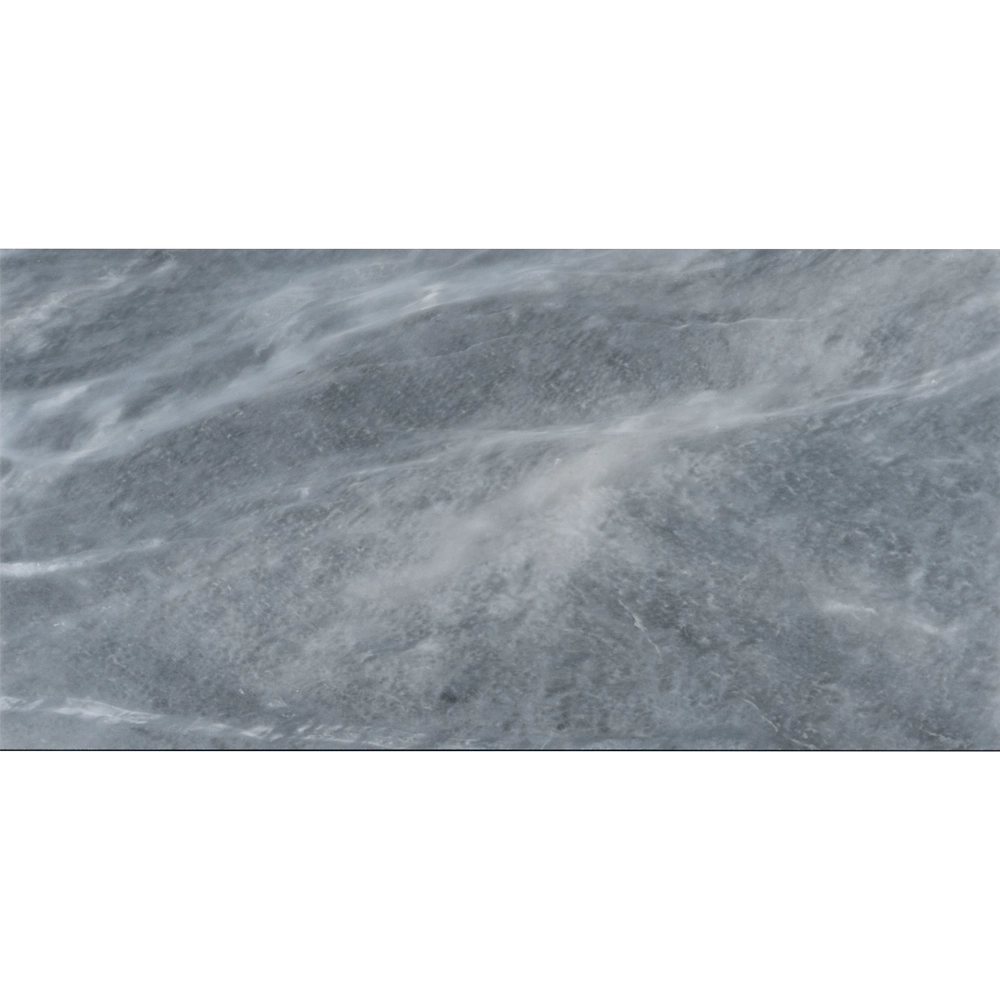
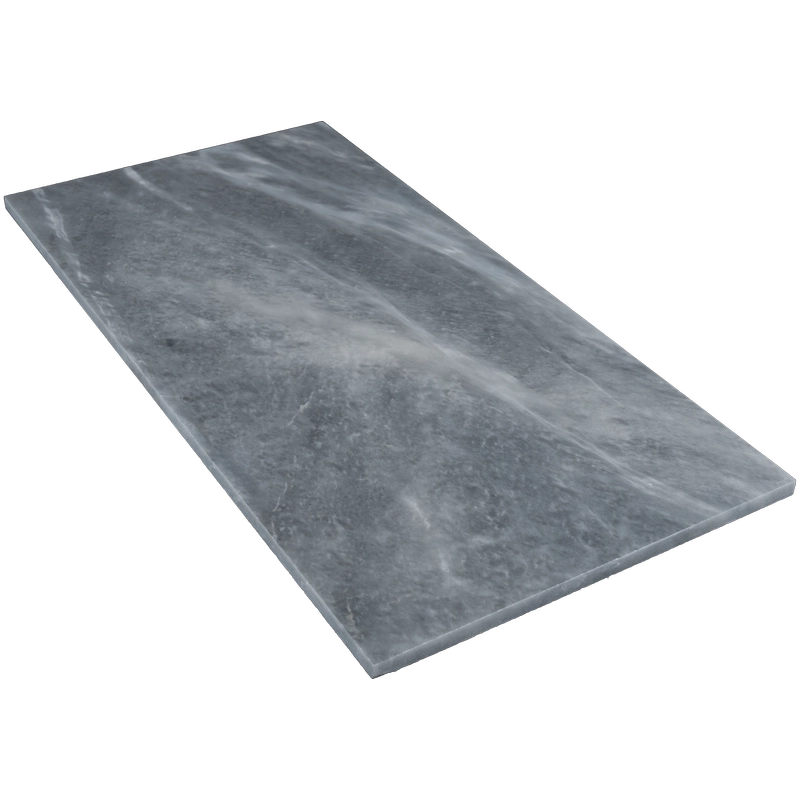
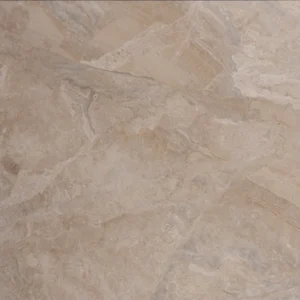
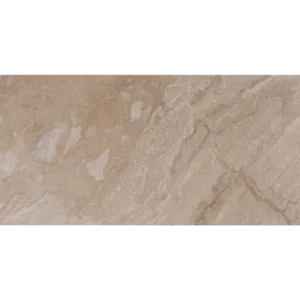
Each 12″x24″ Bardiglio honed marble tile is individually cushioned and boxed for safe transport. Inspect tiles upon delivery and store indoors in a dry environment until installation.
Important Note
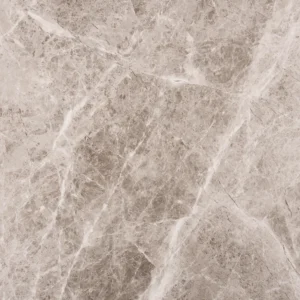
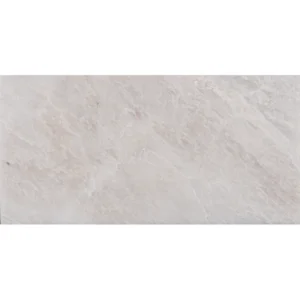
Bardiglio marble is a natural stone. Expect variations in veining, color, and tone between tiles—these are part of the stone’s unique character, not defects. Proper planning and professional installation are recommended for optimal results. Stonemarket USA is not responsible for issues arising from improper handling or site preparation.