Installation Guide – Step by Step
Step 1: Surface Preparation – Build the Perfect Base
Start with a clean, dry surface free of dust, grease, or debris—Carrara White Olea deserves an immaculate foundation.
Ensure the substrate is flat, stable, and free from cracks or weak spots, as any imperfections can affect the final result.
For wet areas such as showers or backsplashes, apply a high-quality waterproofing membrane to protect the marble from moisture damage.
Remove any obstructions like trim, outlet covers, or molding that might interfere with tile placement.
If needed, level the surface using a self-leveling compound to achieve a smooth, even base for your mosaic.
Step 2: Layout Planning – Highlight Natural Veining
Locate the center of the area to create a balanced, symmetrical design that showcases the elegant veining of Carrara White.
Dry-lay several sheets to appreciate the marble’s natural variations and to plan the placement for seamless flow.
Adjust tiles to avoid thin or awkward edge cuts and maintain a continuous pattern.
Use 1.5–3 mm spacers between sheets to ensure uniform grout lines and a polished, professional finish.
Step 3: Adhesive Application – Use Quality Materials
Recommended Thin-Sets (Natural Stone-Friendly):
Mapei – consistent, high-quality performance.
Laticrete – professional-grade adhesion and easy handling.
Ardex – reliable for premium marble installations.
Instructions:
Apply a white, non-staining thin-set mortar suitable for natural stone to protect the polished finish.
Mix in small batches for consistent application within 30 minutes.
Spread adhesive using a 1/4″ notched trowel—coat with the flat side first, then comb at a 45° angle for even coverage.
Back-butter each sheet to ensure full contact and minimize lippage.
Work in sections to prevent mortar from drying before sheets are placed.
Step 4: Cutting & Fitting – Precision Matters
Use a wet saw with a fine diamond blade designed for marble to make clean, precise cuts.
Mark each cut carefully for accuracy.
Smooth any rough edges with a stone file or rubbing block to maintain the polished look.
Dry-fit pieces before final installation to confirm pattern alignment and flow.
Step 5: Setting Tiles – Achieve a Flawless Finish
Begin at the center and work outward to maintain balance and symmetry.
Press mesh-backed sheets firmly into the adhesive, allowing the polished surface to shine.
Use spacers to keep grout lines consistent for a refined look.
Lightly tap tiles with a rubber mallet to level and secure them.
Wipe away any excess thin-set immediately with a damp sponge.
Allow adhesive to cure for at least 24 hours before grouting.
Step 6: Grouting & Sealing – Protect Your Marble
Use non-sanded grout to avoid scratching the polished surface.
Apply grout diagonally with a rubber float, filling all joints completely.
Clean excess grout immediately with a damp sponge.
After 15–20 minutes, buff the surface with a soft, dry cloth to remove haze and enhance shine.
Allow grout to cure for 72 hours before applying a penetrating marble-safe sealer to protect against stains, moisture, and etching.
Maintenance Tips – Keep the Shine
Clean with pH-neutral stone cleaners—avoid acidic or abrasive products.
Reseal periodically depending on usage to maintain protection and brilliance.
Place felt pads under furniture to prevent scratches.
Wipe spills immediately to avoid stains or etching.
Shipping & Packaging – Safe Delivery Guaranteed
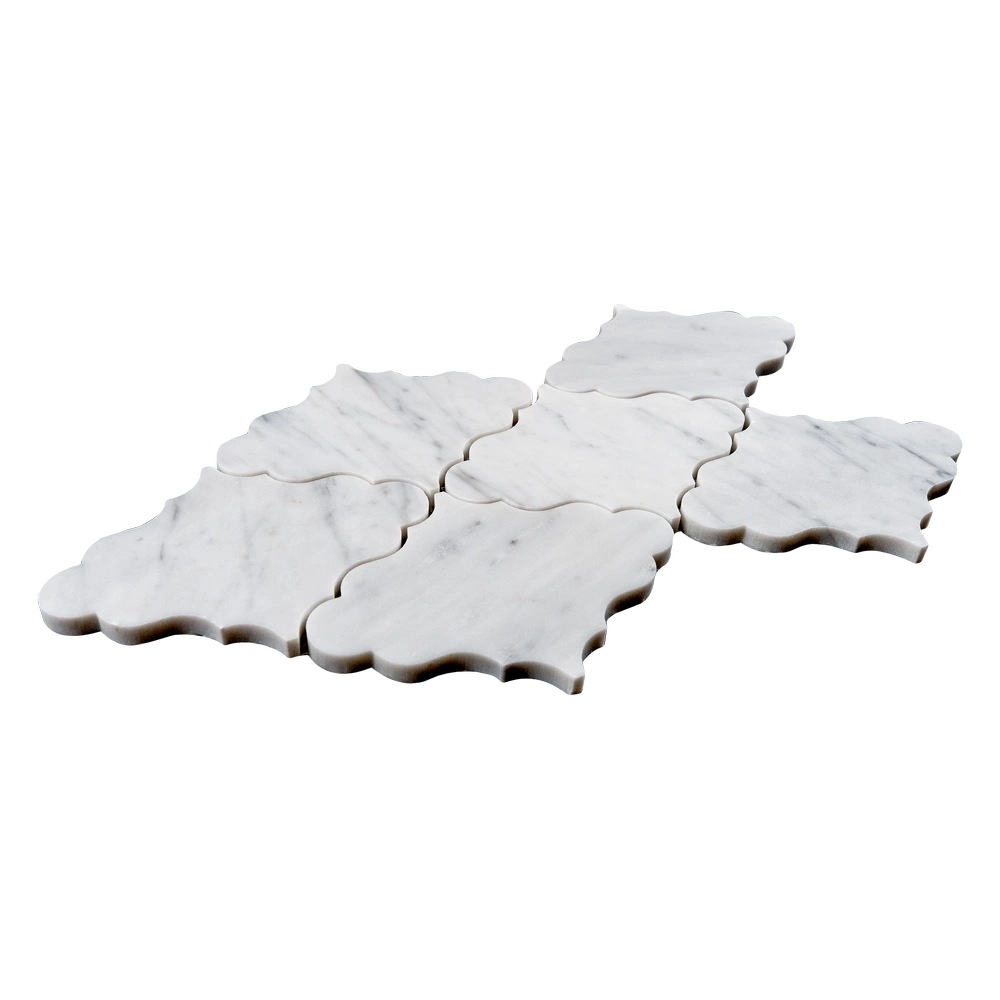
Each mosaic sheet is carefully wrapped and cushioned to prevent breakage during transit. Mesh backing ensures easy installation and accurate alignment of the Olea pattern.
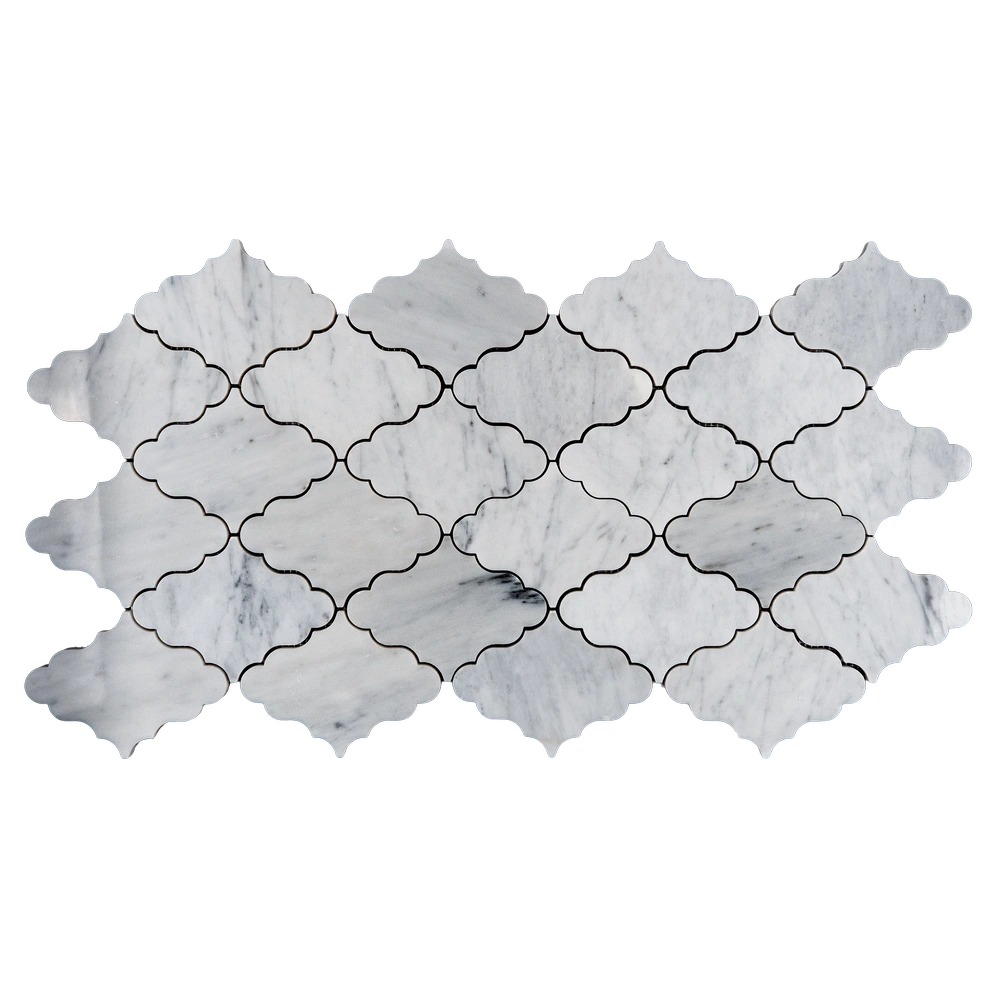
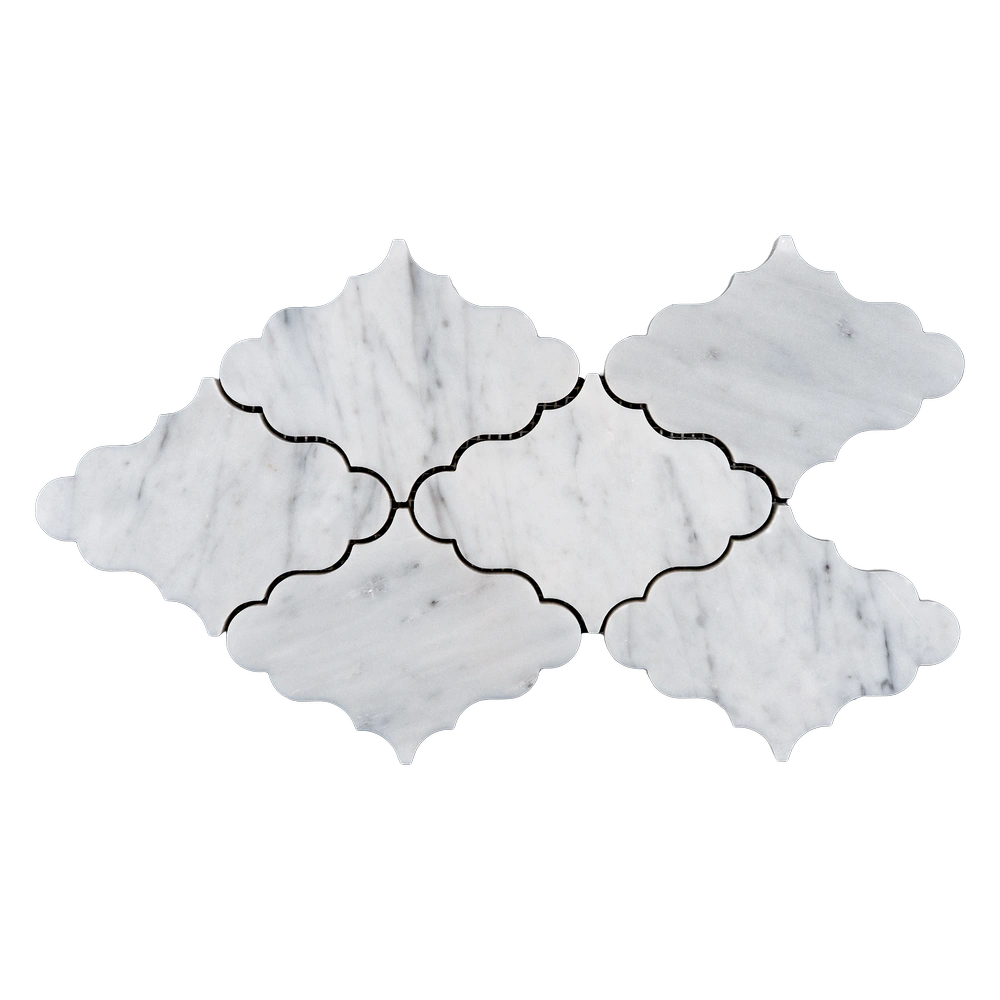
Important Note – Unique by Nature
Carrara White Olea marble features natural variations in veining and color, making every installation unique. Professional installation with premium adhesives and sealers is recommended. Stonemarket USA is not responsible for improper installation—entrust your project to skilled installers to showcase the marble’s true beauty.