Loading... (Warehouse Local Time)
Mon–Fri: 9:00 AM – 6:00 PM |

Royal Beige Polished Marble Mosaic – 1″x2″ Herringbone Tile

Enhance your interiors with the Royal Beige Herringbone Polished Marble Mosaic Tile, 1″x2″. Its soft beige tones and delicate veining create timeless sophistication. The classic herringbone layout adds texture and visual interest, making it perfect for kitchen backsplashes, bathroom walls, shower floors, or accent features. Polished for a luminous finish and mounted on mesh for easy installation, this durable, low-maintenance tile suits both residential and commercial spaces.

$13.49 / Piece

Item Code: MM093-10987 Category

720 Pieces in stock

Est. Coverage: 0.91 sq. ft. per piece | 4.55 sq. ft. per box | 325 sq. ft. per crate | Request Info
Note on Samples:
Sample pieces are small cut sizes, approximately 3" x 3" to 8" x 8", and intended for color and finish reference only.
If you need a full-size sample, please contact us.

Request Custom Pricing for Large Orders

Planning a large project? Orders over 500 sq. ft., full crates, or commercial applications may qualify for exclusive volume pricing. Reach out today and let us provide a custom quote tailored to your needs.

Request Volume Quote
  • Volume pricing available for qualified bulk orders.
  • We offer custom sizes, finishes, and crate-based shipments.

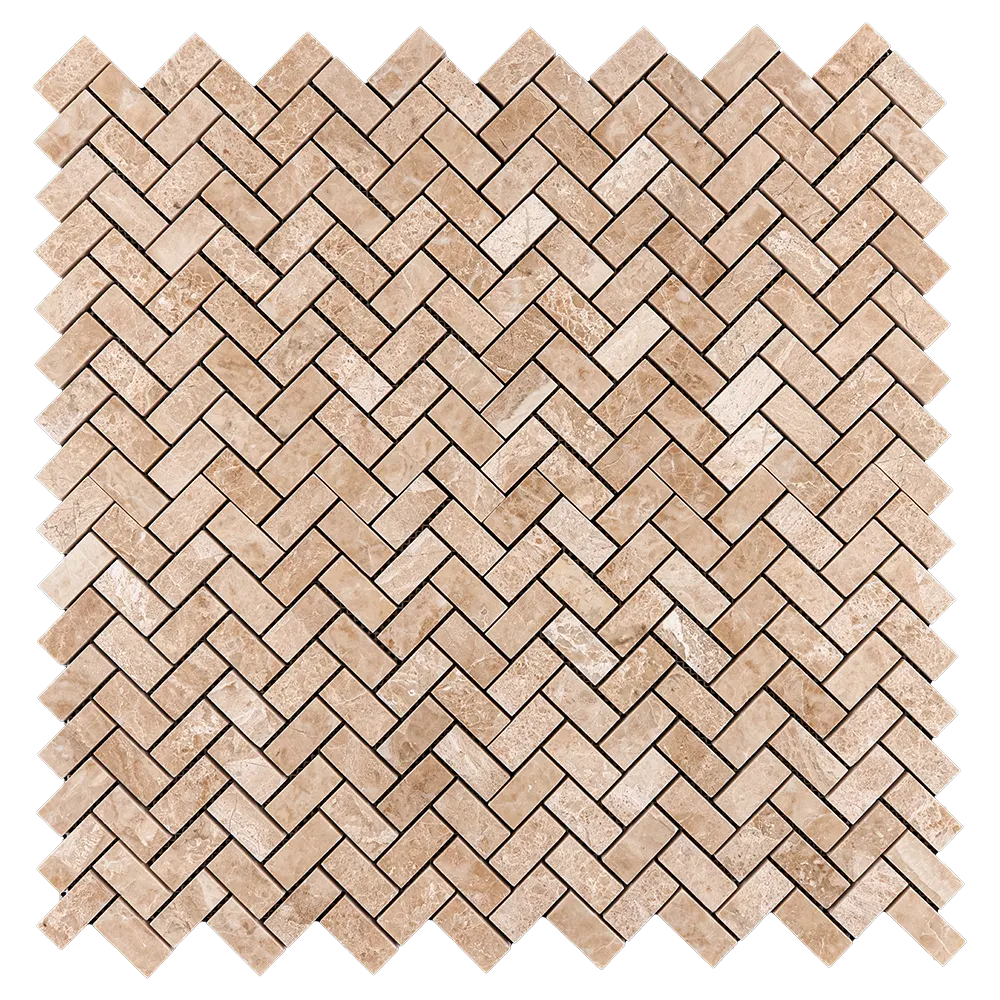
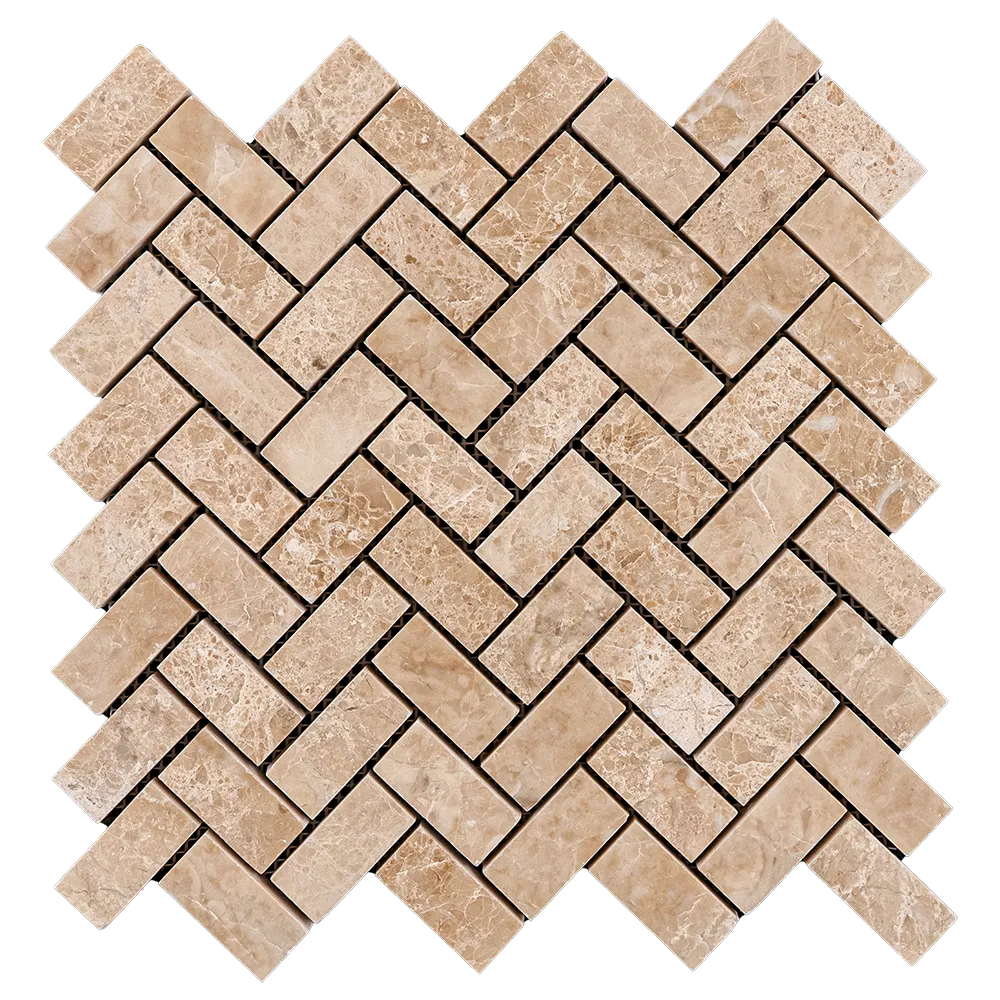
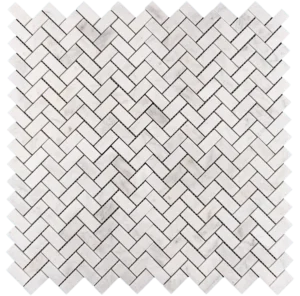
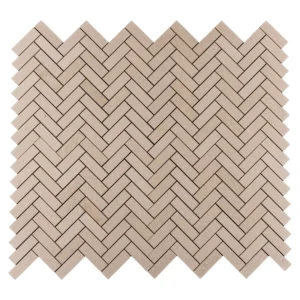
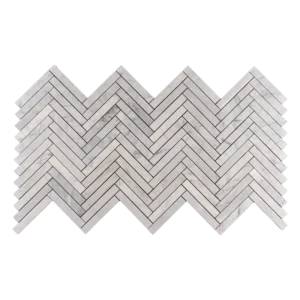
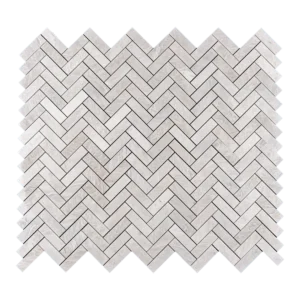
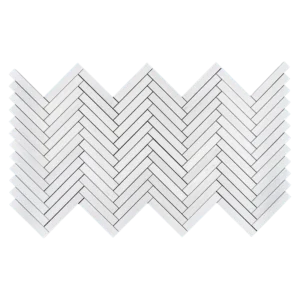
Royal Beige Herringbone Polished Marble Mosaic Tile – Timeless Sophistication

Transform your interiors with the Royal Beige Herringbone Polished Marble Mosaic Tile. Featuring warm beige tones and delicate veining, this polished mosaic brings a sense of refined luxury to any space. Perfect for kitchens, bathrooms, and feature walls, it blends residential comfort with commercial elegance.

Key Features:

  • Material: Premium Royal Beige Marble, durable and elegant

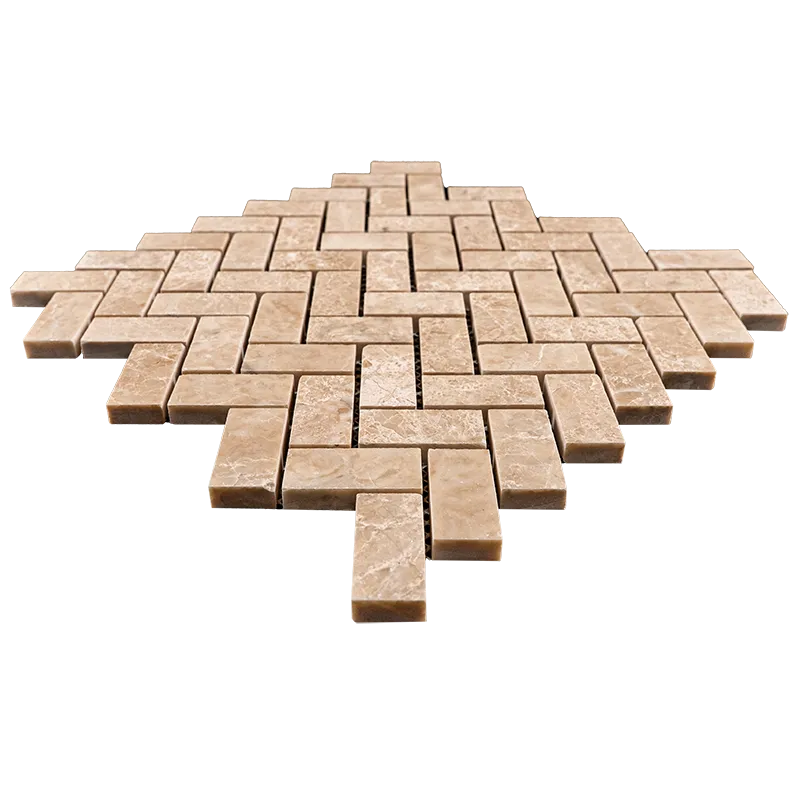
  • Tile Sheet Size: 11.5″ x 11.5″ (29 x 29 cm) for easy handling

  • Chip Size: 1″ x 2″ pieces in classic herringbone pattern

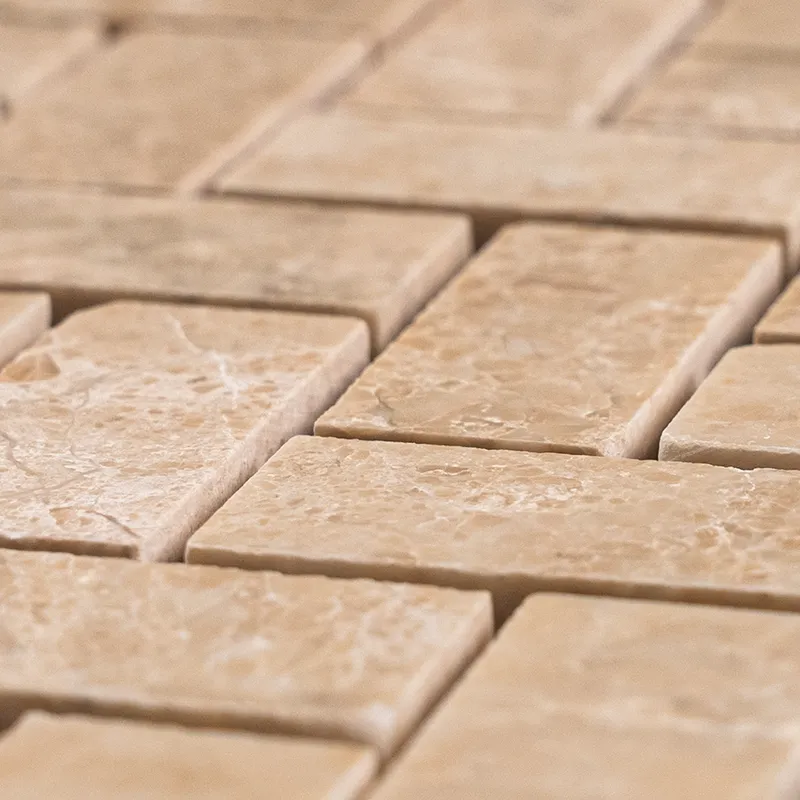
  • Finish: Polished for glossy, light-reflective effect

  • Color: Warm beige with soft natural veining

  • Thickness: 3/8″ (1 cm), suitable for high-traffic areas

  • Mesh-Backed: Pre-mounted for quick, accurate installation

  • Packaging: 72 boxes per order (30.28 SQM)

Why Choose Royal Beige Mosaic?

  • Elegant Herringbone Design: Adds movement and depth to surfaces

  • Versatile: Ideal for backsplashes, bathroom walls, floors, and decorative accents

  • Durable & Moisture-Resistant: Suited for both home and commercial projects

  • Polished Finish: Highlights natural marble tones while reflecting light

  • Low Maintenance: Easy cleaning with pH-neutral stone-safe products

Recommended Applications:

  • Bathroom walls and shower floors for spa-like luxury

  • Kitchen backsplashes, modern or traditional

  • Accent and feature walls in living areas

  • Commercial spaces, lobbies, and hospitality settings

  • Fireplaces and decorative nooks

Installation & Care:

  • Adhesive: Use premium white thin-set mortar

  • Sealing: Apply penetrating stone sealer for protection

  • Grouting: Non-sanded grout to preserve polished surface

  • Cleaning: pH-neutral stone-safe cleaners

Packaging & Shipping:

  • Sold by square meter (1 SQM per unit)

  • 72 boxes per order (30.28 SQM total)

  • Secure packaging and reliable shipping

  • Bulk/contractor discounts available

Bring lasting elegance and refined style to your interiors with the Royal Beige Herringbone Polished Marble Mosaic Tile.

Weight5.8 lbs
Dimensions12 × 12.4 × 0.40 in
Finish

Thickness

Color

Size (inches)

Chip Size (Inches)

Design

Herringbone

Material

Usage Area

Backsplash, Commercial Interior Floors, Commercial Interior Walls, Outdoor Walls, Residential Interior Floors, Residential Interior Walls, Residential Light Floors, Shower Floors, Shower Walls

Collection

Royal Beige Collection

Maximize the Beauty and Longevity of Your Royal Beige Herringbone Polished Marble Mosaic Tile (11.5″ x 11.5″)

Ensure a flawless and durable installation of your Royal Beige Herringbone Polished Marble Mosaic Tile by following these detailed steps. Proper preparation, placement, and finishing preserve the tile’s elegant herringbone design and polished surface while enhancing durability and aesthetics.


Step 1: Surface Preparation

A solid, clean, and level surface is essential for lasting results. Make sure the substrate is:

✔ Free of dust, grease, debris, and soap residue.
✔ Structurally sound, level, and crack-free.
✔ Waterproofed in moisture-prone areas like kitchens, bathrooms, and showers.
✔ Cleared of moldings or obstacles that might interfere with placement.
✔ Evened with a self-leveling compound if needed.


Step 2: Layout Planning

Proper planning ensures alignment and a seamless herringbone pattern:

✔ Measure the area and mark center points of all walls.
✔ Snap chalk lines to create a precise grid.
✔ Dry-lay tiles along the grid to confirm pattern and avoid small edge cuts.
✔ Use 1.5–3mm spacers for uniform grout lines.
✔ Test-fit multiple sheets to verify pattern continuity.


Step 3: Adhesive Selection & Application

Choose a high-quality white thin-set mortar, such as: Mapei, Laticrete, or Ardex.

✔ Mix only what can be used within 30 minutes.
✔ Apply a 1/4-inch layer with the flat side of a notched trowel.
✔ Comb the adhesive at a 45° angle to create even ridges.
✔ Work in small sections to prevent drying before tile placement.
✔ Back-butter each tile for extra adhesion.


Step 4: Cutting & Fitting

✔ Mark tiles accurately before cutting.
✔ Use a wet saw with a diamond blade for precise polished cuts.
✔ Smooth rough edges with a rubbing stone to maintain polish.
✔ For curves or intricate cuts, use tile nippers or grinding tools.
✔ Dry-fit tiles to ensure proper alignment before applying adhesive.


Step 5: Setting the Tiles

✔ Begin at the center, working outward.
✔ Place tiles with a slight twisting motion for a secure bond.
✔ Avoid sliding tiles to prevent mortar displacement.
✔ Maintain grout spacing with spacers for a seamless pattern.
✔ Tap gently with a rubber mallet for even placement.
✔ Remove excess mortar with a damp sponge.
✔ Allow adhesive to cure 24 hours before grouting.


Step 6: Grouting & Sealing

✔ Remove spacers before grouting.
✔ Use non-sanded grout to protect polished marble.
✔ Apply grout diagonally using a rubber float, filling joints completely.
✔ Wipe excess grout immediately and buff haze after 15–20 minutes.
✔ Let grout cure for 72 hours before heavy use.
✔ Seal with a penetrating stone sealer to guard against stains and moisture.


Maintenance Tips

✔ Clean with pH-neutral stone cleaners.
✔ Avoid acidic or abrasive products.
✔ Reapply sealer regularly for long-lasting protection.
✔ Use felt pads under furniture to prevent scratches.


Important Notice:
Stonemarket USA is not responsible for installation errors. For optimal results, hire a professional and use premium materials.

📞 For assistance, contact Stonemarket USA Customer Support.

By following these installation best practices, your Royal Beige Herringbone Polished Marble Mosaic Tile (11.5″ x 11.5″) will maintain its timeless elegance and durability for years to come.

Category
Category
Material
Material
Color
Color
Size
Size
Finish
Finish
Design
Design
Thickness
Thickness
Application
Usage Area
Request a Quote
Tell us briefly about your project, sq ft, and timing.