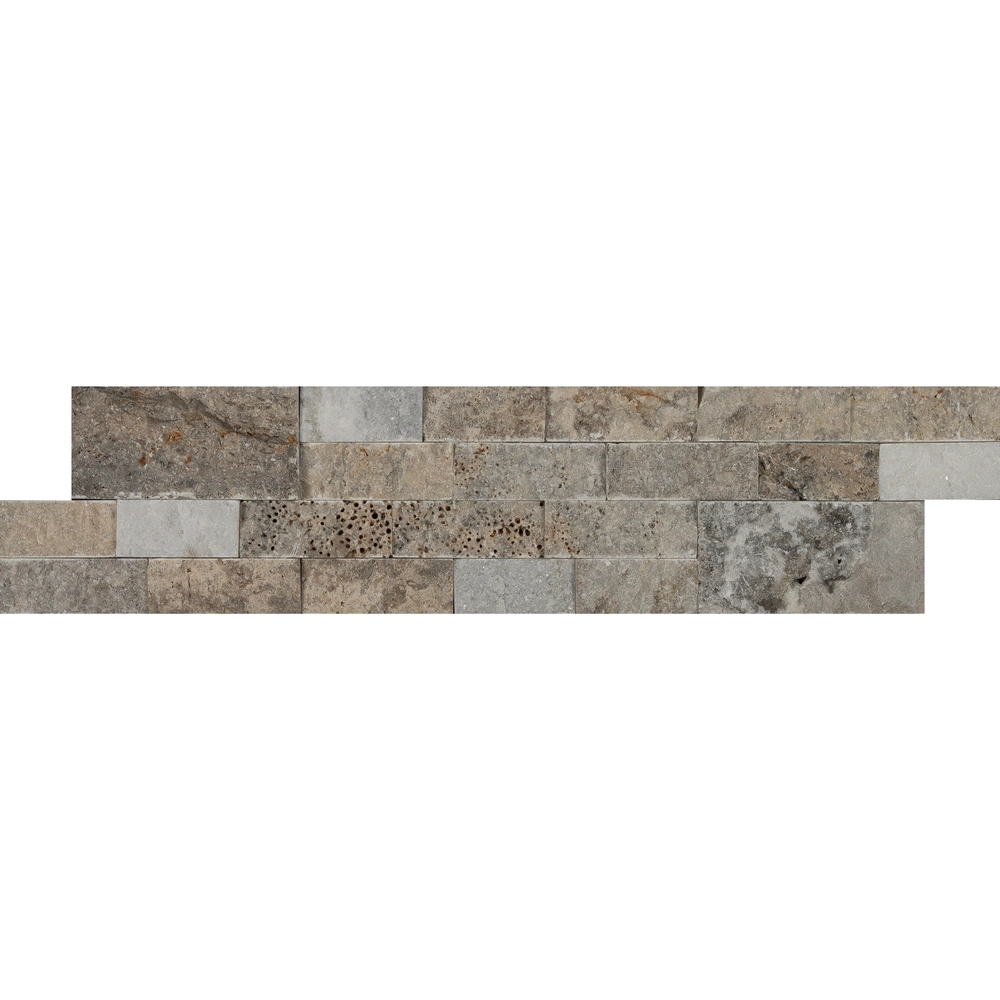
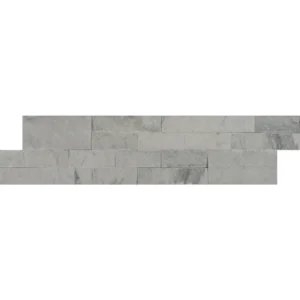
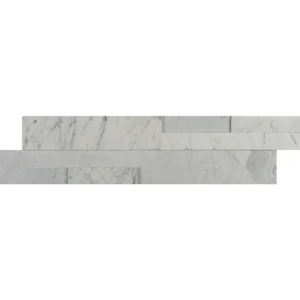
Triverra 6×24 Beige 3D Ledgestone Panel
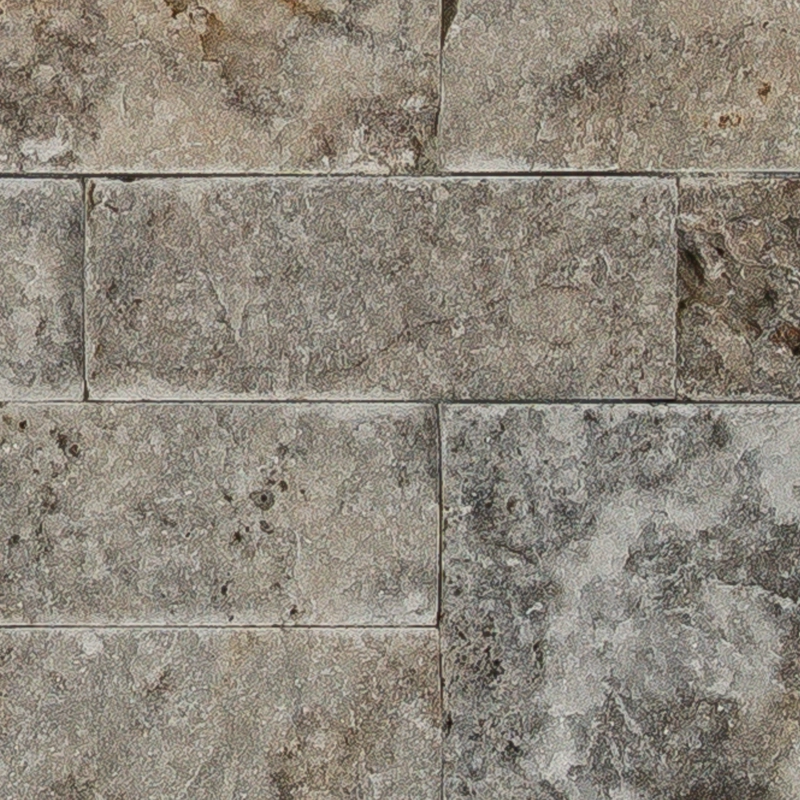
Elevate your interiors with the Triverra 6×24 3D Ledgestone Panel, crafted from natural travertine. Its pre-aged surface showcases a harmonious blend of warm beige, soft brown, and subtle grey tones, creating a timeless and sophisticated look. The three-dimensional design adds texture and visual depth to any vertical surface.
Perfect for accent walls, fireplace surrounds, outdoor kitchens, or commercial spaces, this panel is chemically bonded rather than mesh-backed, ensuring durability and a secure, long-lasting installation. The interlocking edges provide a seamless, dry-stack appearance, enhancing both rustic charm and contemporary elegance.
Key Features
Stone Type: Travertine
Finish: Pre-aged 3D texture
Size: 6″x24″ panel
Application: Vertical surfaces only
Setting: Indoor and outdoor use
Installation: Chemically bonded for a strong, stable fit
Installation Guide – Triverra 6″x24″ 3D Ledgestone Panel (Travertine)
Important Notes
This product is natural travertine and intended for vertical wall use only.
Do not install on floors or horizontal surfaces due to its 3D texture and porosity.
Use only stone-safe, chemical-sensitive adhesives and cleaners.
Step 1: Surface Preparation
Ensure the substrate is structurally sound, clean, dry, and level.
Acceptable substrates: cement board, concrete, masonry block.
Apply a waterproofing membrane in wet areas such as showers or outdoor walls.
Use a level line to keep panel rows even during installation.
Step 2: Dry-Fit Layout
Lay panels on the ground to check color and texture variation before mounting.
Stagger vertical joints for a natural, continuous appearance.
Use corner pieces for outside edges when available.
Step 3: Adhesive Application
Recommended Adhesives:
Instructions:
Avoid premixed mastic or acidic bonding agents.
Apply adhesive to both the wall and back of each panel using a 1/2″ notched trowel.
Back-butter panels for full contact, especially due to uneven 3D surfaces.
Press firmly with a sliding motion and hold momentarily for adhesion.
Step 4: Cutting & Handling
Use a wet saw with a diamond blade designed for natural stone.
Cut slowly and support the panel to avoid cracks or chipping.
Wear protective eyewear and gloves when handling travertine.
Step 5: Finishing Touches
Dry-stack installation: no grout required.
Clean excess mortar with a damp sponge before it sets.
Allow adhesive to cure undisturbed for 24–48 hours.
Step 6: Sealing
Apply a high-quality penetrating sealer suitable for travertine after curing.
Avoid topical coatings that may alter texture or yellow the stone.
Reapply sealer every 1–2 years depending on exposure.
Maintenance
Use pH-neutral, non-acidic stone cleaners.
Avoid bleach, vinegar, or harsh chemicals that can etch or discolor the stone.
Inspect and clean periodically to maintain natural beauty.
Disclaimer
This panel is designed for vertical wall applications only. Follow the adhesive manufacturer’s instructions carefully. Minor pitting or surface variation is normal and part of travertine’s natural character.