Installation Guide – Calacatta 2″ Honeycomb Honed White Marble Mosaic
Material Overview
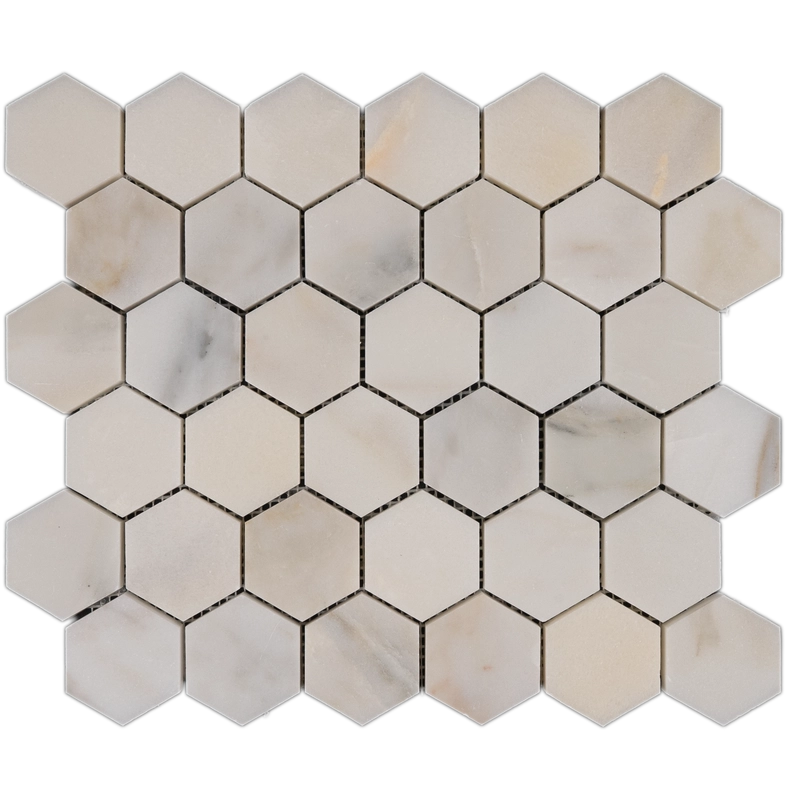
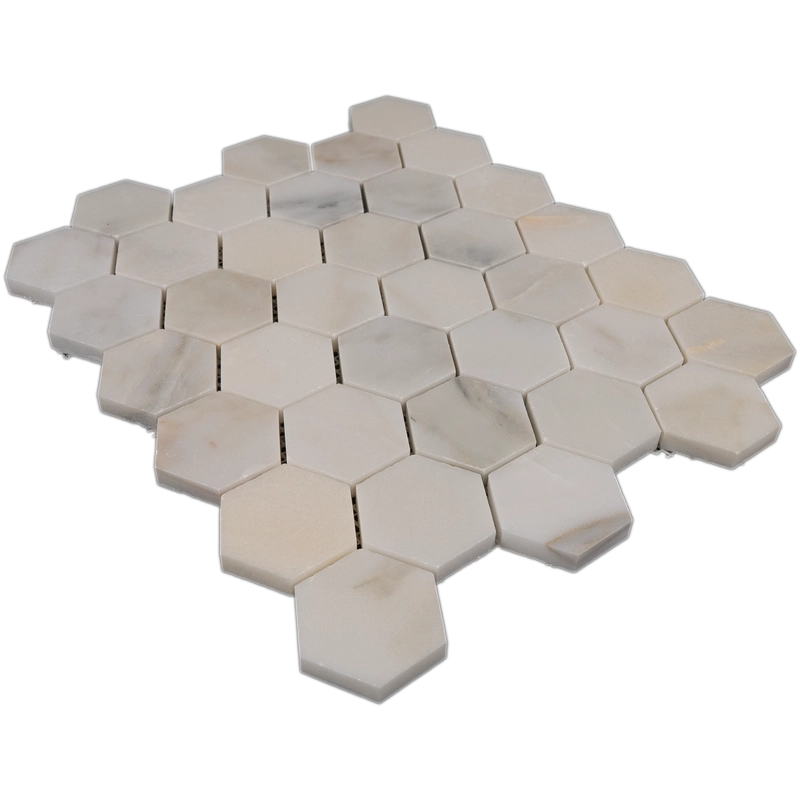
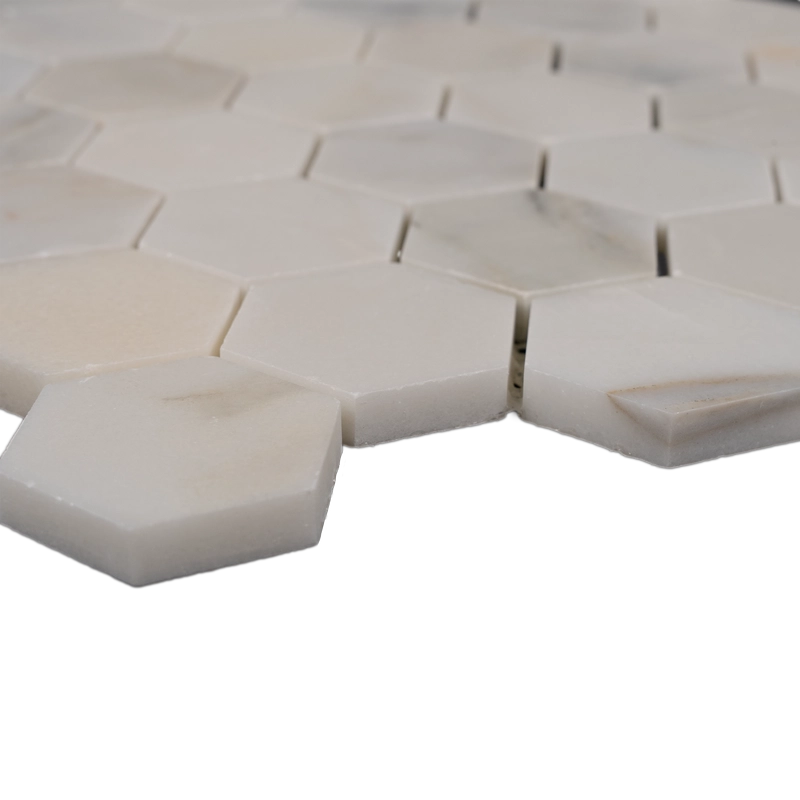
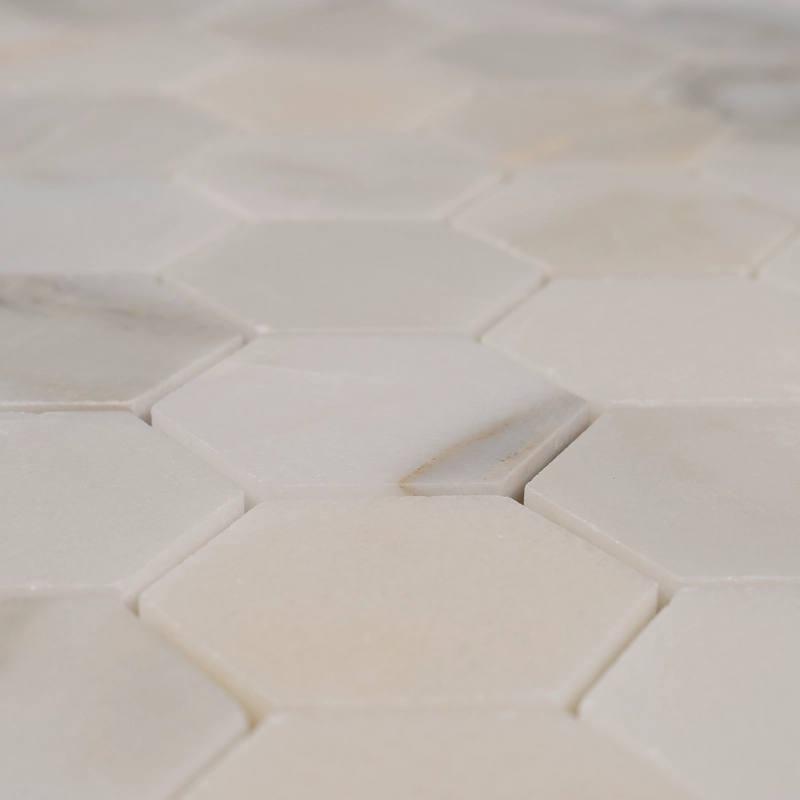
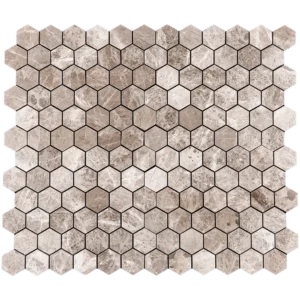
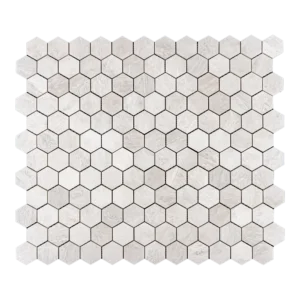
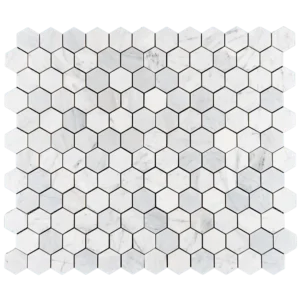
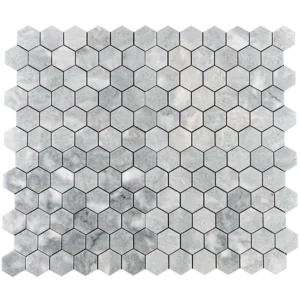
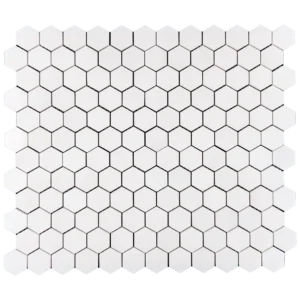
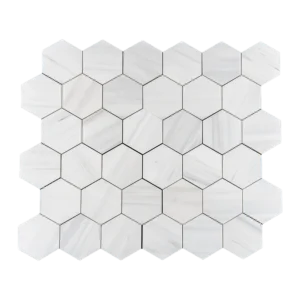
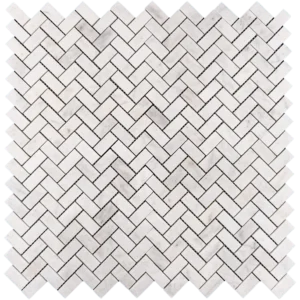
Premium Calacatta white marble with soft gray veining, finished with a honed matte surface. Each 2″ hexagonal piece is mesh-mounted on ~12″×12″ sheets. Ideal for walls, backsplashes, shower surrounds, and light-duty residential floors. The multiple grout lines offer enhanced traction compared to large-format tiles.
Step 1: Surface Preparation
Ensure substrate is clean, dry, solid, and level (≤1/8″ variation over 10′). Patch or skim as needed for a smooth base. Suitable substrates include cement backer board, cured concrete, or a mortar bed per ANSI standards. In wet areas, install a waterproofing membrane and maintain proper slope (1/4″ per foot for showers). Always use white setting materials under light-colored marble to avoid shadowing.
Step 2: Dry Layout & Planning
Blend sheets from multiple cartons to distribute natural shade and veining evenly. Snap level reference lines and center the layout. Plan perimeter cuts for a balanced appearance, typically half-hex cuts. Trim mesh edges so sheets interlock seamlessly and stagger seams to avoid a visible grid.
Step 3: Adhesive Application
Use white, polymer-modified thin-set for natural stone (ANSI A118.4/A118.15). Avoid premixed mastics in wet areas. Spread mortar with a 3/16″ V-notch trowel (or 1/4″×3/16″ V-notch) on flat substrates. Key in with the flat side, comb in one direction, and lightly flatten ridges. Work in small sections to prevent premature drying.
Step 4: Setting the Sheets
Align sheets along layout lines, ensuring hex joints match uniformly. Embed with a rubber float or beating block for full contact. Maintain factory spacing—do not butt-joint. Adjust and back-butter individual hexes if lippage occurs. Remove excess thin-set immediately with a barely damp sponge or microfiber cloth.
Step 5: Cutting & Detailing
Use a wet saw with a continuous-rim diamond blade. Apply painter’s tape to minimize chipping. Dress exposed cuts with a rubbing stone and finish edges with stone trim, metal profiles, or matching moldings.
Step 6: Grouting
Allow thin-set to cure (~24 hours). For joints ≤1/8″, use unsanded grout; for ~1/8″–3/16″, use fine-aggregate marble-safe grout after testing. Consider a marble-safe grout release or pre-seal on white marble to prevent discoloration. Apply grout diagonally with a rubber float, clean with minimal water to avoid washout, and remove haze promptly.
Step 7: Sealing
Once grout cures (~72 hours), apply a penetrating, breathable sealer suitable for marble. Re-seal every 1–2 years depending on moisture and traffic exposure.
Maintenance Tips
Clean with pH-neutral, non-abrasive cleaners; avoid acids, vinegar, bleach, and abrasive pads. In showers, wipe dry after use and use marble-safe scale removers as needed.
Movement Joints
Maintain structural and perimeter joints per TCNA EJ171. Use 100% stone-safe silicone at inside corners and where tile meets different materials.
Important Notes
Calacatta marble is naturally varied in tone and veining; dry-lay and blend sheets before installation. Expect minor size/thickness tolerances. Avoid high-gloss coatings unless a polished effect is desired. Stonemarket USA is not responsible for substrate issues or improper installation. Professional installation is strongly recommended.