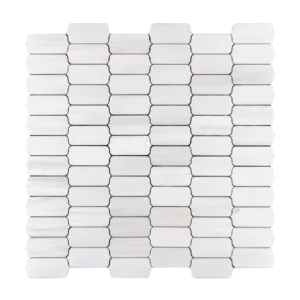
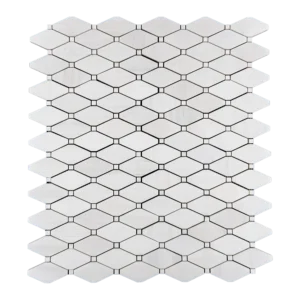
Iceberg Dorema Marble Mosaic Tile – Installation Guide
Step 1: Surface Preparation – Build the Perfect Base
Clean and dry the installation surface thoroughly to remove dust, oils, or residues—Iceberg Dorema marble performs best on a pristine foundation. Ensure the substrate is level, stable, and free of cracks. In wet areas, apply a premium waterproofing membrane to safeguard against moisture. Remove trims, outlet covers, or any obstacles that could disrupt a smooth layout. Use a leveling compound to correct uneven areas, ensuring a flat and flawless surface.
Step 2: Layout Planning – Emphasize Natural Beauty
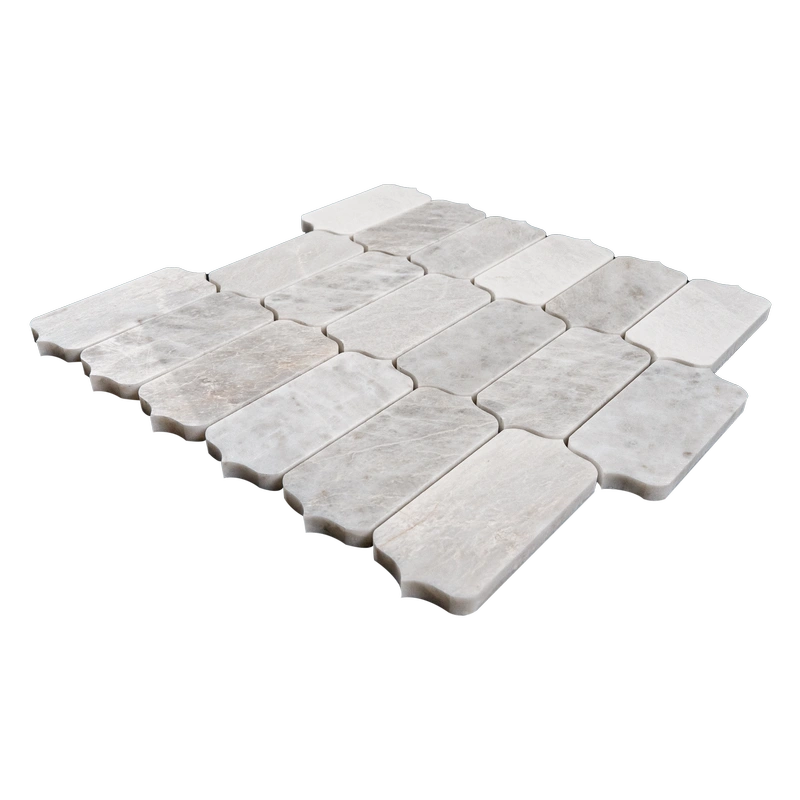
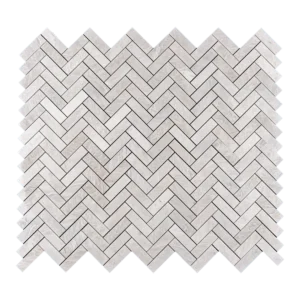
Identify the center of the installation area to achieve a balanced, symmetrical design that highlights Iceberg marble’s subtle gray veining. Dry-lay a few sheets to observe the natural flow of tones. Adjust placement to avoid awkward cuts along edges. Use 1.5–3 mm spacers between sheets for consistent grout lines and a refined finish.
Step 3: Adhesive Application – Choose Quality Thin-Set
Recommended Thin-Set Brands (Natural Stone-Friendly):
Mapei – reliable and high-performing
Laticrete – easy to work with, strong adhesion
Ardex – excellent for natural stone applications
Instructions:
Use a white, non-staining thin-set mortar to protect the marble’s polished finish. Mix in small batches for 30-minute usability. Apply with a 1/4″ notched trowel, combing at a 45° angle for even coverage. Back-butter each sheet for full contact and reduced lippage. Work in sections to avoid thin-set drying before sheet placement.
Step 4: Cutting & Fitting – Precision Matters
Use a wet saw with a fine diamond blade for clean, chip-free cuts. Mark cuts carefully with a pencil. Smooth edges with a stone file or rubbing block. Dry-fit pieces before installation to confirm alignment and maintain seamless veining.
Step 5: Setting Tiles – Bring the Mosaic to Life
Start from the center and work outward for balanced symmetry. Press mesh-backed sheets firmly into the adhesive, keeping spacers for even grout lines. Tap lightly with a rubber mallet to level tiles and eliminate air pockets. Immediately wipe excess thin-set with a damp sponge. Allow a 24-hour curing period before grouting.
Step 6: Grouting & Sealing – Protect and Enhance
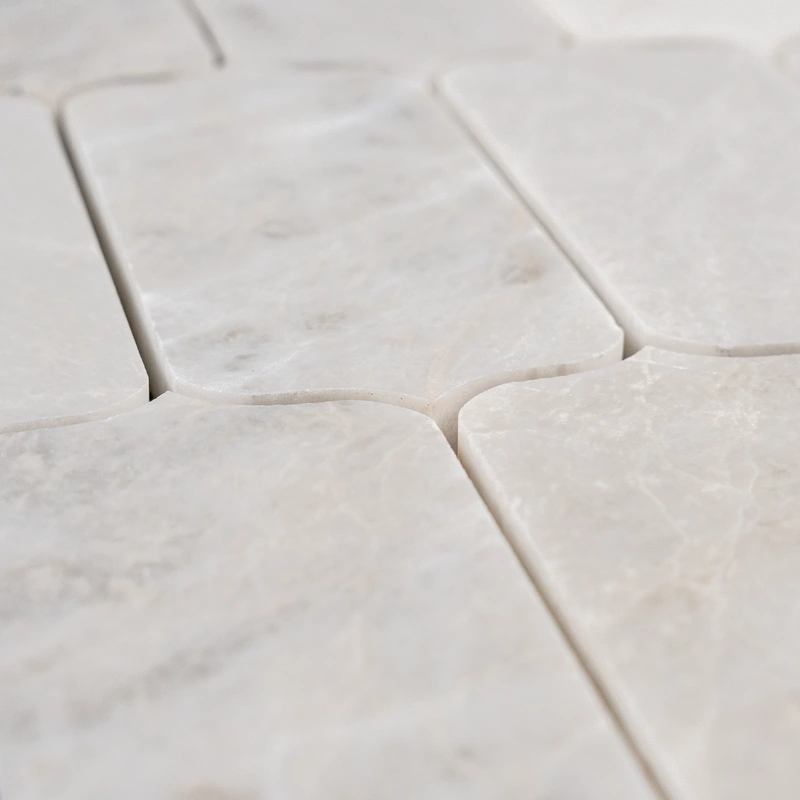
Use non-sanded grout to avoid scratching. Apply diagonally with a rubber float and remove excess immediately. Buff any haze after 15–20 minutes. Allow grout to cure for 72 hours, then seal with a penetrating marble-safe sealer to guard against moisture, stains, and etching while maintaining the polished finish.
Maintenance Tips – Preserve Its Shine
Clean with pH-neutral stone cleaners. Avoid acidic or abrasive products. Reseal periodically to protect marble’s luster. Use felt pads under furniture to prevent scratches.
Shipping & Packaging – Safe and Secure
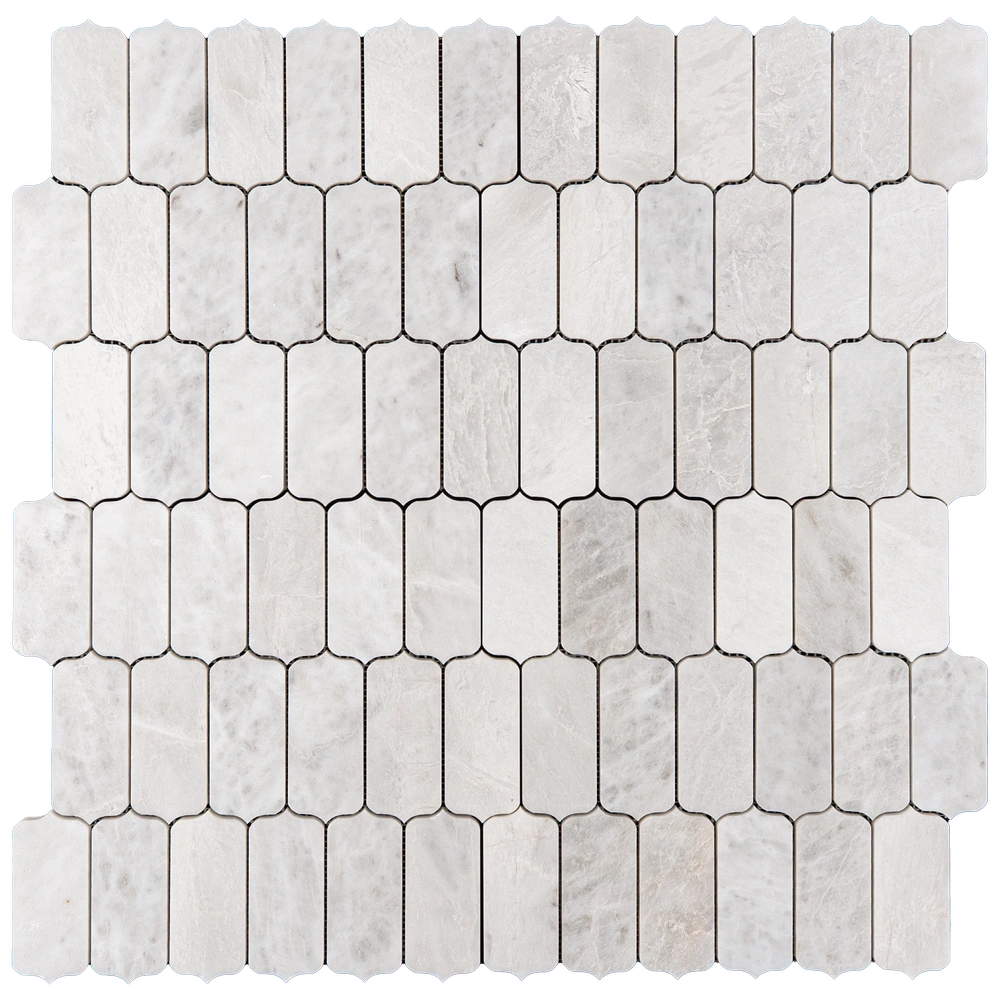
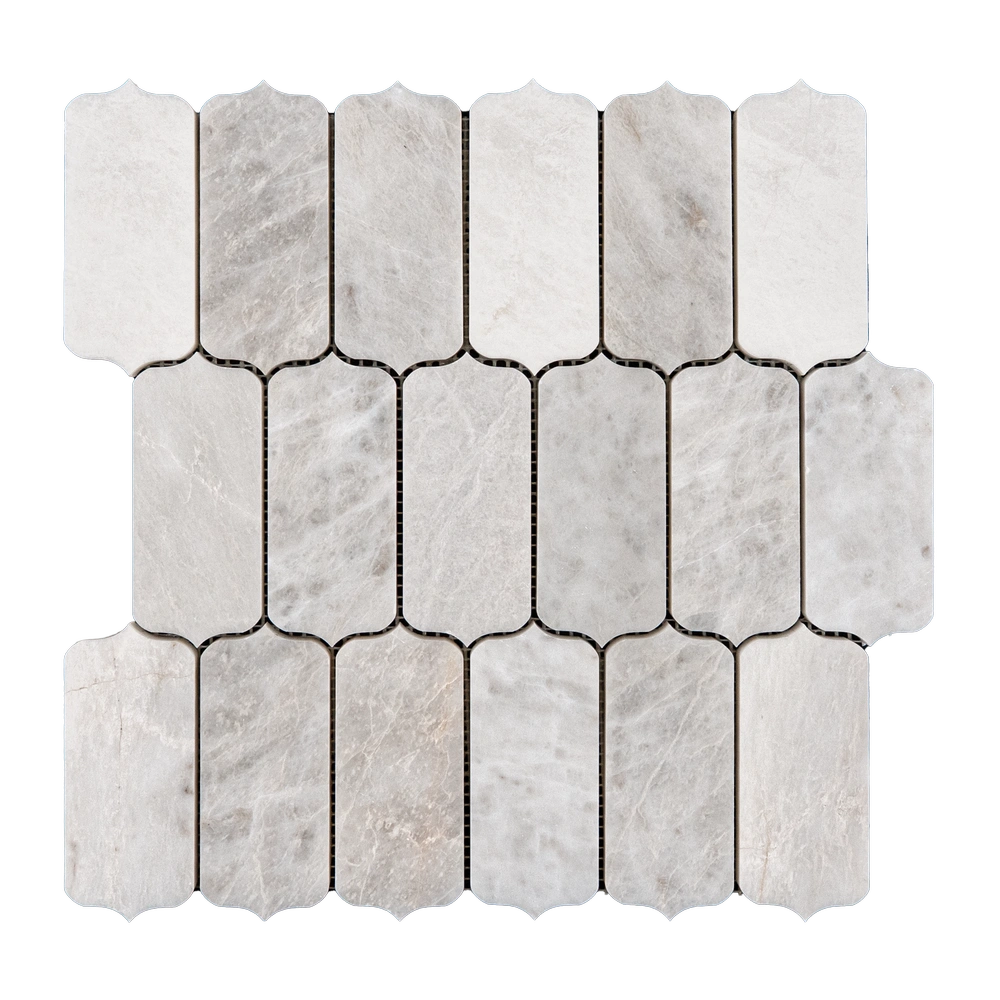
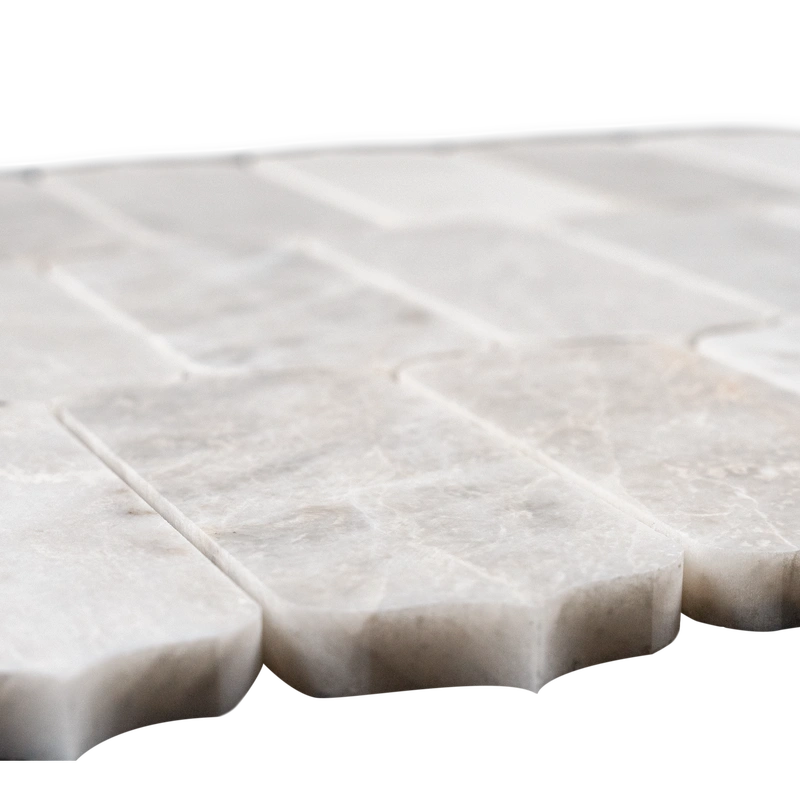
Each sheet is individually wrapped and cushioned. Mesh backing ensures easy installation and precise pattern alignment, highlighting Iceberg Dorema marble’s natural veining.
Important Note – Unique Natural Beauty
Every sheet is distinct, showcasing variations in veining and tone that make each installation one-of-a-kind. Professional installation and premium adhesives/sealers are strongly recommended. Stonemarket USA is not responsible for improper installation.