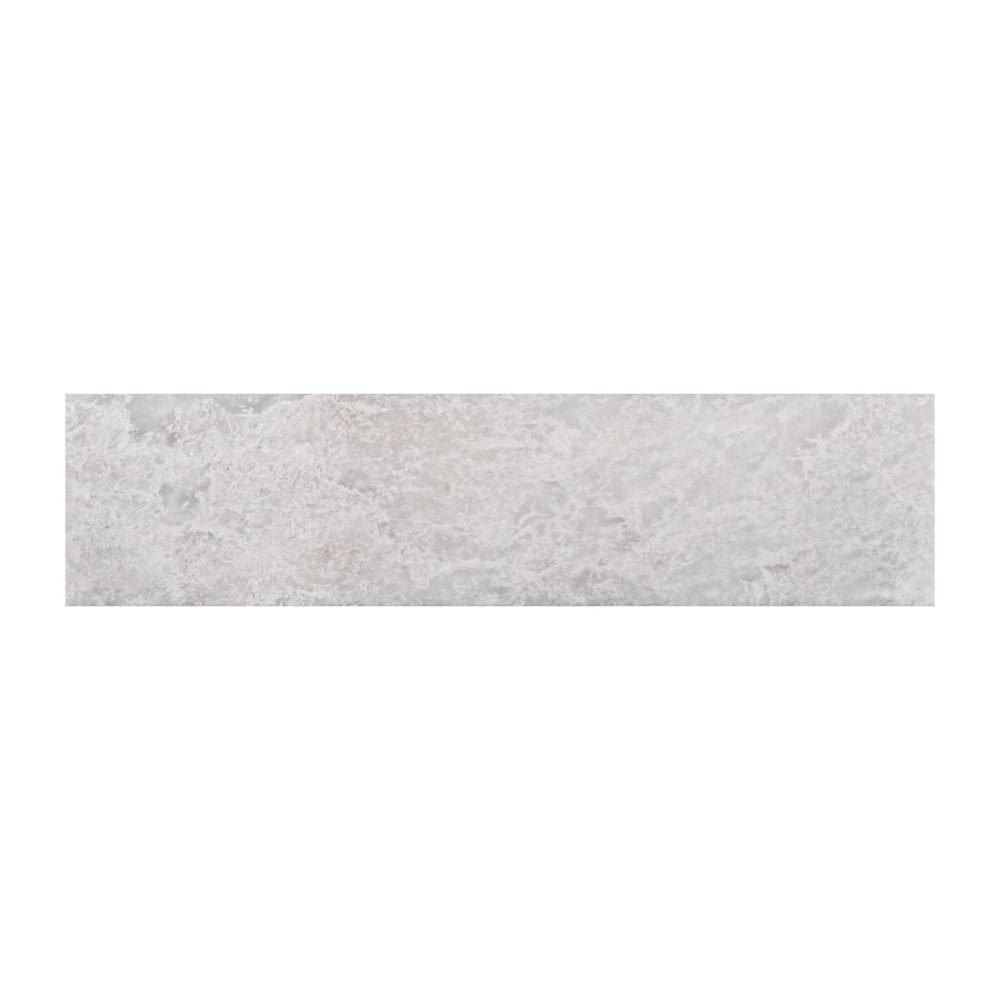
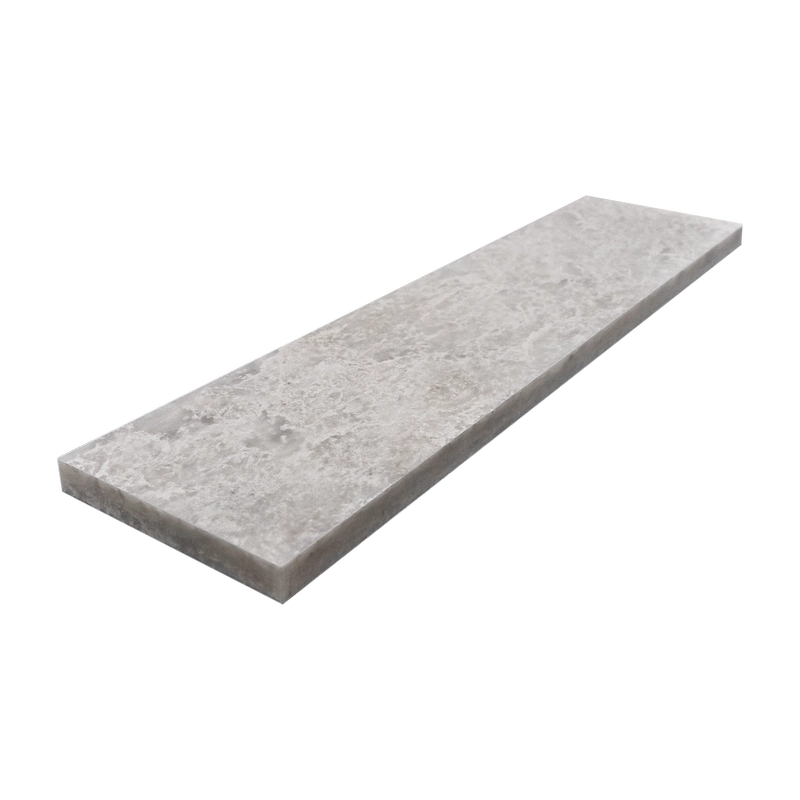
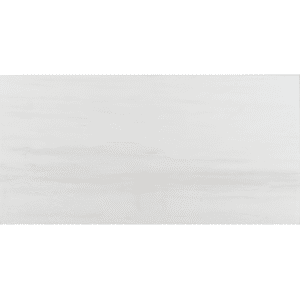
Iceberg Marble Tile 3″x12″ Honed – Matte White with Clean Edges
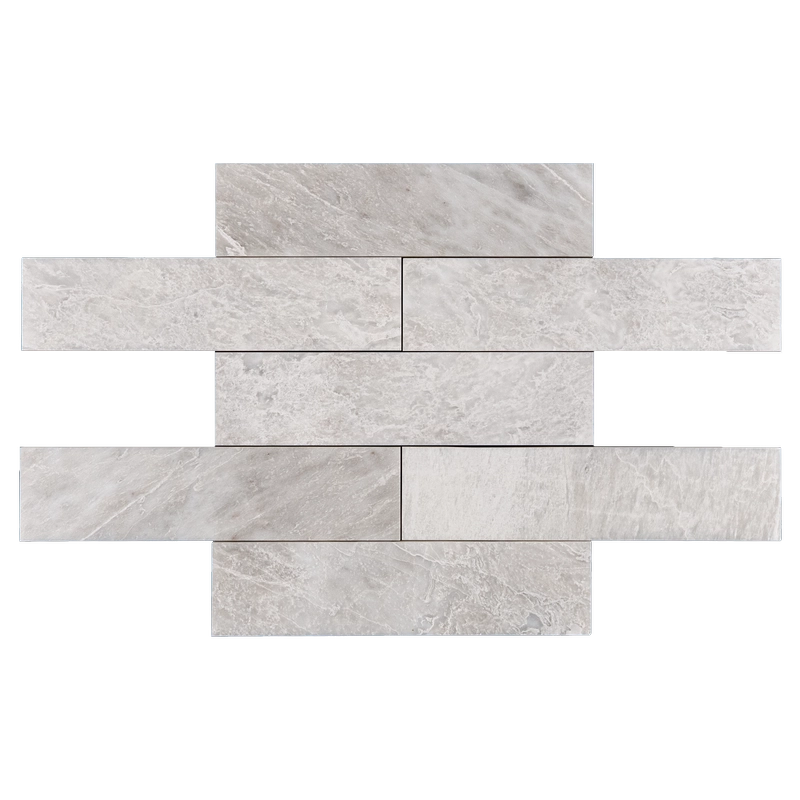
Elevate your interiors with the Iceberg Marble 3″x12″ Honed Tile, a sleek and contemporary choice for walls and backsplashes. Its elongated rectangular shape works perfectly in stacked, herringbone, or vertical layouts, adding rhythm and flow to any design.
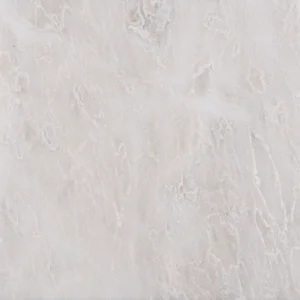
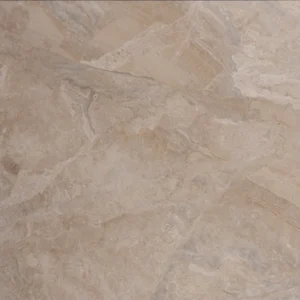
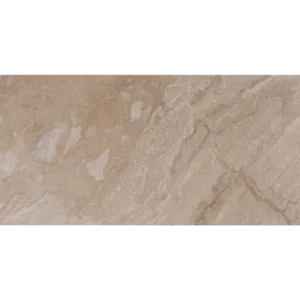
Crafted from premium Iceberg marble, each tile features soft white tones accented by subtle icy veining. The honed matte finish offers a gentle, low-sheen texture that reduces glare while showcasing the stone’s natural elegance. Straight edges provide crisp, seamless lines with minimal grout visibility, making installations look polished and precise.
Durable and moisture-resistant, this tile is ideal for kitchens, bathrooms, or accent walls. Its understated sophistication brings a serene, spa-like feel to any space without overwhelming the design.
Product Features – Iceberg Marble Tile 3″x12″ Honed
Material: Natural Iceberg Marble
Finish: Honed – smooth, matte surface
Size: 3″x12″ (7.5×30.5 cm)
Edge: Straight edge for clean, seamless installation
Applications: Indoor walls, backsplashes, and accent features
Step 1: Prepare the Surface – Clean, Level, and Dry
Ensure the substrate is free of dust, grease, and debris, and fully dry.
Check for flatness with a long level; fill low spots or smooth high areas with a leveling compound.
Apply a waterproof membrane in wet zones such as showers, bathrooms, or kitchen backsplashes.
Step 2: Plan the Layout – Visual Harmony
Decide on a pattern: stacked, herringbone, or vertical to suit your design intent.
Dry-lay tiles to assess veining direction and distribute color evenly across the surface.
Use 1/16″–1/8″ grout joints, adjusting based on edge alignment and desired look.
Mix tiles from multiple boxes for natural variation balance.
Step 3: Apply Mortar – White Thin-Set Recommended
Recommended Adhesives:
Instructions:
Spread mortar with a 1/4″ square-notched trowel suitable for wall tiles.
Back-butter each tile for full adhesion, essential for narrow 3″x12″ formats.
Work in small sections to prevent the mortar from drying before setting tiles.
Step 4: Cutting & Fitting – Precise and Clean
Use a wet saw with a diamond blade rated for marble to ensure smooth, chip-free cuts.
For herringbone or angled patterns, measure and cut carefully for tight joints.
Dry-fit all cut pieces before installation to confirm alignment.
Step 5: Setting Tiles – Level and Consistent
Begin from the center or most visible wall edge, working outward.
Place spacers to maintain uniform grout lines and consistent patterns.
Lightly tap tiles with a rubber mallet to secure them and avoid lippage.
Clean excess mortar immediately to protect the honed surface.
Step 6: Grouting & Sealing – Protect the Marble
Pre-seal tiles with a penetrating stone sealer to minimize grout staining.
Use non-sanded grout to prevent scratches on narrow joints.
Apply grout diagonally with a rubber float, wiping clean promptly with a damp sponge.
Allow grout to cure for 72 hours, then apply a second sealer coat for added protection.
Maintenance Tips – Preserve Timeless Elegance
Clean regularly with pH-neutral, non-abrasive stone cleaners.
Wipe up spills immediately, especially acidic or colored liquids.
Reseal every 6–12 months, particularly in high-moisture or high-traffic areas.
Avoid harsh chemicals like vinegar, bleach, or abrasive powders.
Shipping & Packaging
Each 3″x12″ Iceberg Honed Marble Tile is carefully packaged with cushioning and foam inserts to prevent damage. Inspect tiles upon delivery and store indoors before installation.
Important Note
Iceberg marble is a natural stone; subtle variations in veining and tone are expected. Always dry-lay tiles prior to installation to achieve your desired layout. Stonemarket USA is not responsible for natural variation or installation errors.