Installation Guide – Step by Step
Step 1: Surface Preparation – Strong and Even Base
Begin with a clean foundation by removing dust, grease, adhesive residue, or loose particles.
Check flatness with a 6-ft level; for large-format tiles, variation should not exceed 1/8″ over 10 ft.
Use a self-leveling compound to correct dips or high spots.
In wet zones, apply a waterproofing membrane approved for limestone.
Step 2: Layout Planning – Balanced Design
Mark centerlines with chalk to ensure symmetry and reduce small edge cuts.
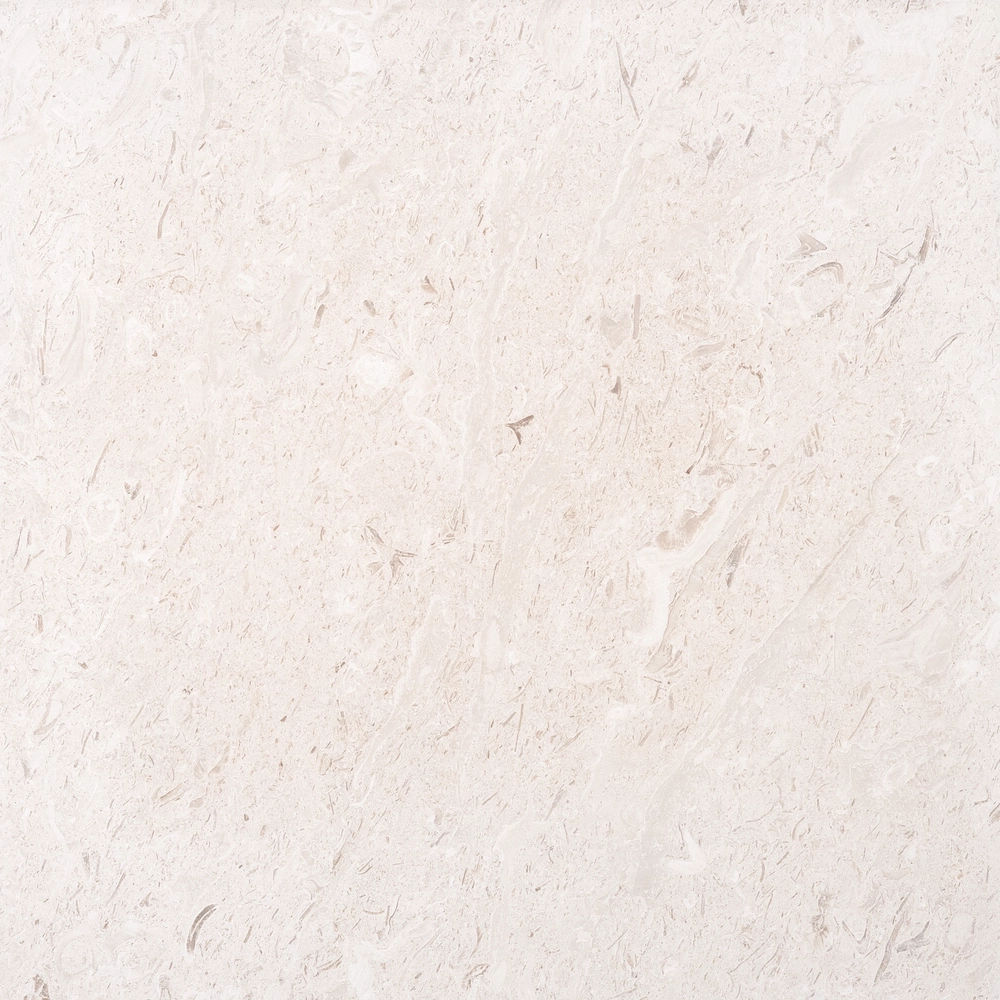
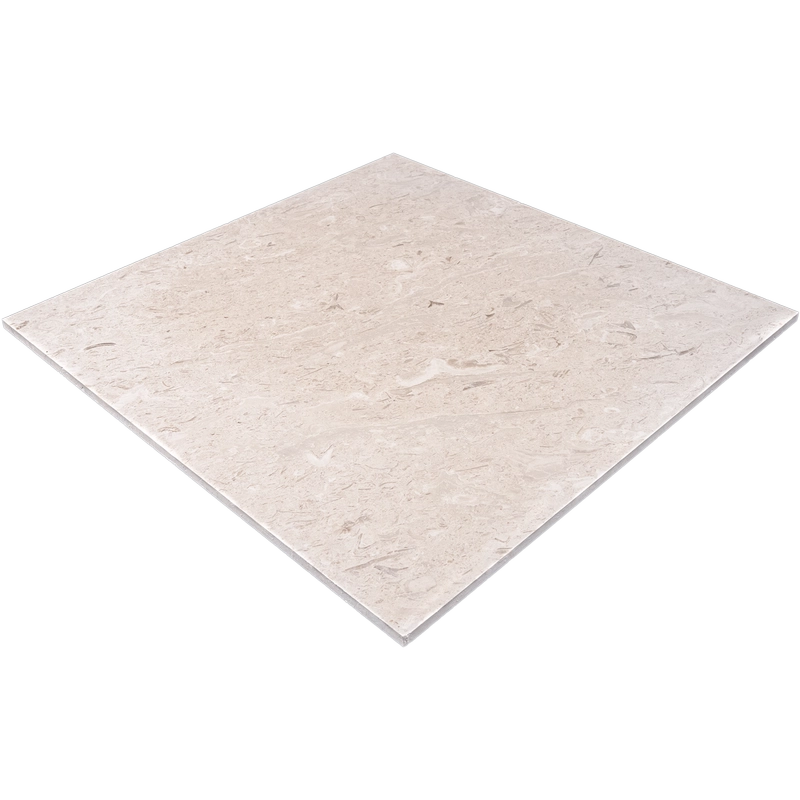
Dry-lay several pieces to preview natural shade variation—Myra Beige limestone may range from soft beige to sandy hues.
Mix tiles from multiple boxes for a consistent, natural flow.
Use 1/16″–1/8″ grout joints for a crisp look with straight-edged tiles.
Step 3: Adhesive Application – White Thin-Set Only
Recommended adhesives:
Instructions:
Apply with a 1/2″ square-notched trowel for proper coverage.
Back-butter every tile to eliminate hollow spots and increase strength.
Work in small sections and avoid stepping on freshly laid mortar.
Step 4: Cutting & Fitting – Precision Matters
Use a wet saw with a continuous diamond blade suitable for limestone/marble.
Measure carefully and test-fit pieces before setting.
Finish exposed edges with a stone file or polishing pad for safety and uniformity.
Step 5: Setting the Tiles – Flat & Aligned
Employ a leveling system for large tiles to avoid lippage.
Press tiles firmly into mortar and tap gently with a rubber mallet.
Keep edges aligned using spacers where needed.
Clean away excess mortar immediately with a damp sponge.
Allow 24 hours for mortar to cure before grouting.
Step 6: Grouting & Sealing – Protect the Finish
Pre-seal limestone before applying grout to avoid staining.
Use unsanded or fine-grain grout for narrow joints; choose a color close to the stone for a seamless look.
Work in small sections and wipe clean right away.
After curing, seal the surface with a penetrating sealer made for honed limestone.
Maintenance – Long-Lasting Beauty
Clean only with pH-neutral stone cleaners; never use vinegar, bleach, or acidic products.
Wipe spills quickly to prevent etching.
Re-seal once a year, or more often in high-use or damp areas.
Protect floors with felt pads under furniture and area rugs in busy zones.
Shipping & Storage
Each 24″x24″ Myra Beige limestone tile is securely packed with protective padding and carton reinforcement. Store indoors and let tiles acclimate before installation.
Important Reminder
As a natural stone, Myra Beige limestone has inherent shade and texture variation. Always dry-lay and blend tiles for consistent visual results. Proper handling and preparation are essential—installation errors are not covered by Stonemarket USA.