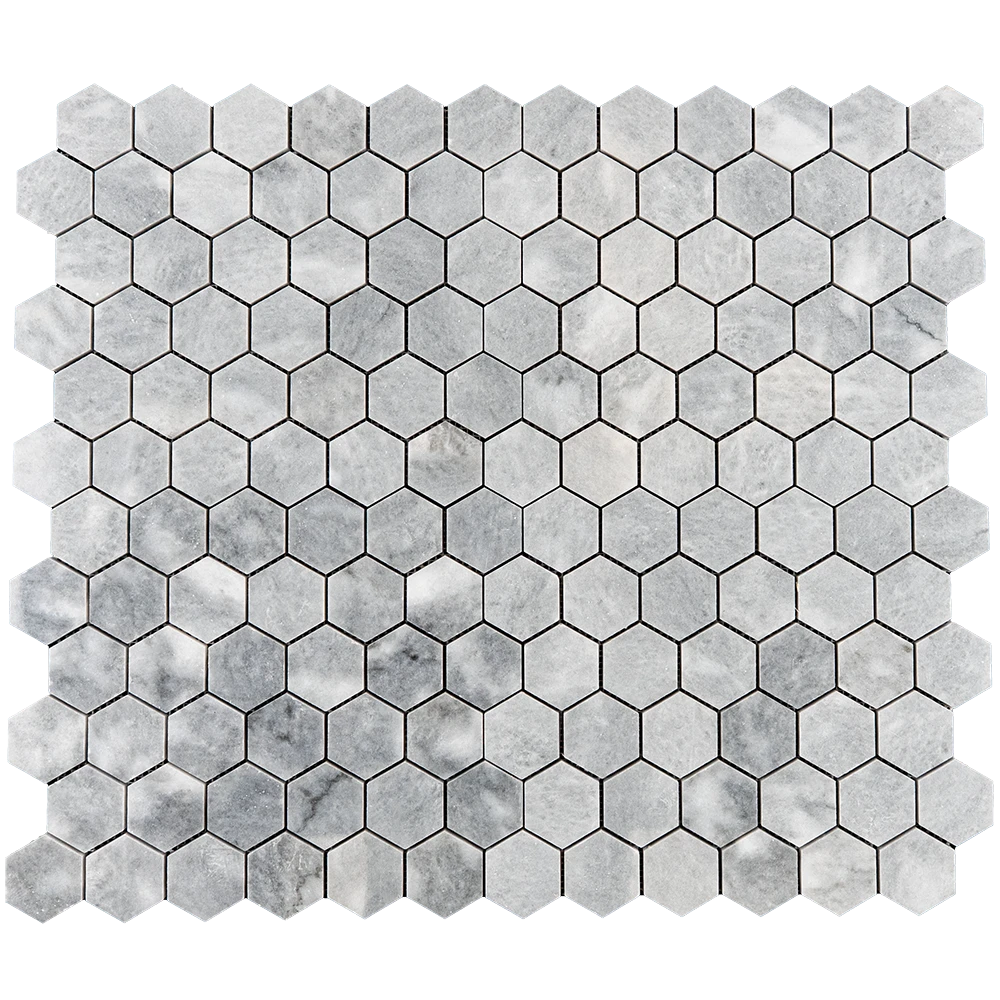
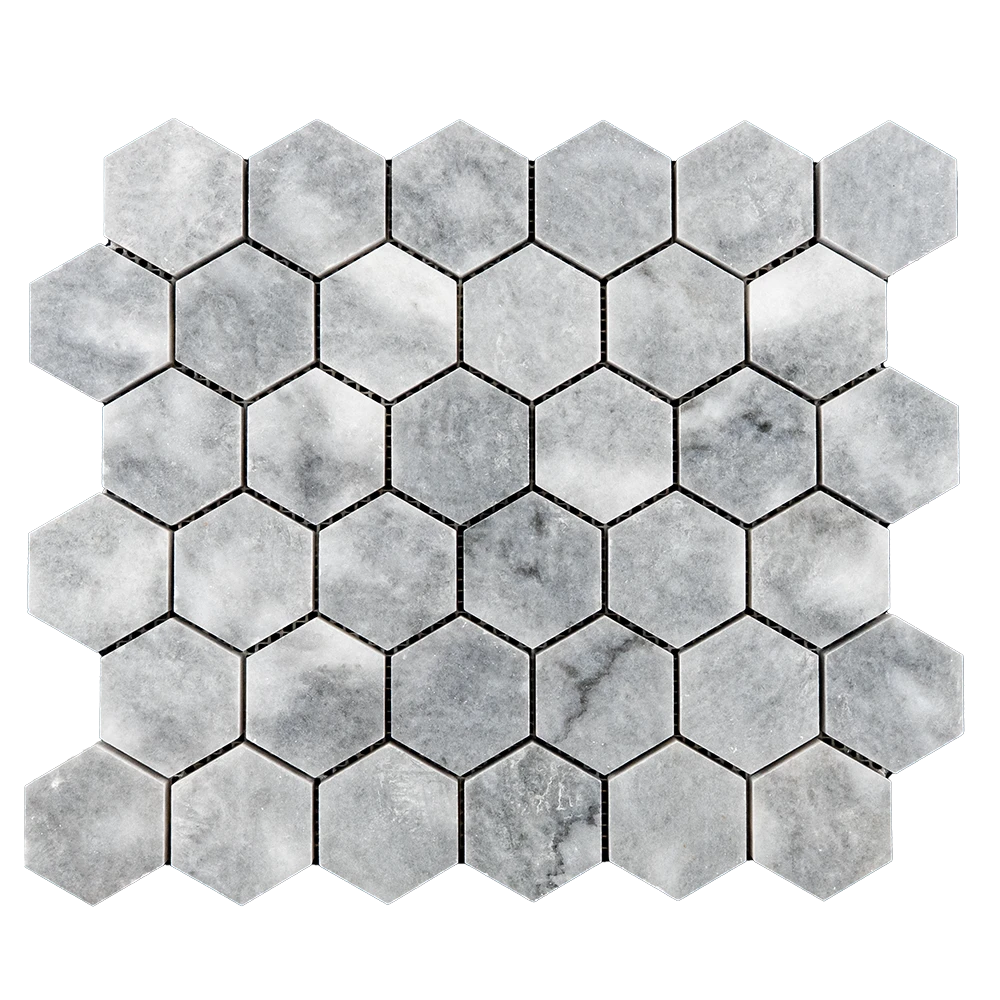
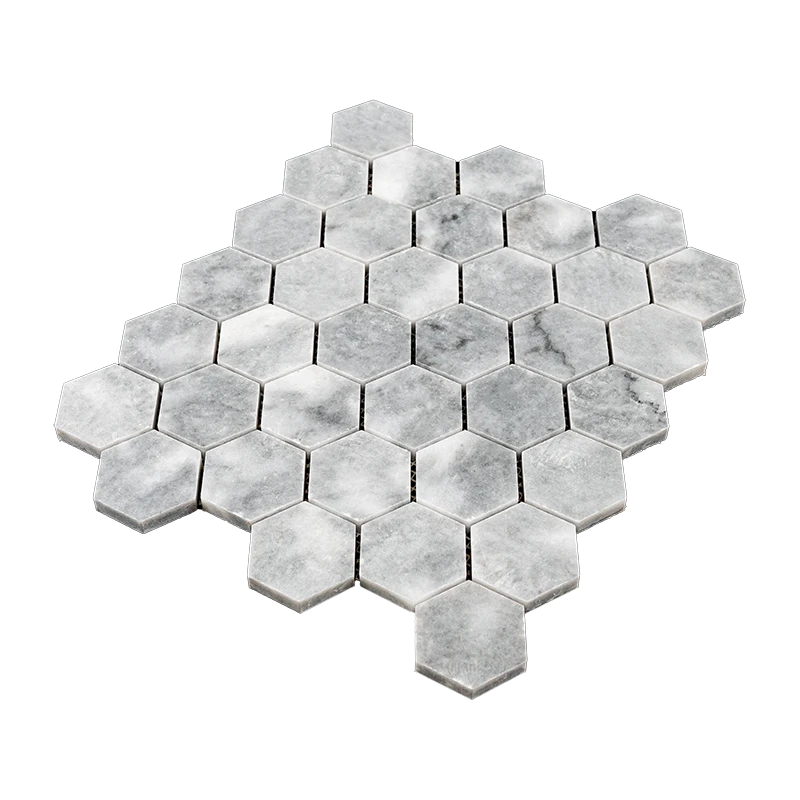
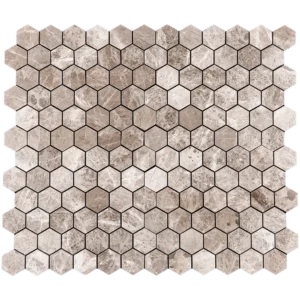
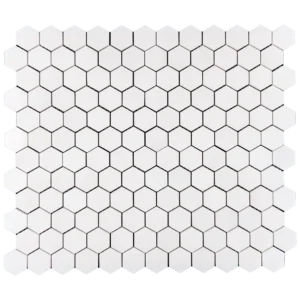
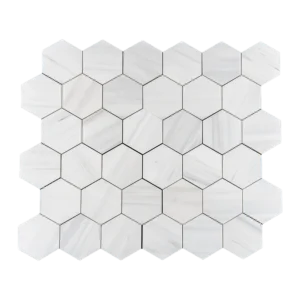
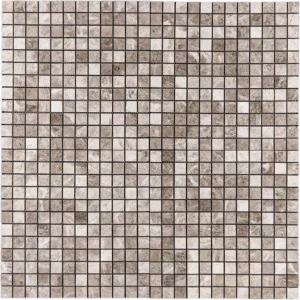
2″ Bardiglio Grey Honeycomb Marble Mosaic Tile – Polished Finish
Sophisticated Grey Geometry for Modern Interiors
Elevate your space with the 2″ Bardiglio Grey Honeycomb Marble Mosaic Tile. Featuring a polished surface and elegant honeycomb design, this tile blends contemporary geometry with soft grey tones, creating a refined statement for both modern and classic interiors.
Key Features:
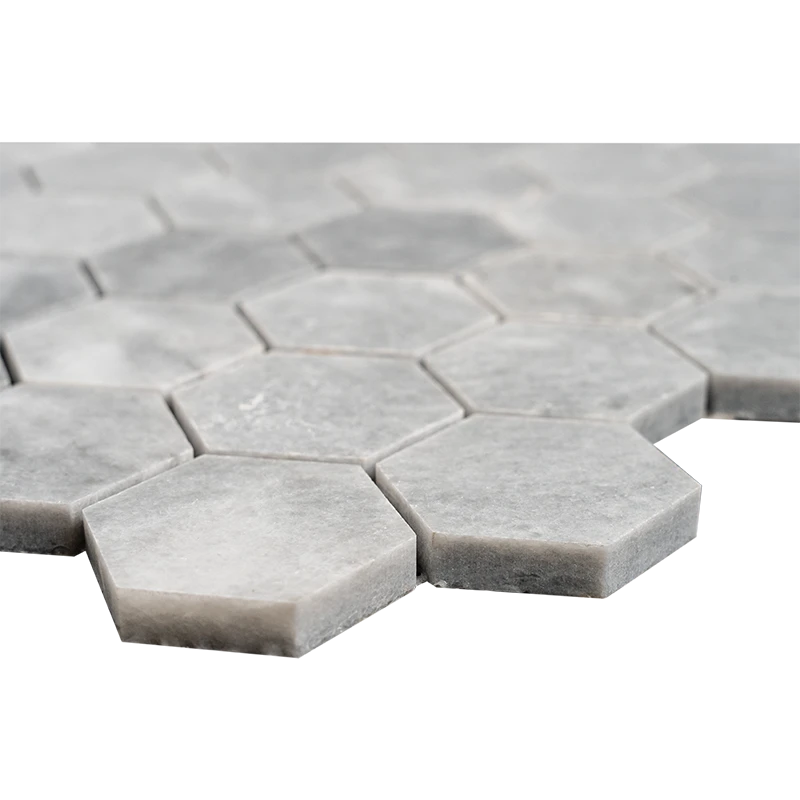
Material: Premium Bardiglio marble with subtle grey veining
Color: Medium grey with white accents
Finish: Polished for a smooth, reflective surface
Shape: 2″ hexagonal honeycomb tiles
Sheet Size: 10.4″ x 12″ (26.5 x 30.5 cm)
Mounting: Mesh-backed for quick, accurate installation
Recommended Applications:
Kitchen backsplashes
Bathroom floors and shower walls
Accent walls, borders, and feature panels
Why Choose Bardiglio?
Bardiglio marble is prized for its soft grey hue and elegant veining, bringing natural sophistication to any design. The polished finish enhances light reflection, creating brighter, more open-feeling spaces, while the geometric pattern adds depth and visual interest.
Care & Maintenance:
Clean with pH-neutral, stone-safe cleaners
Avoid acidic or abrasive products
Reseal periodically to maintain shine and protection
Packaging & Shipping:
This Bardiglio Grey Honeycomb Marble Mosaic Tile combines timeless elegance with functional design, perfect for creating standout walls and surfaces in both residential and commercial settings.
Installation Guide – Step by Step
Step 1: Surface Preparation – Build on a Solid Base
Ensure the surface is clean, dry, and free from dust, oil, or residue
Verify that the substrate is level, stable, and without cracks
For wet areas such as showers, apply a waterproofing membrane
Remove trims, outlet covers, or obstacles that may interfere with layout
Use a leveling compound if necessary for an even base
Step 2: Layout Planning – Achieve a Balanced Look
Mark the center of the wall or surface to guide symmetry
Dry-lay the sheets to preview pattern flow and veining alignment
Adjust layout to avoid small, uneven cuts along edges
Insert 1.5–3 mm spacers between sheets to maintain consistent grout lines
Step 3: Adhesive Application – Use a High-Performance Thin-Set
Recommended Brands:
Instructions:
Mix only the amount you can use within 30 minutes
Spread adhesive with the flat side of a 1/4″ notched trowel
Comb thin-set at a 45° angle for maximum coverage
Back-butter sheets to strengthen adhesion
Work in small sections to prevent mortar from drying prematurely
Step 4: Cutting & Fitting – Precision is Key
Use a wet saw with a fine diamond blade for clean cuts
Mark cut lines with a pencil before trimming
Smooth edges with a stone file or rubbing block
Dry-fit pieces to confirm alignment before setting permanently
Step 5: Setting the Tiles – Keep the Pattern Flowing
Begin at the center and work outward for balance
Firmly press mesh-mounted sheets into the adhesive
Use spacers to maintain even spacing between sheets
Tap lightly with a rubber mallet to level surfaces
Remove excess adhesive promptly with a damp sponge
Allow 24 hours curing time before grouting
Step 6: Grouting & Sealing – The Final Touch
Apply non-sanded grout to avoid scratching polished marble
Spread diagonally across joints using a rubber float
Wipe away excess grout immediately with a damp sponge
After 15–20 minutes, buff away haze with a soft cloth
Let grout cure for 72 hours before sealing
Apply a penetrating, marble-safe sealer for lasting protection
Maintenance Tips – Keep the Beauty Intact
Clean only with pH-neutral, stone-safe products
Avoid acidic or abrasive cleaners that may damage marble
Reseal periodically depending on exposure and usage
Use felt pads under nearby furniture to prevent scratching
Packaging & Delivery
⚠️ Important Notice:
Stonemarket USA is not liable for issues caused by improper installation. For best results, we recommend professional installation using premium adhesives and sealers.