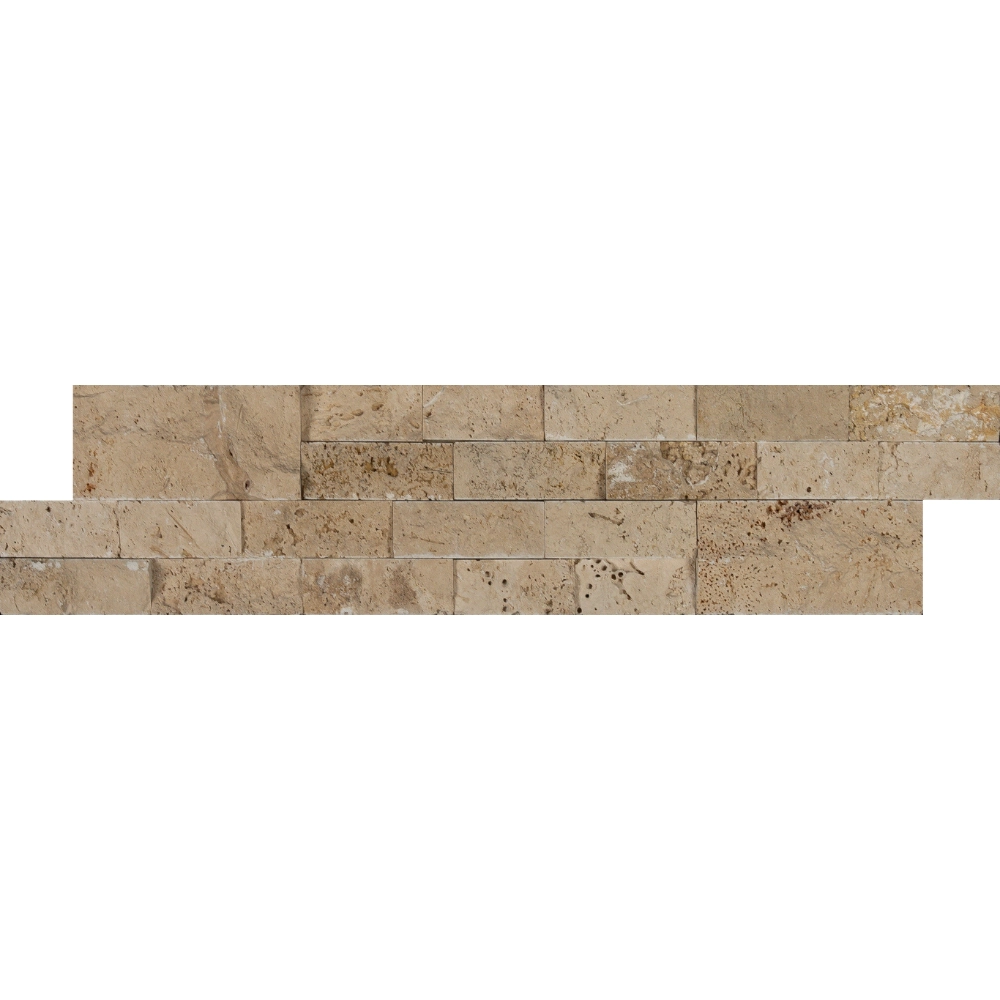
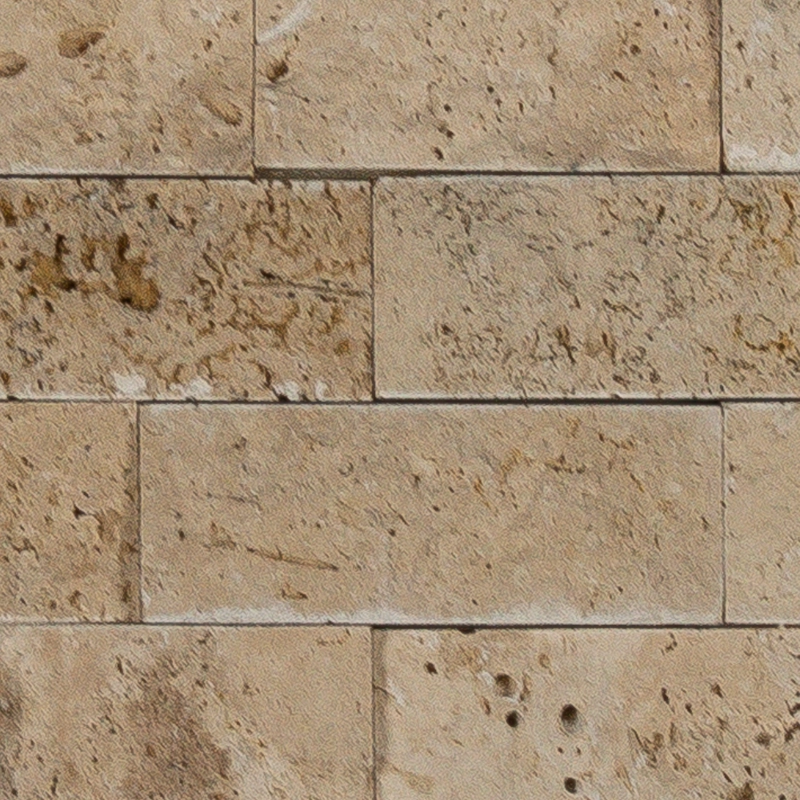
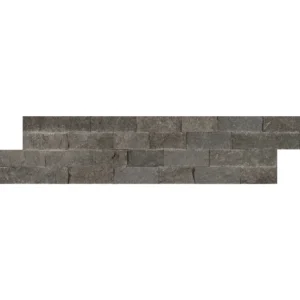
Ivory 6″x24″ Split-Face Ledgestone Panel
Transform your walls with the natural elegance of the Ivory 6″x24″ Split-Face Ledgestone Panel. Made from premium travertine, its warm ivory hues and textured split-face surface create depth and visual interest on any vertical wall.
Sized conveniently at 6″x24″, each panel installs mesh-free using chemical adhesion for a secure and long-lasting fit. Its earthy, tactile texture is perfect for accent walls, fireplace surrounds, or outdoor facades, adding both sophistication and character to your space.
Key Features
Stone Type: Natural ivory travertine
Finish: Textured split-face
Dimensions: 6″x24″
Installation: Chemically bonded, mesh-free back
Applications: Vertical indoor and outdoor walls, accent features, fireplaces
The Ivory Split-Face Ledgestone Panel combines timeless elegance with rustic charm, offering a simple yet striking solution for elevating any interior or exterior design.
Installation Guide – Ivory 6″x24″ Split-Face Ledgestone Panel (Vertical Walls Only)
Step 1: Surface Preparation
Ensure the wall is clean, dry, level, and structurally sound.
Suitable substrates: concrete, cement backer board, or masonry block.
For wet areas (e.g., showers), apply a waterproof membrane before installation.
Remove dust, oils, or coatings that could interfere with adhesion.
Step 2: Layout Planning
Dry-lay panels to evaluate color variation and veining.
Use a level to mark horizontal reference lines for precise alignment.
Stagger vertical seams to create a natural, seamless appearance.
Note: This panel is for vertical applications only.
Step 3: Adhesive Application – Travertine-Safe Mortar
Recommended Mortars:
Mapei Ultraflex LFT (white, polymer-modified)
Laticrete 255 or 254 Platinum (white)
Custom Building Products Natural Stone & Large Tile Mortar (white)
Instructions:
Spread adhesive with a 1/2″ square-notched trowel.
Back-butter each panel to ensure full coverage, especially on textured surfaces.
Press panels firmly into place and slide slightly for maximum adhesion.
Tap gently with a rubber mallet for flush alignment.
Remove excess adhesive immediately with a damp sponge.
Step 4: Cutting & Edge Work
Use a wet saw with a diamond blade for precise travertine cuts.
Miter external corners or use matching corner pieces if available.
Always wear appropriate safety gear during cutting.
Step 5: Grouting
Step 6: Sealing (Recommended for Travertine)
Apply a penetrating, water-based sealer safe for travertine.
Avoid acidic or solvent-based sealers.
Apply evenly with a brush, roller, or low-pressure sprayer.
Reseal every 1–2 years depending on exposure and use.
Maintenance Tips
Clean with pH-neutral stone cleaners only.
Avoid acidic or abrasive products that may etch travertine.
Wipe spills promptly to prevent staining.
Use a soft brush for textured surfaces if needed.
Important Disclaimer
This product is intended for vertical wall applications only. Travertine is a porous natural material that requires sealing and careful maintenance. Inspect all panels before installation and consult a professional installer. Stonemarket USA is not responsible for damage caused by improper installation or misuse.