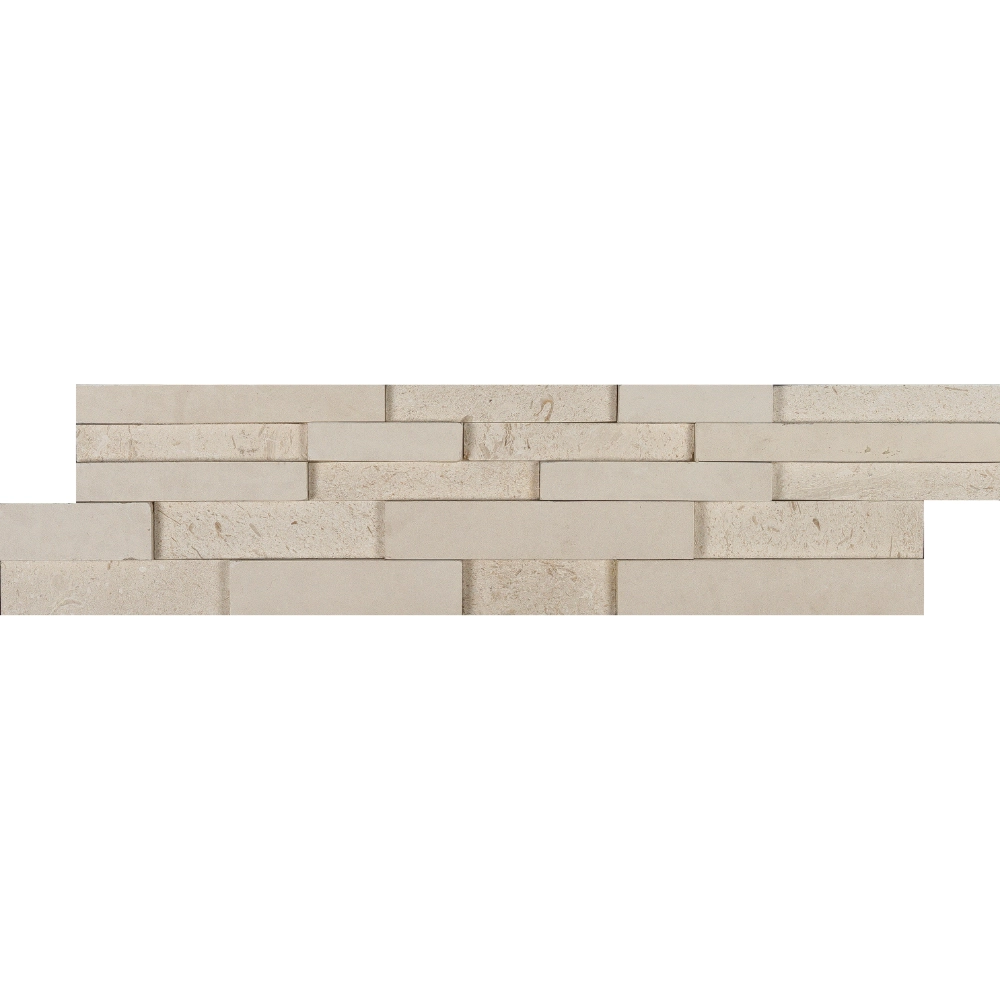
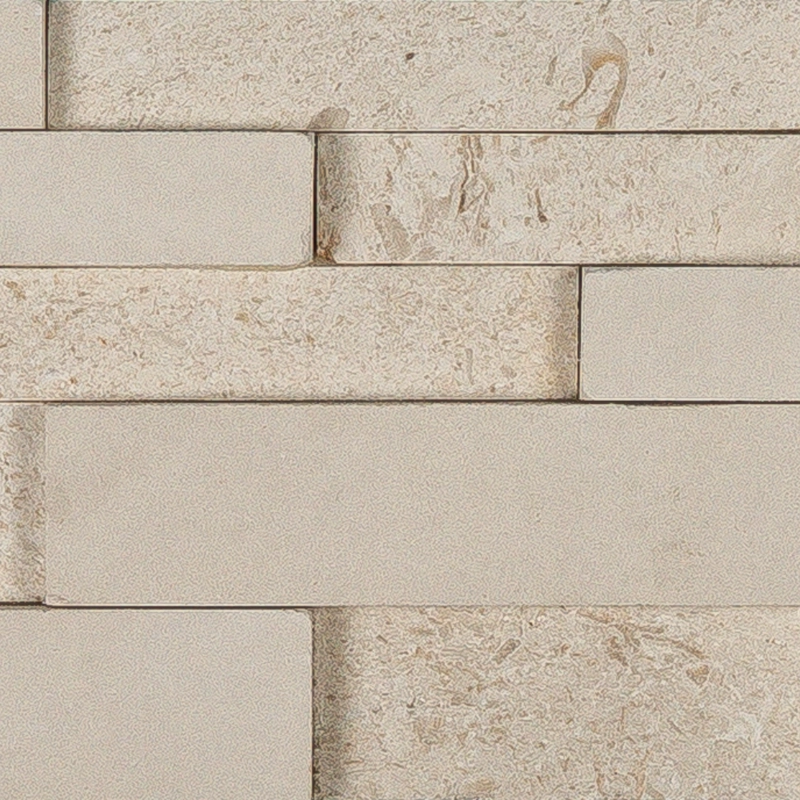
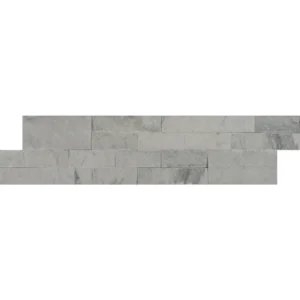
Myra Shell 6″x24″ 3D Ledgestone Panel
Bring timeless sophistication to your walls with the Myra Shell 6″x24″ 3D Ledgestone Panel, crafted from natural beige limestone. Its honed surface and layered 3D profile add texture and depth, making it perfect for both interior and exterior vertical applications.
Designed for a clean, dry-stack look, this limestone panel is chemically bonded for a seamless installation. Soft beige tones with subtle shell undertones enhance warmth while maintaining a contemporary, refined aesthetic. Ideal for accent walls, fireplace surrounds, lobbies, or exterior facades, it introduces subtle elegance and lasting appeal.
Key Features
Material: Natural beige limestone
Finish: Honed with 3D dimensional texture
Size: 6″x24″ (15.2 x 61 cm)
Installation: Dry-stack style, chemically adhered (not mesh-backed)
Recommended Uses: Feature walls, fireplaces, exterior facades, columns, reception areas
Elevate your design projects with the organic beauty and architectural sophistication of Myra Shell Limestone, perfect for high-end residential and commercial spaces.
Installation Guide – Myra Shell 6″x24″ 3D Ledgestone Panel (Limestone)
Step 1: Surface Preparation
Ensure the vertical surface is structurally sound, clean, dry, and free from debris or contaminants.
Acceptable substrates include cement backer board, concrete, or masonry block.
Apply a waterproof membrane in wet areas or for exterior installations.
Avoid direct installation over drywall, as limestone is porous.
Step 2: Layout Planning
Dry-lay panels to review color and texture variations.
Begin installation from the bottom, working upward in a staggered layout.
Use a level and snap chalk lines to maintain straight, aligned courses.
Step 3: Adhesive Application
Recommended Adhesives for Limestone:
Laticrete 254 Platinum
Mapei Ultraflex LFT (non-acidic, flexible mortars)
Use white thin-set to prevent shadowing through light-colored limestone.
Instructions:
Apply adhesive to both the wall and the back of the panel using a 1/2″ square-notched trowel.
Back-butter each panel to ensure full contact.
Press firmly and slide slightly for optimal adhesion.
Step 4: Cutting & Fitting
Use a wet saw with a diamond blade suitable for soft natural stone.
Wear protective gear and cut panels outdoors or in a well-ventilated space.
Dry-fit all corner and edge pieces before final installation.
Step 5: Finishing
No grout is required for dry-stack installation.
Wipe away excess adhesive immediately with a damp sponge.
Allow panels to cure 24–48 hours before exposure to moisture or handling.
Step 6: Sealing
Apply a penetrating stone sealer safe for limestone after curing.
Avoid acidic or solvent-based sealers that can damage the surface.
Reseal every 1–2 years depending on exposure.
Maintenance Tips
Disclaimer
The Myra Shell 6″x24″ 3D Ledgestone Panel is for vertical wall applications only. Natural variations in color, veining, and texture are inherent to limestone. Always inspect panels before installation. Improper installation or use of unsuitable adhesives or chemicals may cause permanent damage. Professional installation is highly recommended.