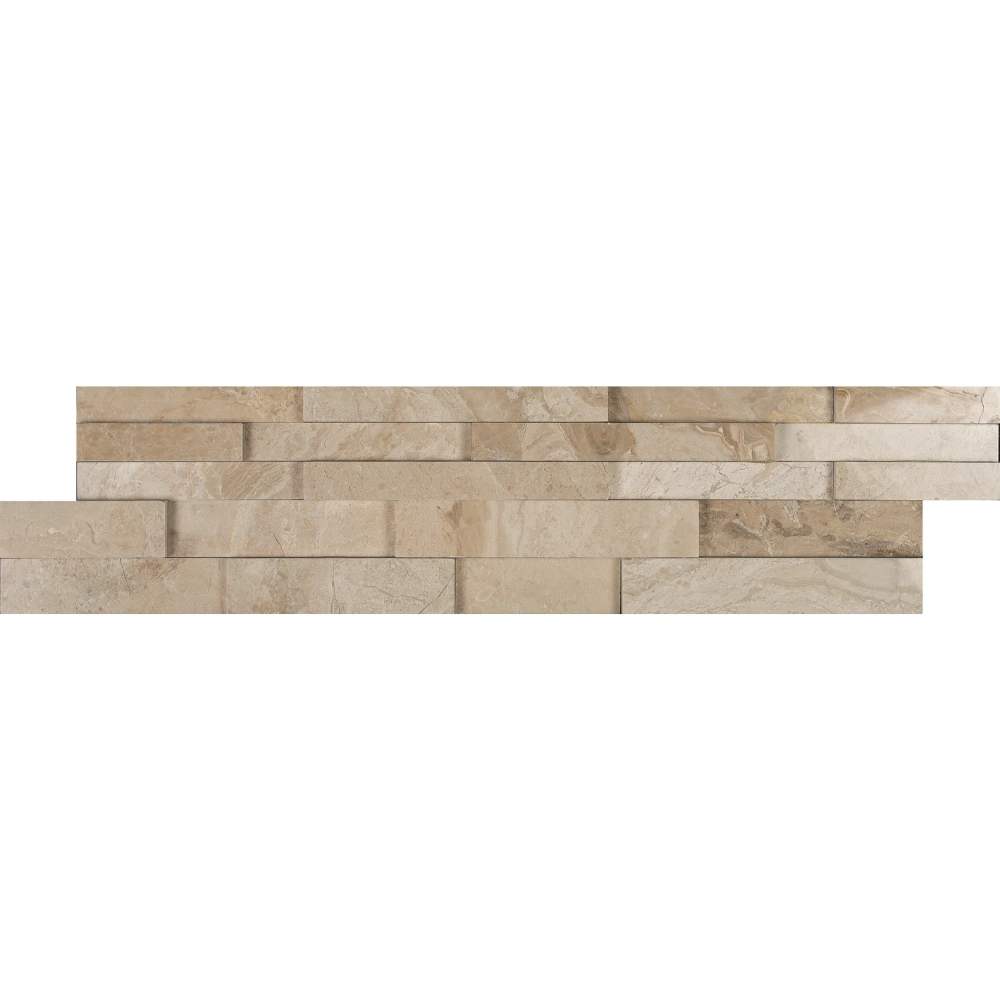
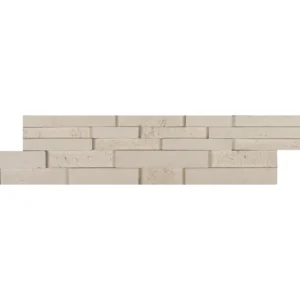
Royal Beige 6×24 3D Ledgestone Panel
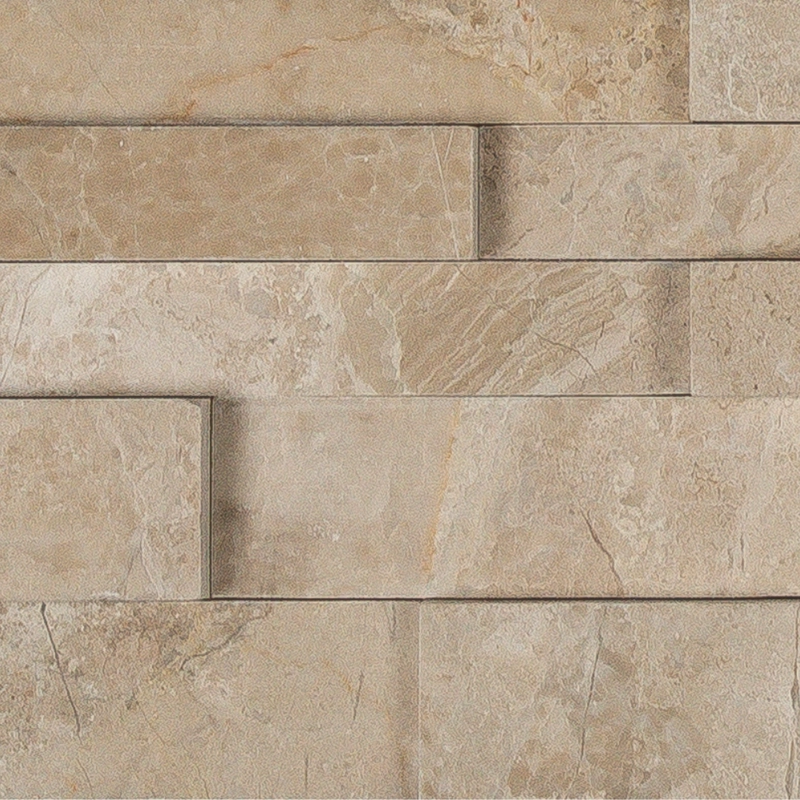
Bring elegance and dimension to any wall with the Royal Beige 6×24 3D Ledgestone Panel. Crafted from natural marble, its warm beige tones and subtle veining add depth and sophistication, turning ordinary walls into striking architectural features.
The 3D honed surface enhances texture and movement, while the clean-cut edges and manageable panel size make installation simple. Unlike mesh-backed options, each panel is factory-assembled and chemically bonded for superior durability and long-lasting performance. Ideal for feature walls, fireplaces, backsplashes, or exterior facades, this panel blends natural beauty with functional strength.
Key Features
Stone Type: Natural Royal Beige marble
Finish: Honed with 3D dimensional texture
Color: Beige with soft natural variation
Size: 6″ x 24″ (15.2 cm x 61 cm)
Installation: Vertical surfaces only, interior or exterior
Assembly: Chemically bonded for durability (not mesh-backed)
Best Uses: Fireplace surrounds, accent walls, backsplashes, commercial walls
Elevate your interiors and exteriors with the Royal Beige 3D Ledgestone Panel, offering timeless style, subtle warmth, and architectural flair in every installation.
Installation Guide – Myra Shell 6″x24″ 3D Ledgestone Panel (Limestone)
Step 1: Surface Preparation
Ensure the vertical surface is structurally sound, clean, dry, and free from debris.
Suitable substrates include cement backer board, concrete, or masonry block.
In wet or exterior areas, install a waterproof membrane.
Avoid installing directly over drywall, as limestone is porous.
Step 2: Layout Planning
Dry-lay several panels to check color and texture variations.
Begin at the bottom and work upwards using a staggered layout.
Use a level and snap chalk lines to maintain consistent alignment.
Step 3: Adhesive Application
Recommended Adhesives for Limestone:
Instructions:
Apply adhesive to both the wall and back of each panel using a 1/2″ square-notched trowel.
Back-butter each piece for full contact.
Press panels firmly into place and slide slightly to ensure proper bonding.
Step 4: Cutting & Fitting
Use a wet saw with a diamond blade suitable for soft natural stone.
Always wear protective gear and cut in a well-ventilated area or outdoors.
Pre-fit corner and edge pieces before final placement.
Step 5: Finishing
No grout is required for dry-stack installations.
Clean excess adhesive immediately with a damp sponge.
Allow panels to cure 24–48 hours before exposure to water or handling.
Step 6: Sealing
Apply a high-quality penetrating sealer safe for natural limestone.
Avoid acidic or solvent-based sealers, which can damage the stone.
Reapply sealer every 1–2 years, depending on environmental exposure.
Maintenance Tips
Important Note
Intended for vertical wall applications only.
Color, veining, and texture variations are natural characteristics of limestone.
Inspect all panels before installation. Improper installation or use of unsuitable adhesives or chemicals may cause permanent damage.
Professional installation is recommended for optimal results.