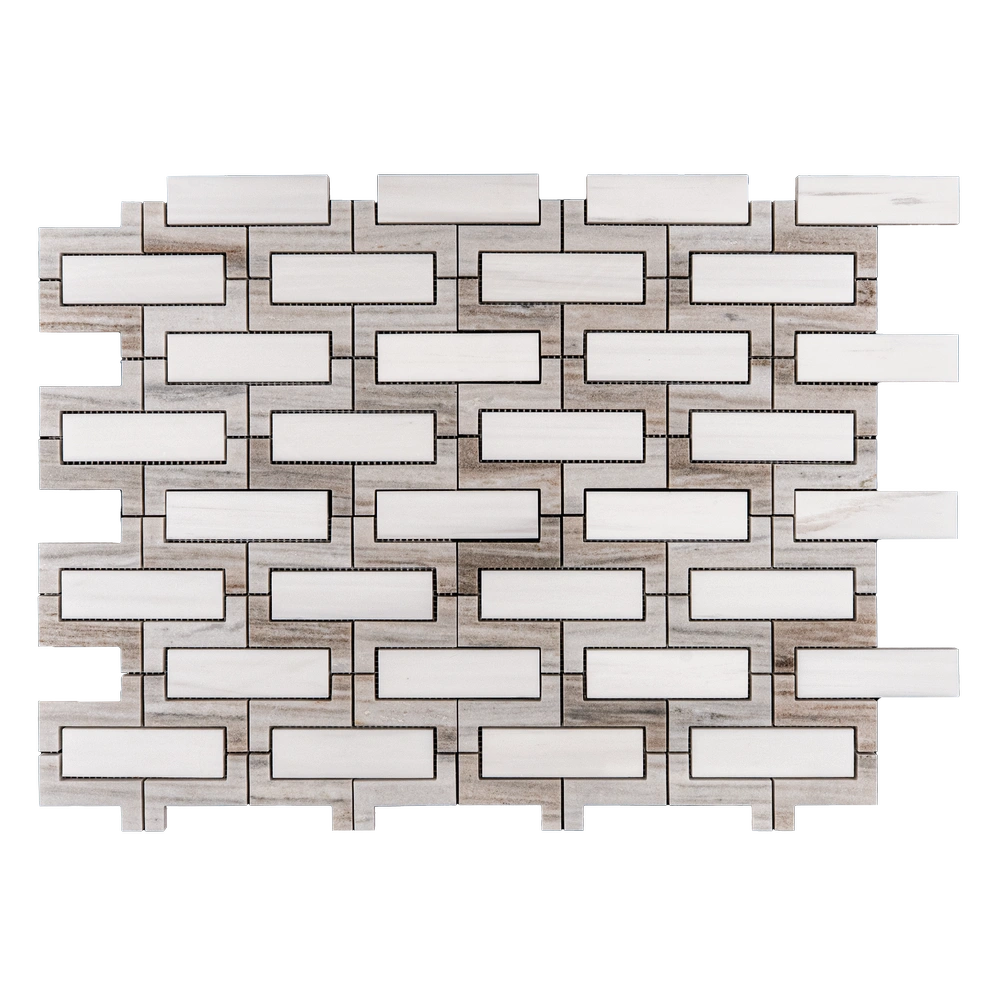
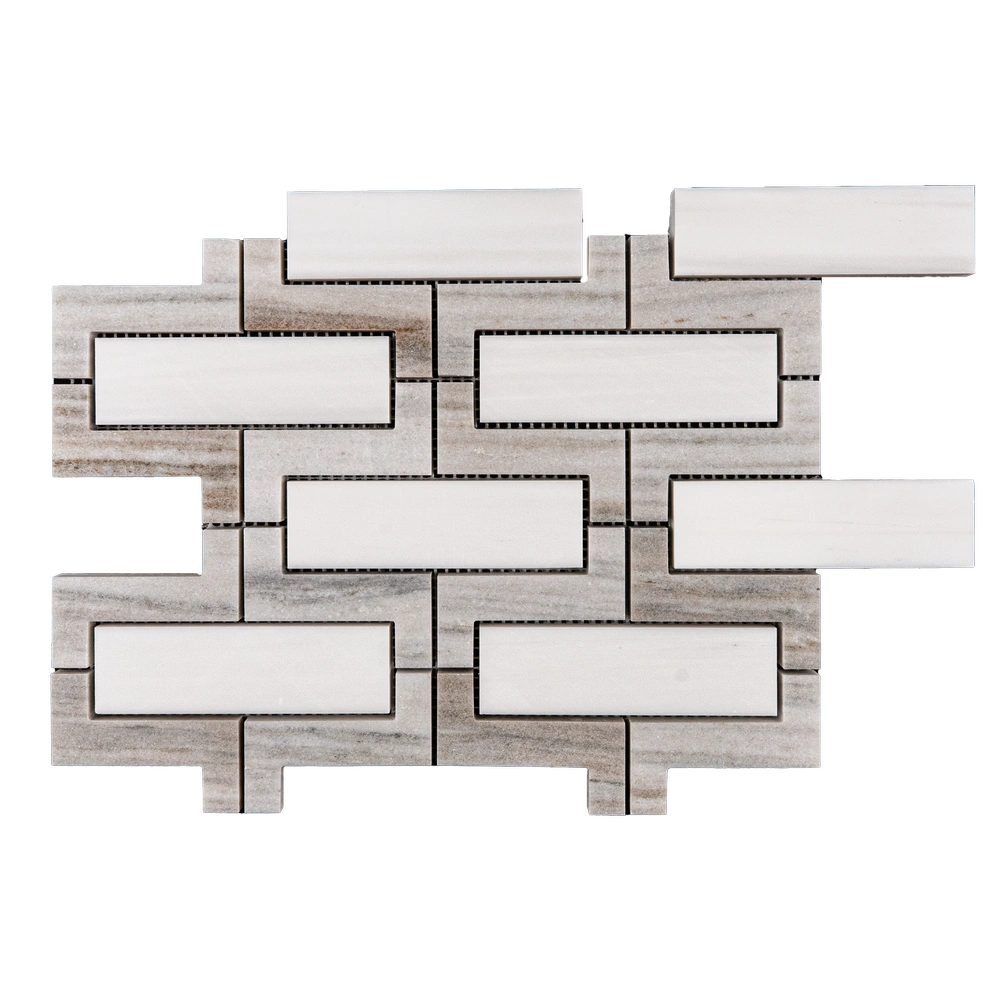
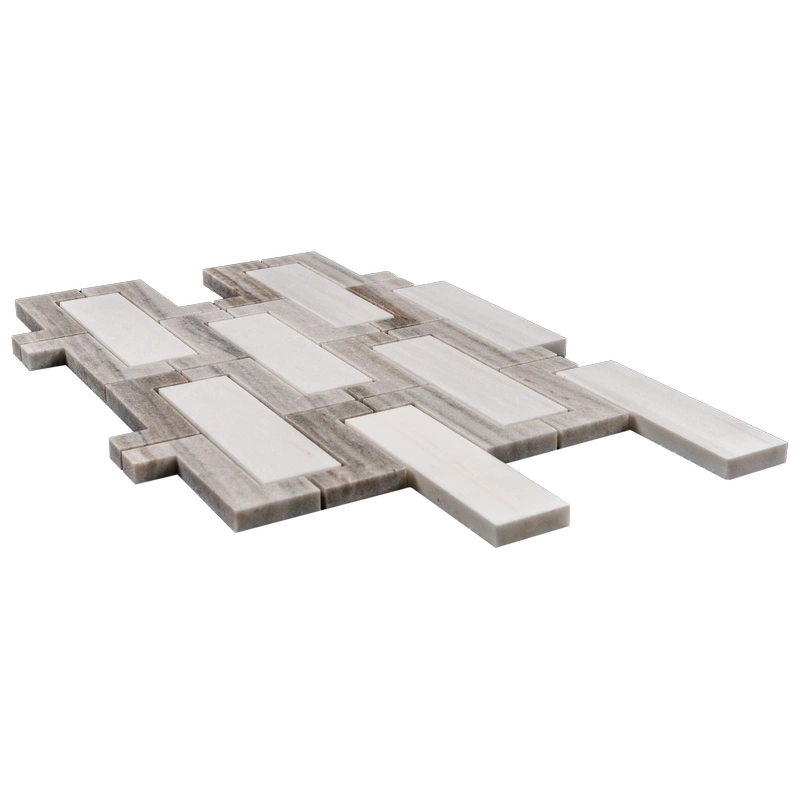
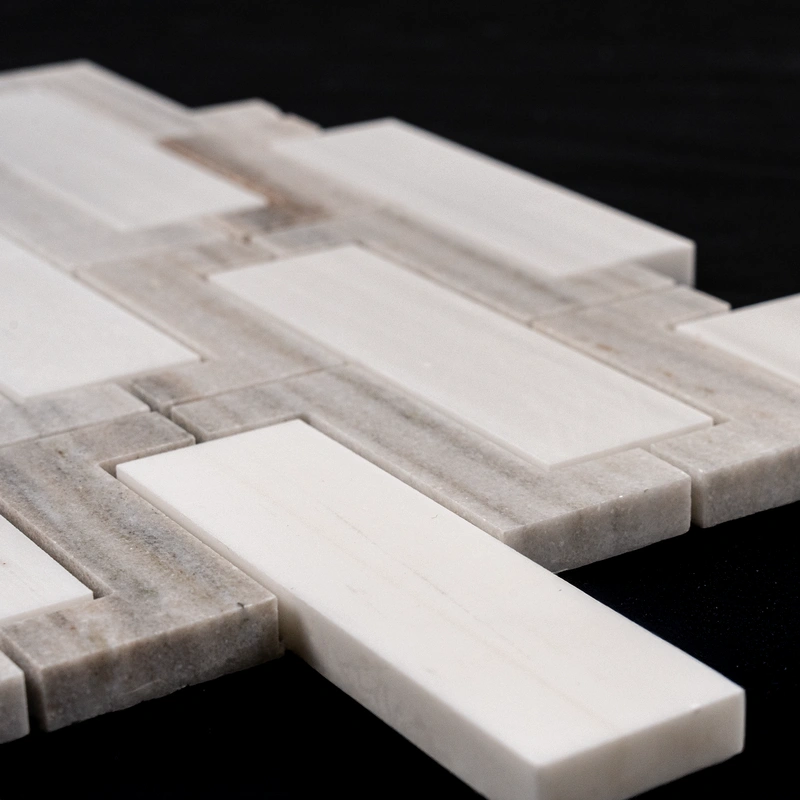
Albis Polished Mosaic Tile – Palissandro & Dolomite Marble
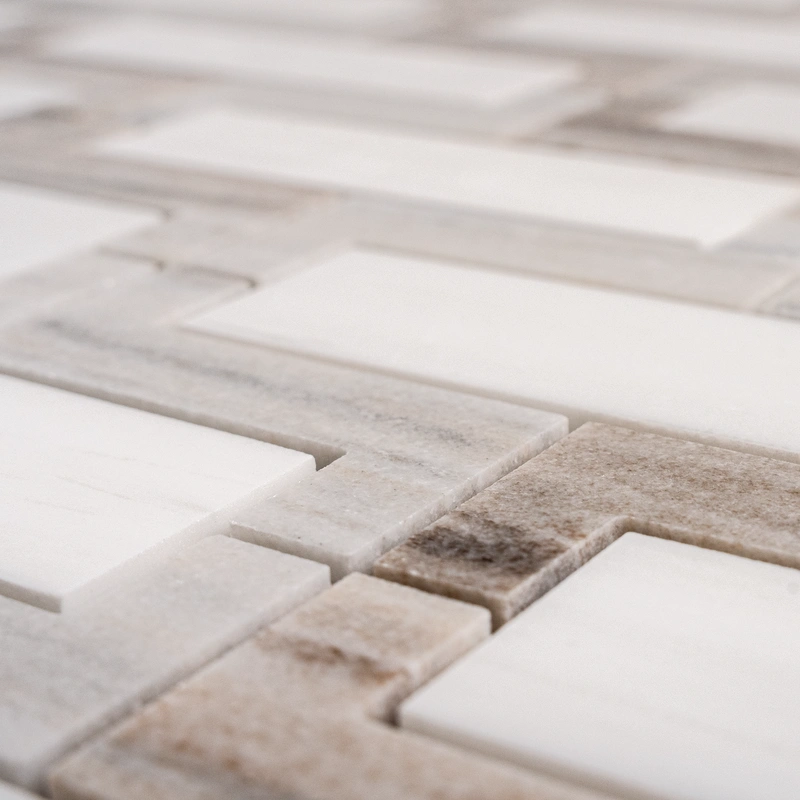
Bring understated luxury to your interiors with the Albis Polished Mosaic Tile, a sophisticated fusion of Palissandro’s beige-grey layers and Dolomite’s soft white tones. The polished finish accentuates the natural veining of both marbles, making it an elegant choice for modern bathrooms, kitchen backsplashes, and feature walls.
The mosaic is crafted in an interlocking pattern, creating a harmonious design with natural flow and a refined, architectural appeal. Perfect for both classic and contemporary interiors, Albis adds depth and visual interest without overpowering your space.
Product Highlights
Material: Palissandro & Dolomite Marble
Color Palette: Natural beige, soft white, subtle gray veining
Finish: Polished, glossy and smooth
Sheet Size: 8.8″ x 11.8″ (22.5 x 30 cm)
Thickness: 0.4″ (1 cm)
Application: Ideal for walls – backsplashes, bathrooms, accent panels
Installation: Mesh-mounted for fast, precise placement
Why Choose Albis Mosaic Tile?
Combining two premium marbles, Albis creates a soft contrast between warm and cool tones for added depth. Its high-gloss finish reflects light beautifully, balancing natural texture with geometric elegance. This mosaic pairs effortlessly with neutral palettes and metallic accents, making it a favorite among designers.
Packaging & Coverage
Sold per box – includes 5 mesh-mounted sheets
Coverage: Approx. 3.60 sq. ft. per box
Net Weight: Approx. 19.25 lbs
Carefully packed for safe delivery
Albis Polished Mosaic Tile is a versatile and refined choice, offering luxury, durability, and timeless style for any interior wall application.
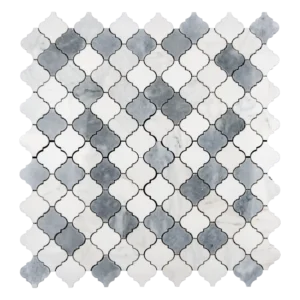
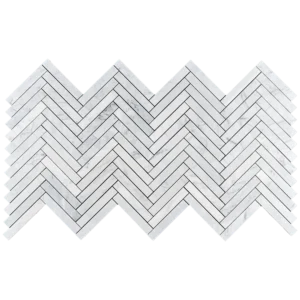
Installation Guide – Trillium Dolomite, Milas White & Iceberg Mosaic Tile
Step 1: Surface Preparation – Build a Solid Foundation
Ensure the wall or surface is clean, dry, and free from dust, oils, or debris for optimal adhesion.
Verify the substrate is level, firm, and free of cracks to support the mosaic’s geometric precision.
For wet areas like showers or backsplashes, install a high-quality waterproofing membrane to protect the marble.
Remove any trims, outlet covers, or obstructions.
Use a self-leveling compound to correct dips or irregularities before installation.
Step 2: Layout Planning – Respect the Pattern
Find the center point of the installation area for balanced symmetry.
Dry-lay several sheets to preview how Dolomite, Milas White, and Iceberg interact.
Adjust layout to avoid awkward edge cuts or pattern breaks.
Use 1.5–3 mm spacers between sheets for even grout joints and smooth transitions.
Step 3: Adhesive Application – Marble-Safe Products
Recommended Thin-Set Mortars:
Mapei White UltraFlex
Laticrete 254 Platinum
Ardex X5 White
Instructions:
Use a white, non-staining thin-set to prevent discoloration on translucent marble.
Mix small batches for 30–40 minutes of usability.
Apply adhesive with a 1/4″ notched trowel, flat side to coat and comb at 45° for even ridges.
Back-butter each sheet for strong adhesion and to minimize lippage.
Work in small sections to prevent the thin-set from drying before sheet placement.
Step 4: Cutting & Fitting – Precision Matters
Cut tiles using a wet saw with a fine diamond blade to prevent chipping.
Mark cuts accurately for tight, clean edge fits.
Smooth rough edges with a stone file or rubbing stone.
Dry-fit all trimmed pieces to ensure alignment within the geometric layout.
Step 5: Setting Tiles – Level and Align
Begin from the center and work outward for visual balance.
Firmly press mesh-backed sheets into adhesive, following the Trillium pattern.
Maintain consistent joint spacing with spacers.
Tap gently with a rubber mallet to level the surface and remove air pockets.
Wipe excess adhesive immediately with a damp sponge.
Allow to cure for 24 hours before grouting.
Step 6: Grouting & Sealing – Final Touches
Use non-sanded grout to protect polished marble surfaces.
Apply grout diagonally with a rubber float, filling joints evenly.
Wipe off residue promptly with a damp sponge.
Buff haze after 15–20 minutes with a soft microfiber cloth.
Let grout cure 72 hours before sealing.
Apply a penetrating marble-safe sealer to protect against stains, water, and etching.
Maintenance Tips – Keep It Pristine
Clean with pH-neutral stone cleaners; avoid acidic or abrasive products.
Reseal periodically depending on traffic and moisture exposure.
Wipe spills immediately, especially wine, citrus, or oils, to prevent etching.
Use felt pads under furniture or décor near floor or wall installations.
Shipping & Packaging
Important Note
Marble is natural; variations in color, veining, and finish are normal and enhance uniqueness.
Professional installation is recommended.
Stonemarket USA is not responsible for improper installation.