Carrara White Tile 12″x24″ Honed – Natural Marble with Subtle Veining
Timeless Elegance in White Marble
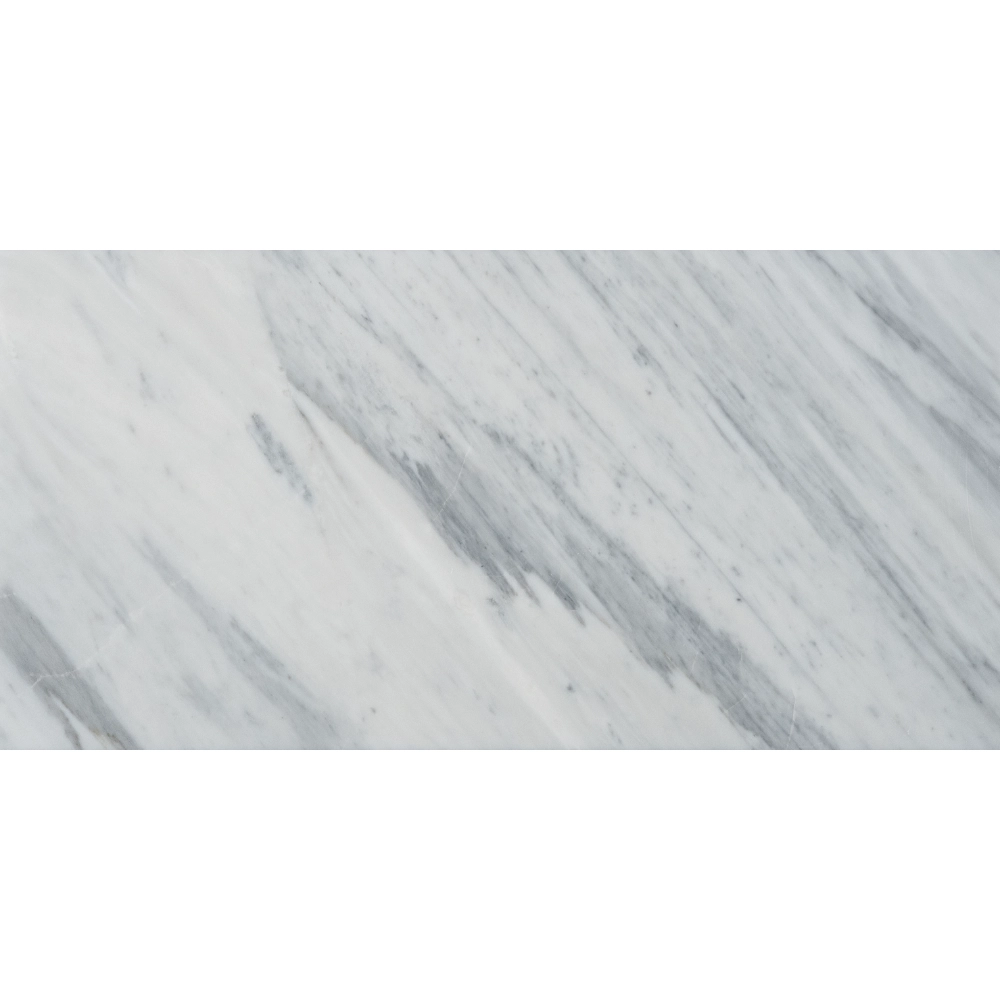
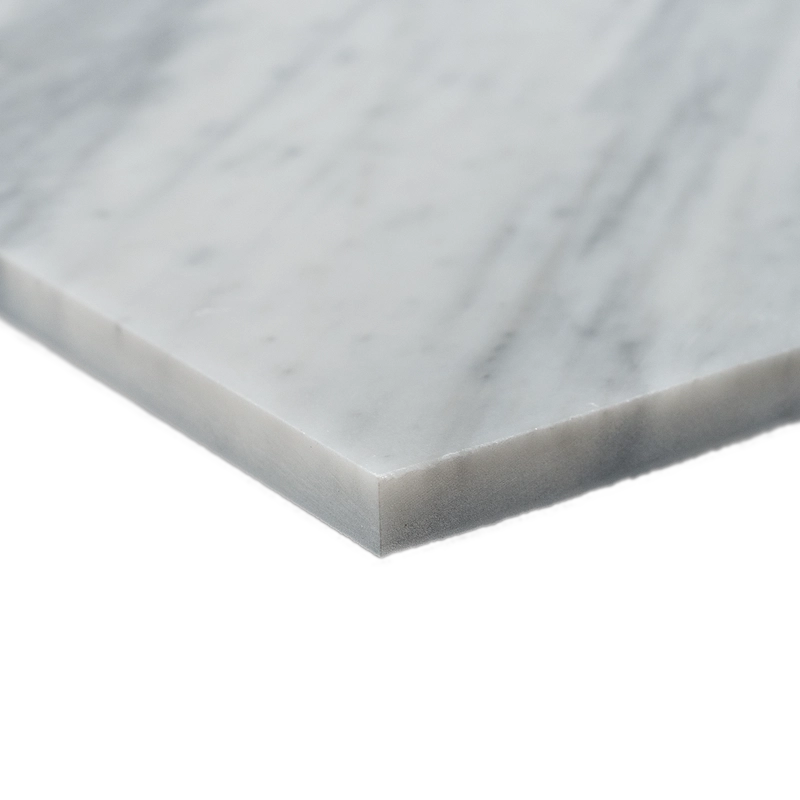
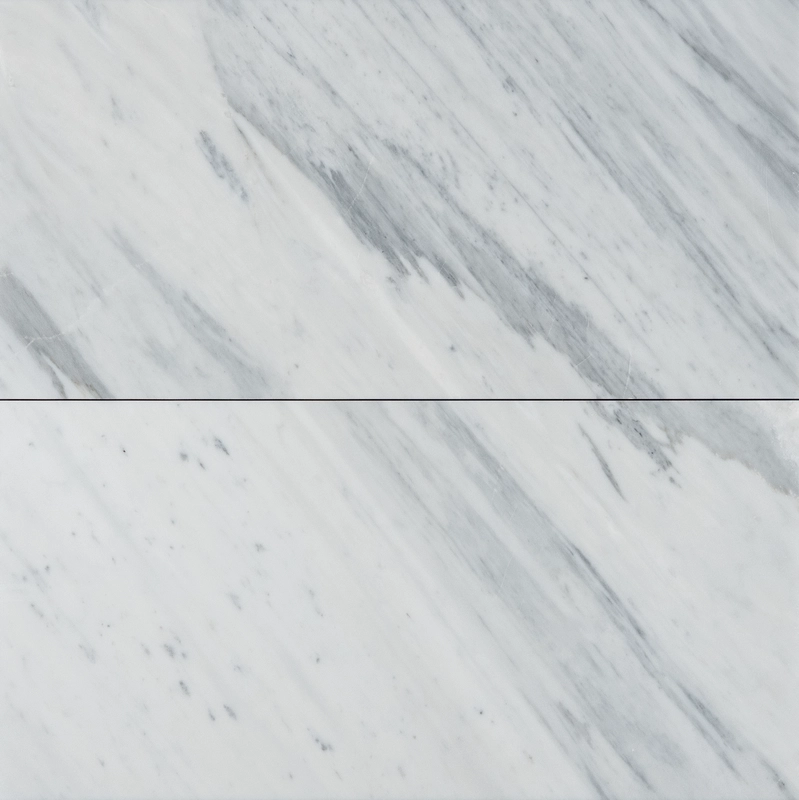
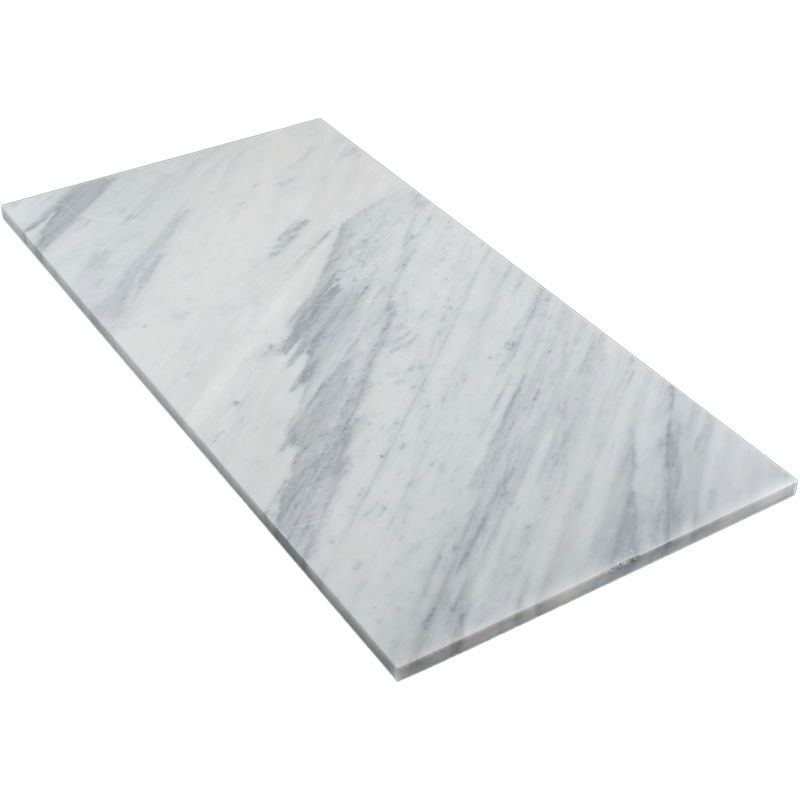
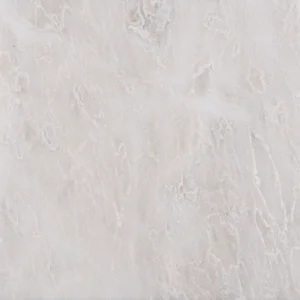
The Carrara White 12″x24″ Honed tile combines classic beauty with modern refinement. Crafted from natural marble, it features soft white tones highlighted by delicate, icy veining, creating a tranquil and sophisticated backdrop for any interior. Its honed, matte finish offers a smooth, understated texture that feels warm and inviting.
The generous 12″x24″ size is versatile for floors, walls, and vertical applications. Perfect for bathrooms, kitchens, or commercial spaces, its straight edges enable clean lines and a precise, seamless installation.
Key Features – Carrara White Tile
Material: Premium natural Carrara marble
Color: Soft white with subtle icy veining
Finish: Honed – smooth, matte surface
Size: 12″x24″ (30.5 x 61 cm)
Thickness: 0.47″ (1.2 cm)
Edge: Straight edge for clean alignment
Applications: Indoor walls and floors – ideal for bathrooms, kitchens, and living spaces
Why Choose Carrara White Marble?
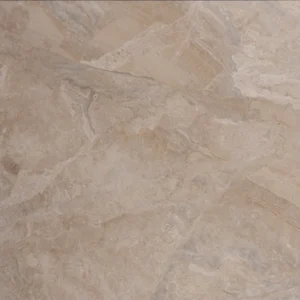
This tile offers both style and practicality. Its neutral tones blend effortlessly with a wide range of design schemes, from traditional to contemporary. Known for its timeless charm, Carrara marble is a durable, elegant choice that adds lasting value and sophistication to any space.
Carrara White Tile Installation Guide – Step by Step
Step 1: Prepare the Surface – Clean, Stable, and Level
Make sure the substrate is structurally sound, clean, and fully dry.
Check flatness with a 10-ft straightedge; variation should not exceed 1/8″.
Apply a self-leveling compound where necessary to correct uneven areas.
In wet areas such as showers or bathrooms, use a waterproof membrane for protection.
Step 2: Plan the Layout – Maintain Natural Vein Flow
Mark centerlines and create a layout grid for balanced cuts and alignment.
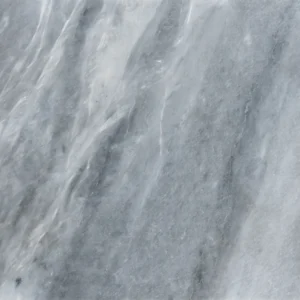
Dry-lay tiles to evaluate Carrara marble veining and achieve a natural flow.
Mix tiles from multiple boxes to ensure consistent tone throughout the installation.
Use 1/16″–1/8″ grout joints for straight-edged tiles to create a seamless look.
Step 3: Apply Mortar – Use White Thin-Set
Recommended Products:
Instructions:
Spread mortar with a 1/2″ square-notched trowel for full coverage.
Back-butter each tile to enhance adhesion and prevent hollow spots.
Work in small sections to maintain mortar workability and tile adjustability.
Step 4: Cutting & Fitting – Precision Matters
Cut tiles with a wet saw using a diamond blade designed for natural stone.
Smooth exposed edges with a stone file or polishing pad.
Dry-fit tiles before final placement to confirm alignment and sizing.
Step 5: Setting Tiles – Ensure Flat, Even Installation
Use a tile leveling system to prevent lippage between large-format tiles.
Apply tiles with consistent pressure, keeping grout spacing with spacers.
Immediately remove excess mortar from the honed surface with a damp sponge.
Allow thin-set to cure for at least 24 hours before grouting.
Step 6: Grouting & Sealing – Protect and Enhance
Pre-seal honed Carrara marble with a penetrating sealer before grouting.
Use non-sanded grout to avoid scratching the honed surface.
Apply grout diagonally with a rubber float and remove excess promptly.
Buff the surface after 20–30 minutes to remove haze.
Once grout cures (typically 72 hours), reseal the tile for long-lasting protection.
Maintenance Tips – Keep Marble Looking Pristine
Clean only with pH-neutral, stone-safe cleaners.
Wipe acidic spills (wine, citrus juice, etc.) immediately to prevent etching.
Reseal tiles every 6–12 months, depending on traffic and exposure.
Use felt pads or rugs in high-traffic areas to reduce wear.
Shipping & Packaging
Each Carrara White 12″x24″ Honed tile is individually protected with cushioning for safe transport. Inspect tiles before installation to ensure consistency in tone and finish.
Important Note
Carrara marble is natural, so veining and tone may vary. Dry-lay and blend tiles prior to installation for a balanced, harmonious appearance. Stonemarket USA is not responsible for natural variations or installation errors.